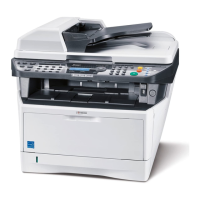
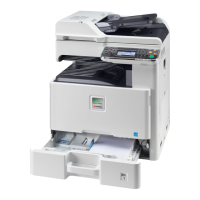
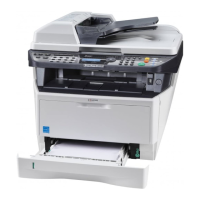
Operation Panel
4-42
Auto Cass. Change (Auto Cassette Change setting)
You can select the following actions when the paper runs out in the paper source while printing.
1
In the Print Settings menu, press or to select Auto
Cass.Change.
2
Press [OK]. The Auto Cass.Change screen appears showing the
auto cassette change settings.
3
Press or to select Off or On.
4
Press [OK]. The auto cassette change is set and the Print
Settings menu reappears.
MP Tray Priority (the settings for priority paper feed from the MP tray)
If paper is set in the MP Tray then it is possible for priority to be given to that MP tray in the paper feed.
1
In the Print Settings menu, press or to select MP Tray
Priority.
2
Press [OK]. The MP Tray Priority screen appears showing the
available MP tray priority mode options.
Off (The printer driver settings are followed.)
Auto Feed (If Auto is selected in the printer driver and there is paper
in the MP tray then the paper feed will be from the MP tray.)
Always (If there is paper in the MP tray then the paper feed will be
from the MP tray regardless of what is set in the printer driver.)
3
Press or to select the desired MP tray priority mode.
4
Press [OK]. The MP tray priority mode is set and the Print
Settings menu reappears.
Off The printer displays Load paper cassette #. (# is a cassette number) or Load paper in MP
Tray, and stops printing.
Load the paper according to the paper source displayed to resume printing.
To print from the other cassette, press [Alt.] ([Left Select]). Press or to select the desired
paper source, and then press [OK].
On The printer continues printing automatically when the other cassette contains the same paper as the
currently used paper cassette.
Note
You can also configure the Auto Cassette Change in
the Command Center RX. Access to the Command Center
RX, and then go to Basic > Defaults > Device Defaults
page. For more information on access to the Command
Center RX, refer to the Command Center RX User Guide.
 Loading...
