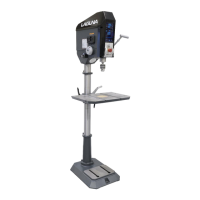
Figure 46: Laser Light indicator
Laser Adjustment:
The alignment lasers are pre-set at the factory during production. These lasers can go out of
alignment during transportation and assembly and should be checked and adjusted if necessary
after machine assembly. They should be checked periodically and adjusted as needed during
regular maintenance intervals.
Before checking and adjusting the lasers, check to make sure that the drill press table is leveled
and locked in the horizontal position. Install a small drill bit into the chuck. Turn on the lasers
by pressing the Laser button on the touch screen. Leave the lasers on during the adjustment
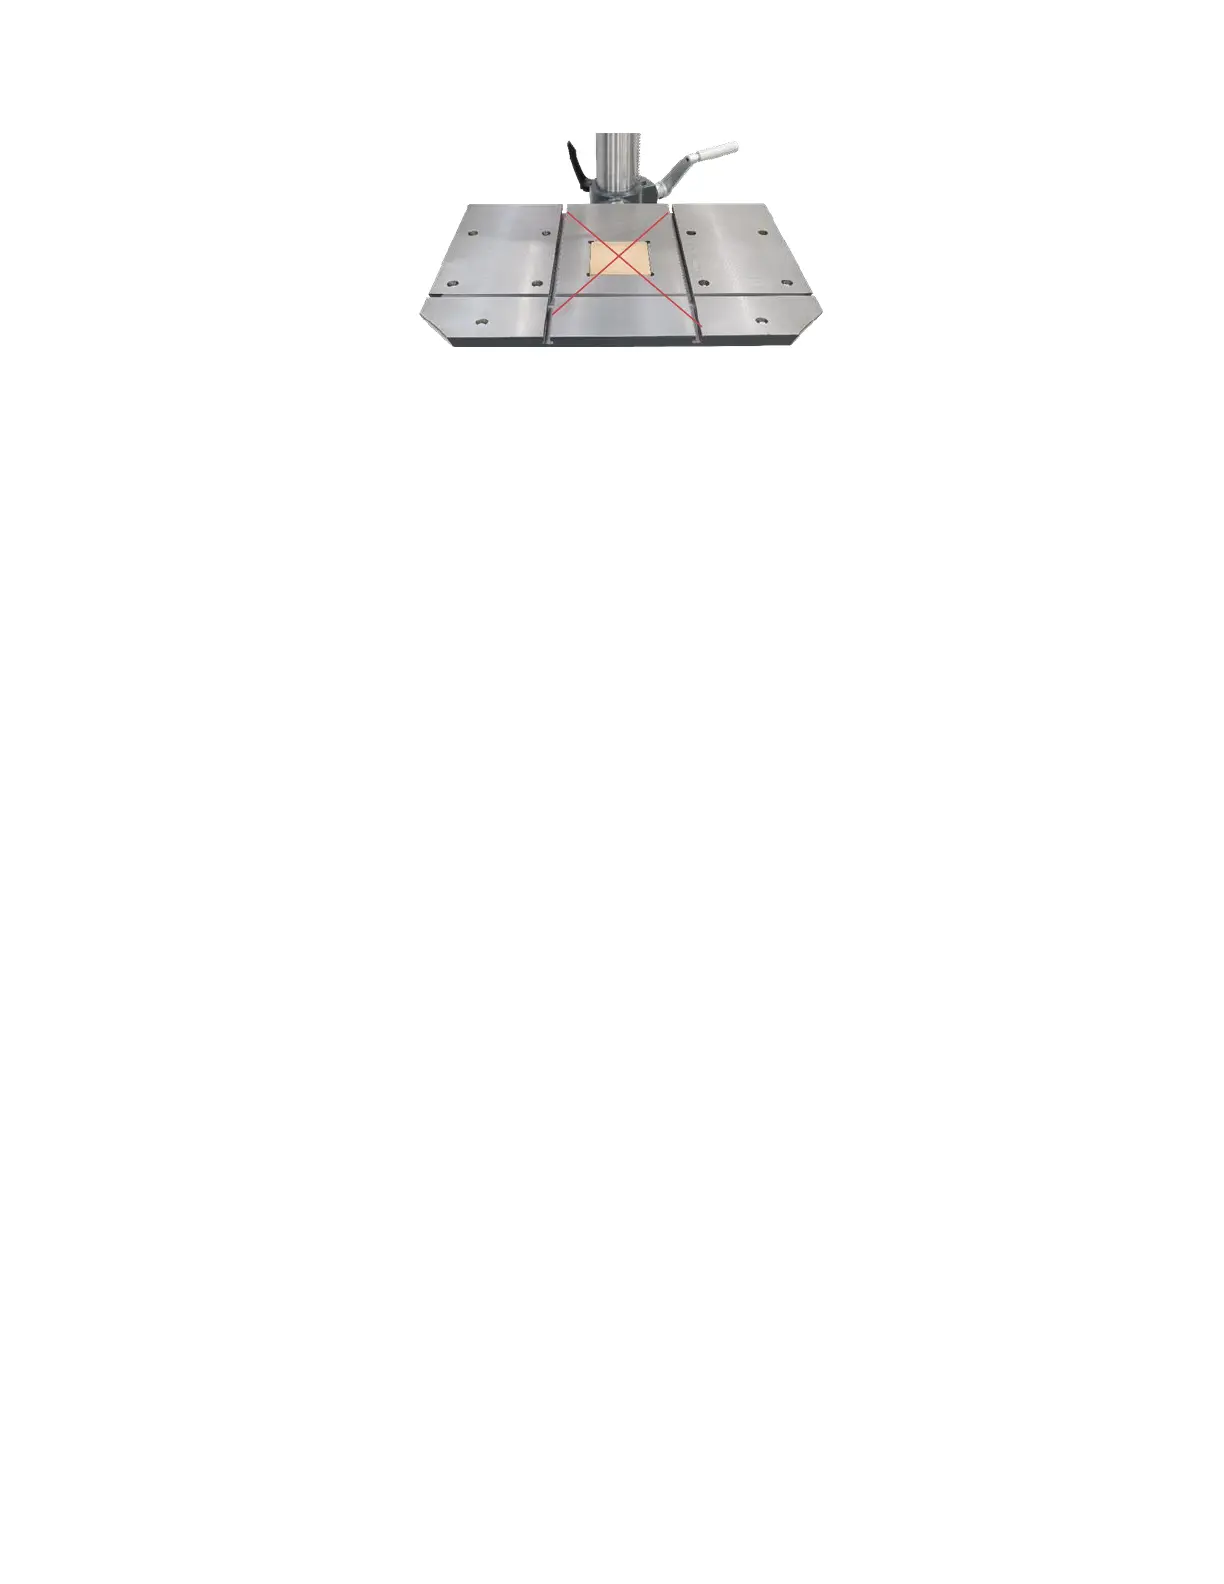
procedure. Lower the drill bit down toward the table and observe the position of the tip of the
drill bit relative to the center point of the crossed lasers.
Laser Vertical Adjustment:
To adjust the lasers, use a short board with flat, square edges for the adjustment. Mark a
perpendicular line on the board using a square and a sharp pencil.
Place the marked board onto the table with the square edge to the bottom and the surface with
the perpendicular line toward the rear of the drill press. Observe the vertical laser line on the
back of the board in relation to the vertical pencil line. Slide the board side to side as needed to
bring the pencil line adjacent to the vertical laser lines. Select the laser on one side of the drill
press to adjust first. Using a Phillips screwdriver, rotate the vertical adjustment screw toward
the front of the drill press to adjust the verticality of the laser line. Turn the screw as needed to
align the laser line with the vertical mark on the board.
Adjust the laser on the other side of the drill press in the same manner using the vertical
adjustment screw toward the front of the drill press. Slide the board from side to side as
needed to meet up with the laser line. Once the vertical adjustments are set, both laser lines
should be vertical and should match the vertical line drawn on the board.
Laser Crosshair Alignment:
Place the board flat onto the table. Do not allow the board to move from this position during the
adjustments. Clamp in place if needed. Lower the drill bit down to the surface of the material
and leave a small dimple in the surface of the wood. Raise the drill bit back up out of the way.