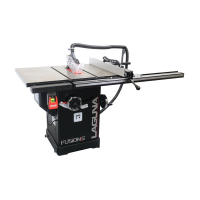
Fusion 3 Table Saw \ Setup \ Front Rail
Hex Cap Bolt (30mm)
use with hex nuts(F), lock
washers (E)
Left Side Front Rail Assembly,
F3 Table
Left Side Front Rail Assembly,
F3 Table
Attaching
the
Rubber
Feet
to
the
Right
Extension
Legs:
1.
Locate the threaded holes on the bottom of each of the right extension legs.
2.
Thread each rubber foot through the right extension leg’s bottom threaded holes.
3.
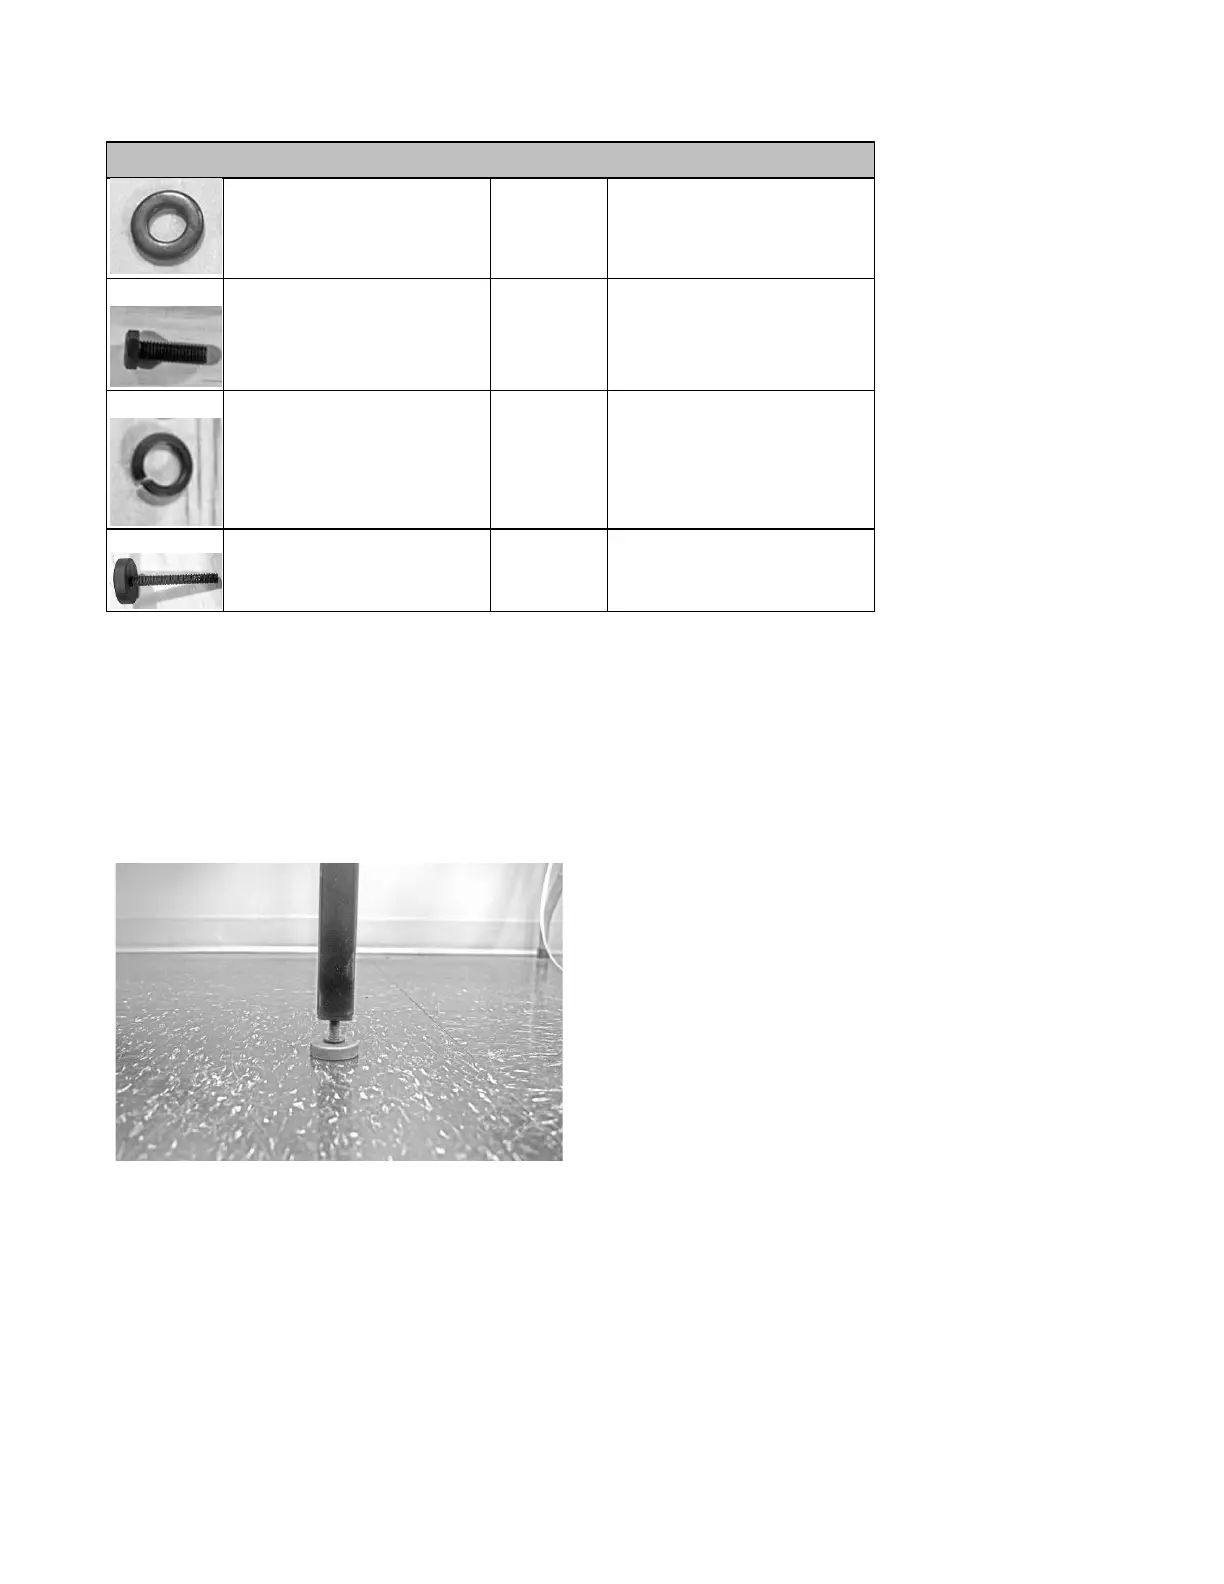
Hand-tighten each foot to start. Later, the foot may need to be loosened or tightened in order to properly level the front
and rear rails.
Correctly installed foot:
NOTICE!
You may assemble both right extension legs at this step, though only one will be used to complete the following
steps.
Attaching
the
Extension
Legs
to
the
Front
Rail
Bracket:
1.
Align the right extension leg’s bolt holes with the matching set of holes on the front rail bracket (located on the far right
of the bracket).
2.
Thread the counter-sunk bolts from the front rail through to the extension leg.
3.
Thread a lock washer and hex nut to on the back of the counter-sunk bolt.
4.
Secure the counter-sunk bolt to the front rail using an Allen wrench.
 Loading...