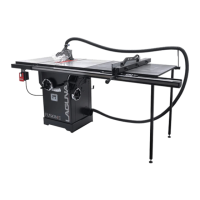
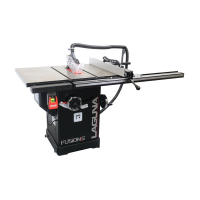
Fusion 3 Table Saw \ Setup \ Front Rail
Front
View
Rear
View
Attaching
the Right Front Rail
to
the Table:
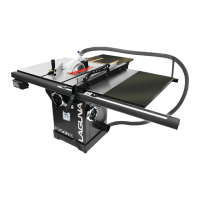
1.
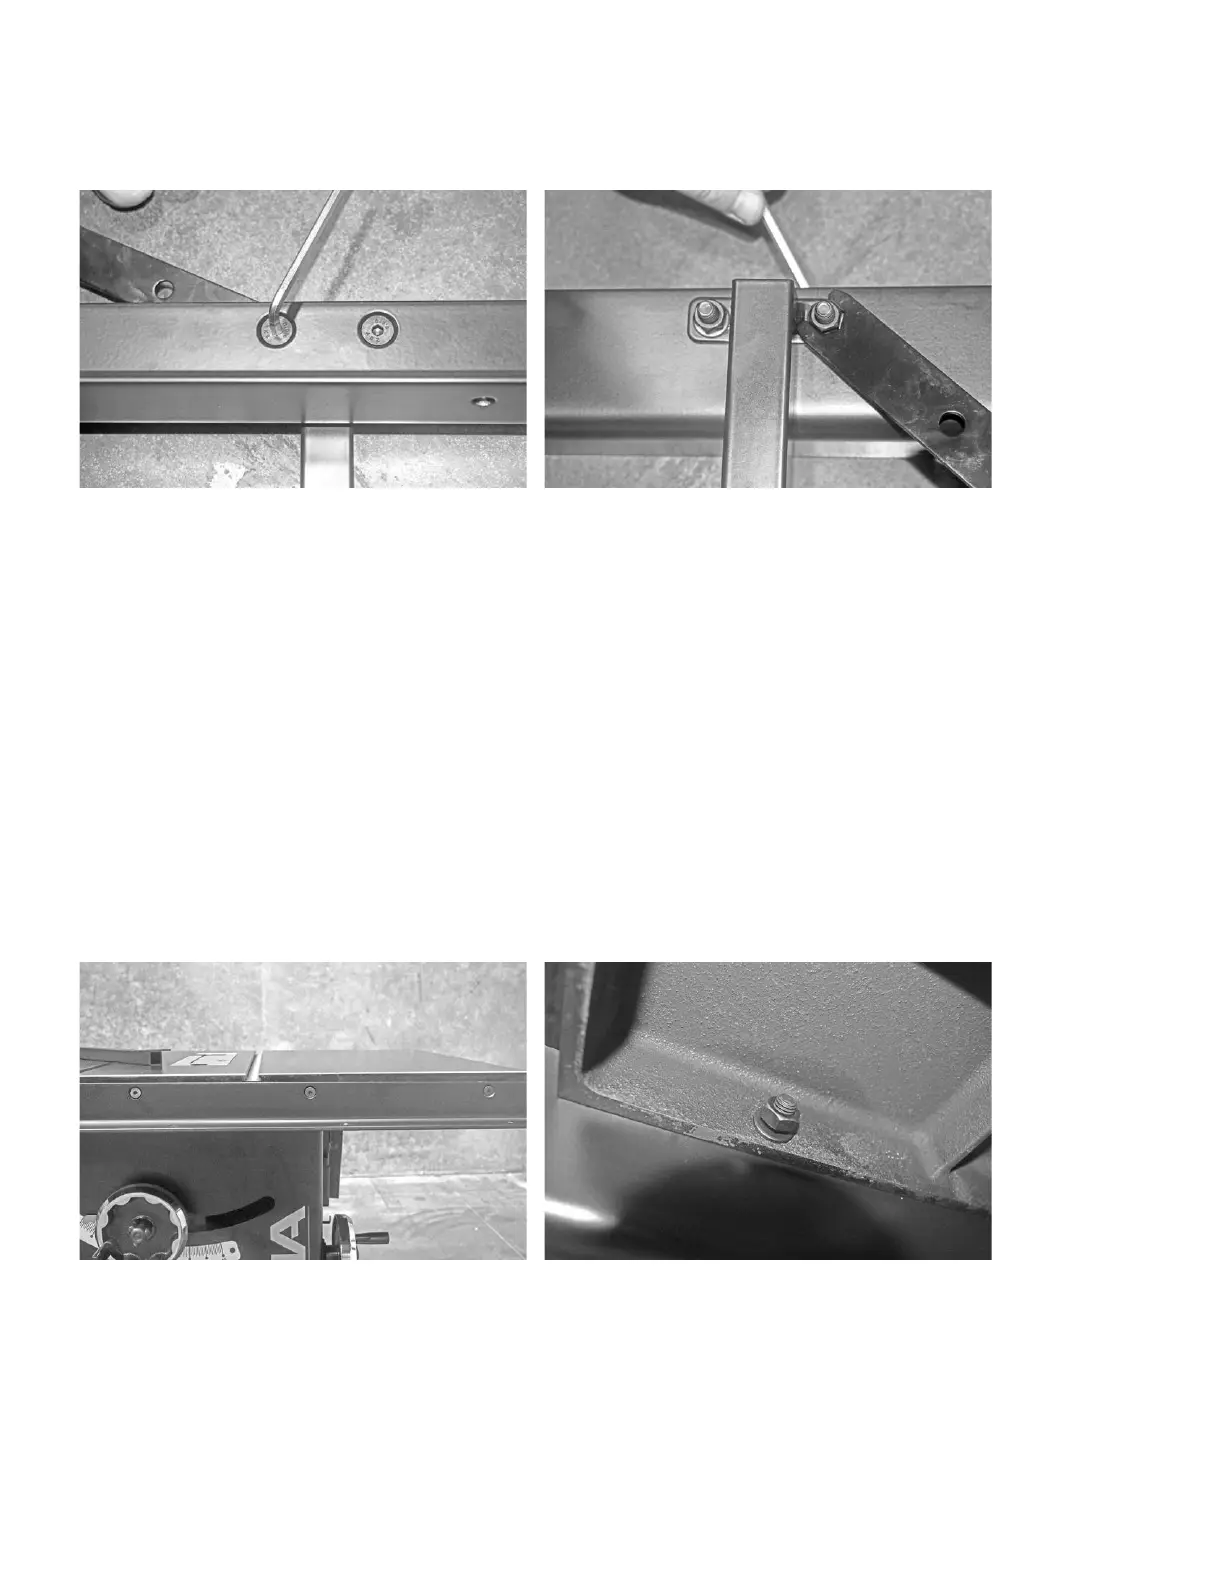
Align the
front bracket’s through holes with the through holes on the
front of the
table.
NOTICE!
The front rail bracket has three through-holes which should align with the last three through-holes on the front of
the table located on the far right as shown.
2.
Thread three counter-sunk screws through each of the front rail’s through-holes.
3.
Thread the flat washers and hex nuts onto the back of each counter-sunk bolt.
4.
Use a level to ensure that the front rail is level to the table. If needed, you may adjust the height of the extension leg to
level the bracket with the table.
5.
After the bracket has been leveled, tighten the counter-sunk bolts with the wrench provided to secure the bracket to the
table.
NOTICE!
After completing step four, there should be two through holes in the middle of the front rail bracket which have not
been used yet. These should be empty as they will be used to mount the right
extension table later.
Three Front Rail Counter-Sunk Bolts Flat Washer and Hex Nut (secured to the table)
 Loading...