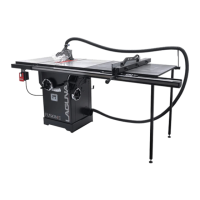
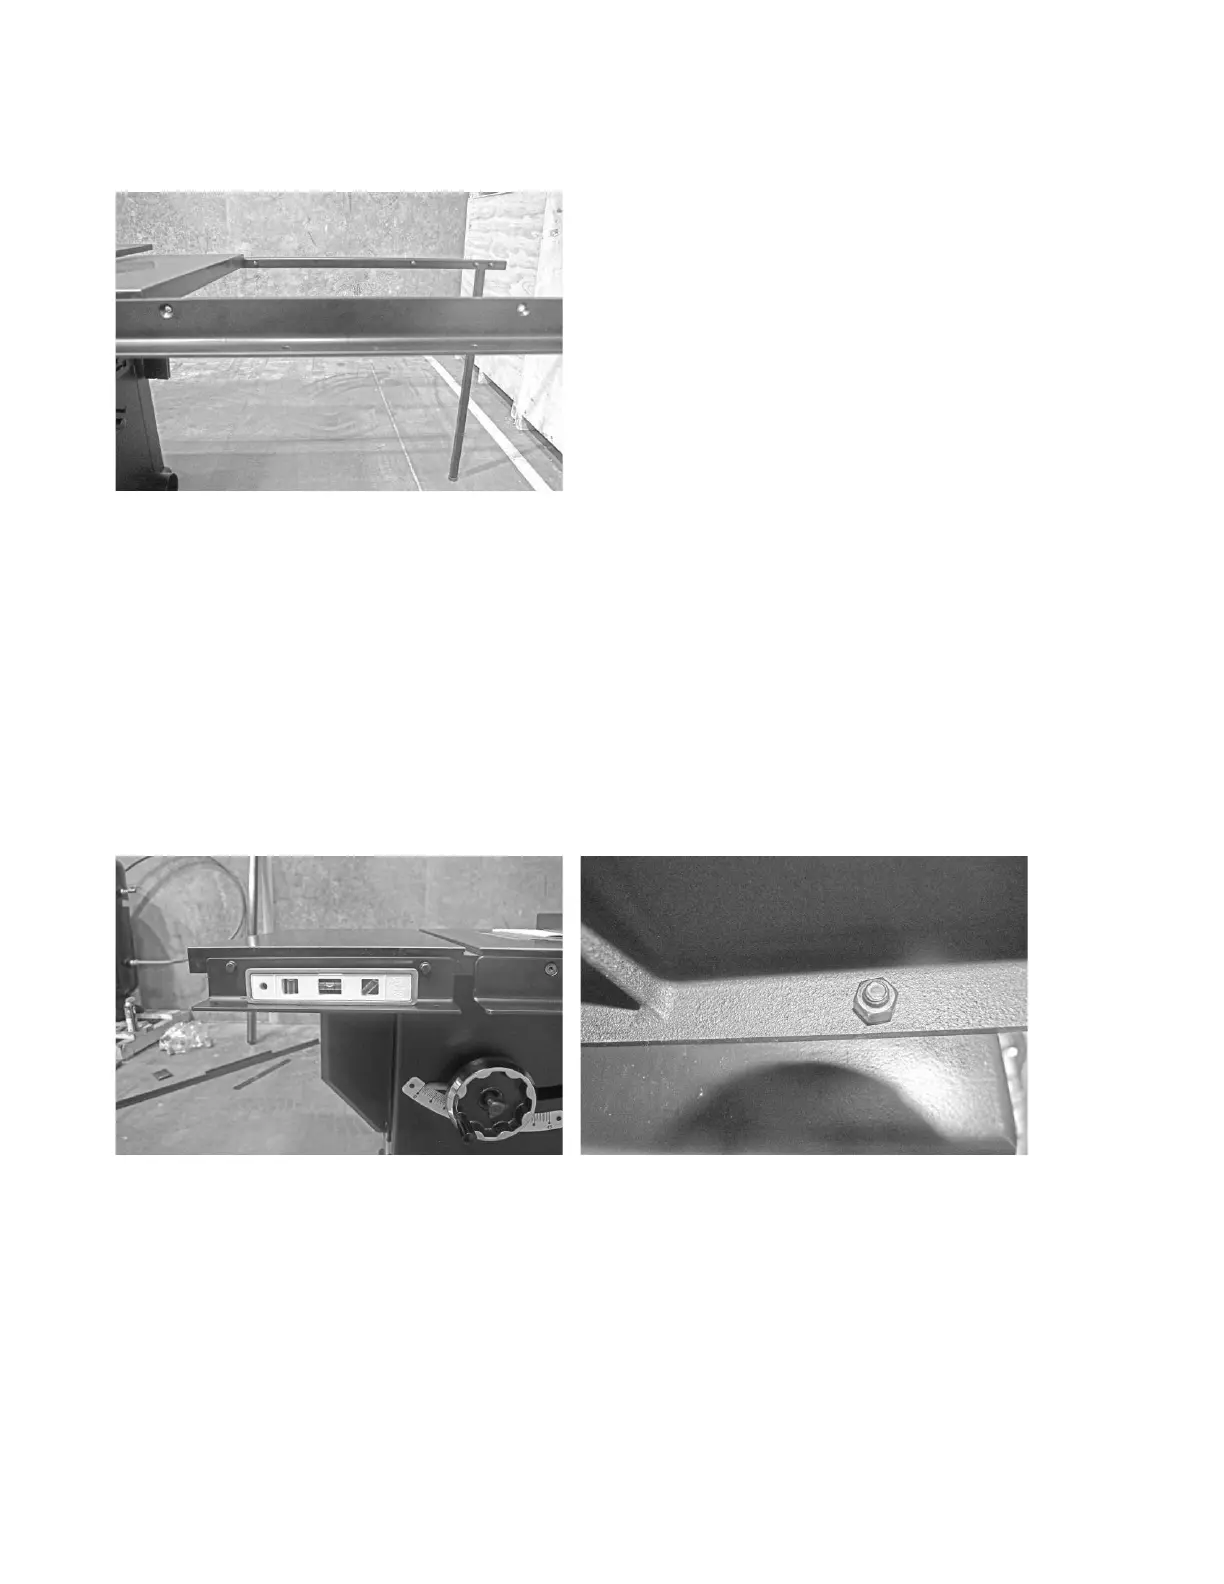
Fusion 3 Table Saw \ Setup \ Front Rail
Middle counter-sunk through holes (empty):
Attaching the Left Front Rail to
the Table:
1.
Align the left front rail’s bolt holes with the bolt holes on the front of the table saw.
NOTICE!
These bolt holes will be located to the far left on the front of the table.
2.
Place a lock washer onto the head side of the 30 mm hex bolts. Then thread two 30 mm hex bolts through each of the
left front rail’s bolt holes.
3.
Thread a flat washer and hex nut onto the back of the 30 mm hex bolt.
4.
Hand-tighten the bolts to secure the left front rail to the table. Then, use a level to ensure that the left front rail bracket is
leveled.
5.
After the left front rail bracket has been leveled, tighten the hex bolts using the wrench provided.
Left front rail and level
Flat Washer and Hex Nut (secured to the table)
 Loading...