Fusion 3 Table Saw \ Setup \ Rear Rail
Rear Rail
Assembly,
F3 Table
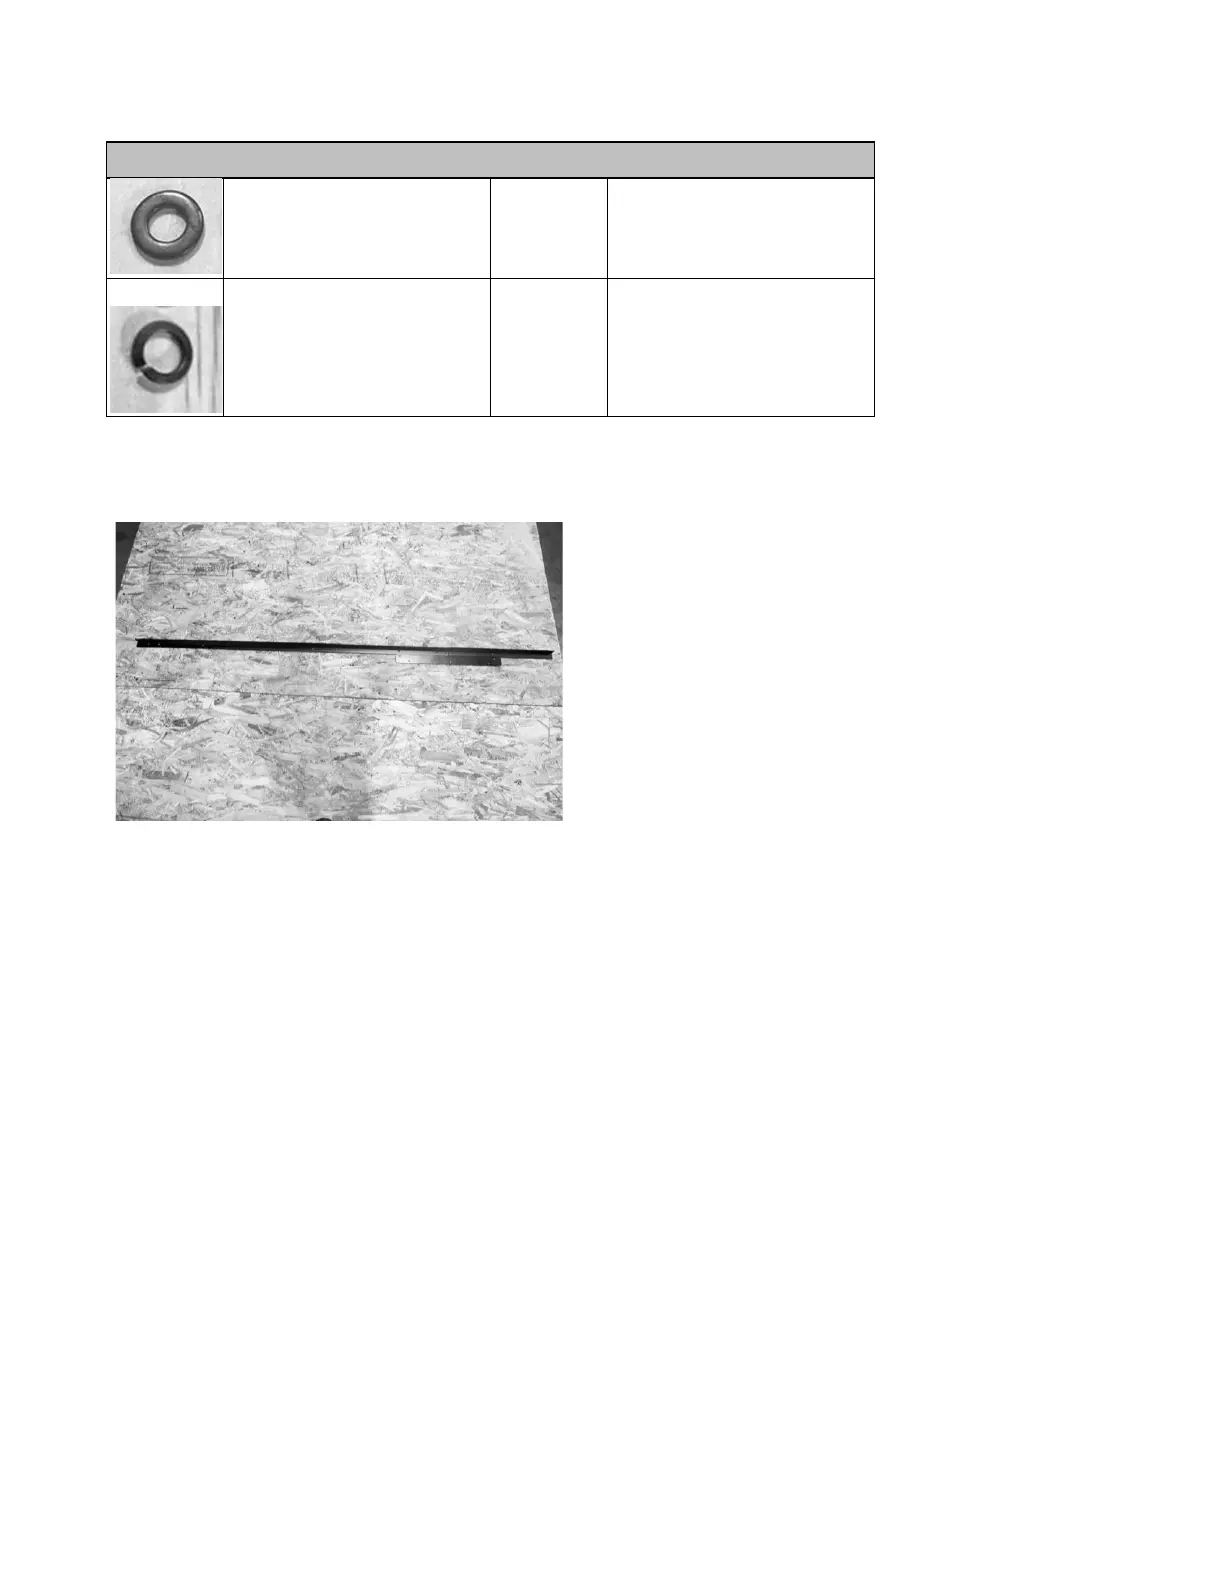
From left to right: Right Rear Rail Bracket, Left Rear
Rail Bracket, Rear Rail Bracket (centered).
Attaching the Rear Extension Leg and Dust Collector Hose Support Bracket to the
Right Rear Rail Bracket:
NOTICE! You will need to attach the dust collector hose support bracket to the right rear rail bracket, as they share an
assembly bolt.
1.
Align the right extension leg with the matching set of bolt holes at the end of the right rear rail bracket.
2.
Using one socket head cap screw, secure the right extension leg to the rear right rail bracket. This will ensure that the
leg does not move as the dust collector hose support is being attached to the rail and extension leg.
3.
Align the dust collector hose support’s bolt hole with the bolt hole farthest right on the right rear rail bracket. The dust
collector hose should then also be aligned with the extension leg’s furthest right bolt hole.
4.
Secure the dust collector hose support, right rear rail bracket, and right extension leg to the table.
NOTICE! Thread lock washers to the head of the screws. Secure flat washers and hex nuts to the back of the screw.


 To Next Page