Fusion 3 Table Saw \ Setup \ Rear Rail
Top View: Front View:
Rear
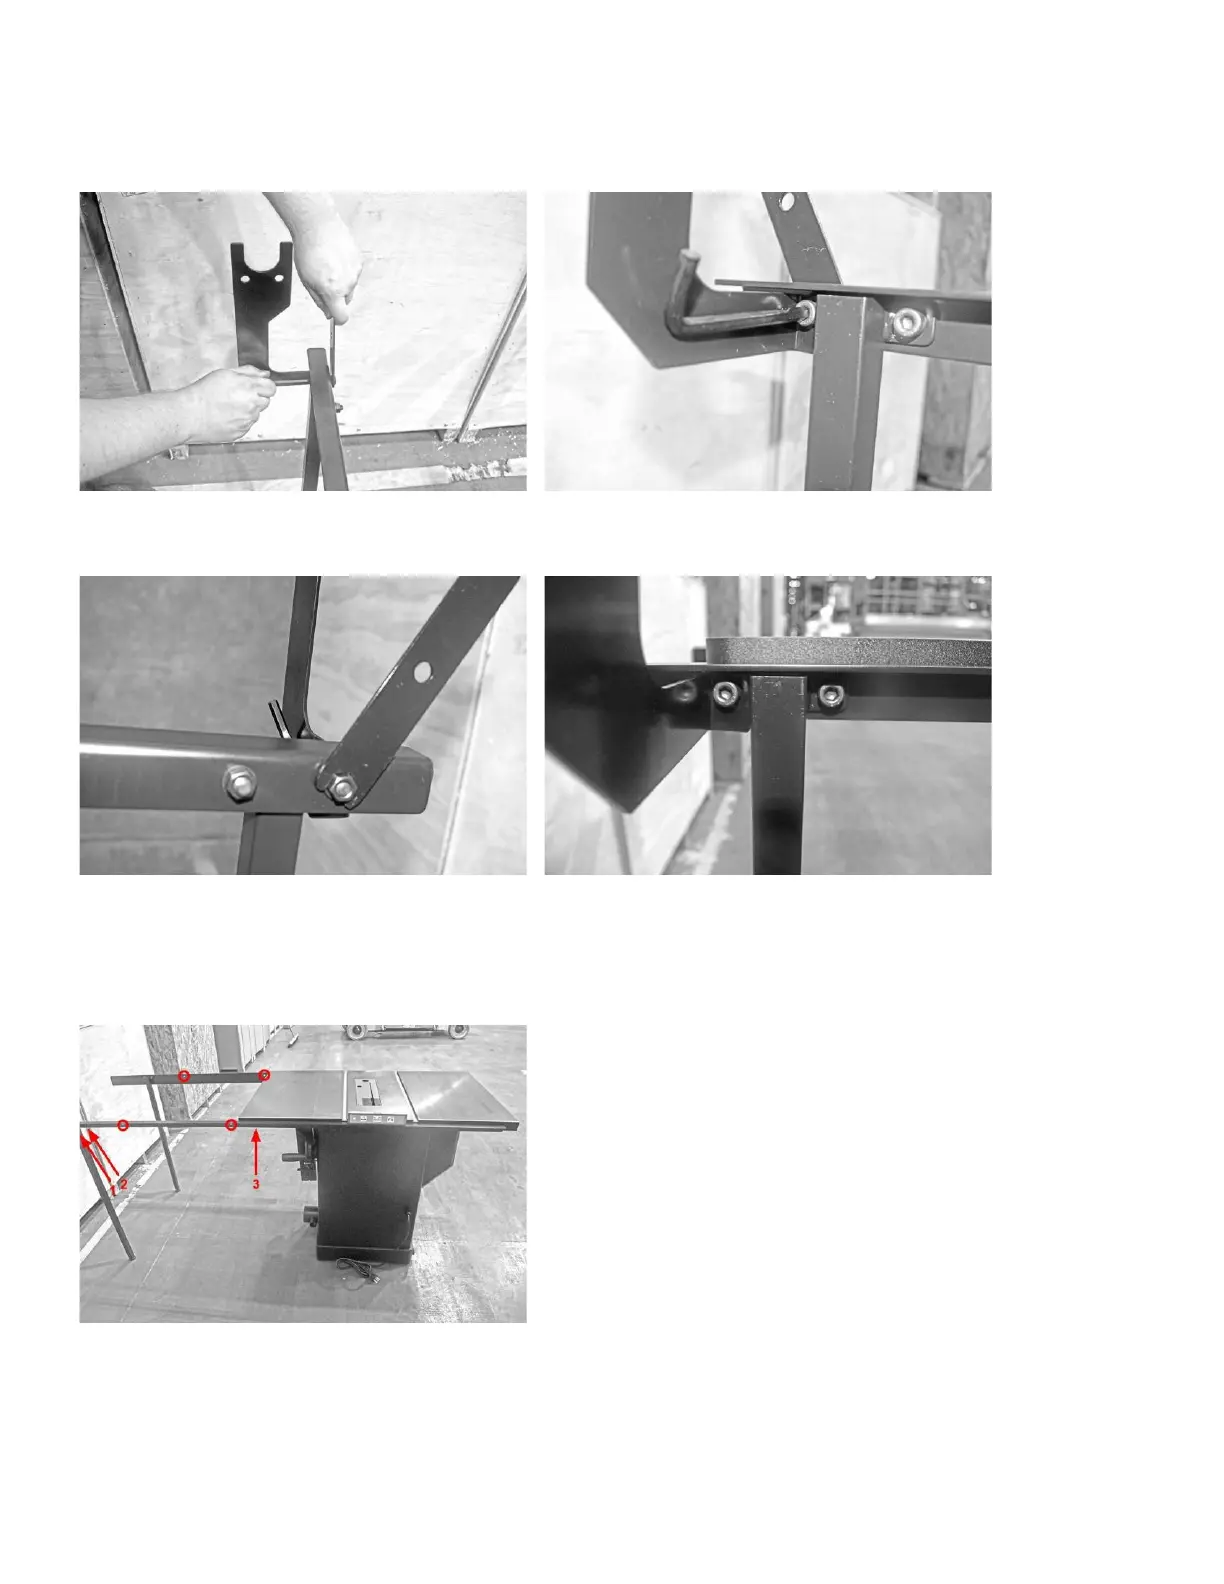
View: Hose support and Leg properly Installed:
Attaching
the
Right
Rear
Rail
Bracket
to
the
Table:
1.
Align the right rear rail bracket’s bolt holes with the bolt holes located on the back of the table as shown below:
2.
Thread 1 socket head cap screws and lock washer through the rear rail and table’s through holes. At this stage, only
three socket head cap screws should be used to secure the rail to the table (see above image).
3.
Thread flat washer and hex nut and snugly tighten, allowing play.