HVM200 Reference Manual Connecting the Accelerometer 2-9
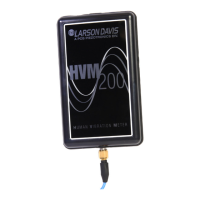
FIGURE 2-11 Sensor Settings
Step 7. On the Sensor List page, do the following:
a. Enter the model and serial number of your accelerometer.
b. Enter the sensitivity for the x, y, and z axes.
TAKE NOTE Sensor information, including model, serial number, and
sensitivity specifications are usually listed on the calibration certificate that
comes with an accelerometer.
c. Click Add.
Step 8. Select the accelerometer when it appears in the list and click Select. The
sensitivity values automatically appear on the Sensor tab.
Step 9. Click Save. For future measurements, access the Sensor List page to
quickly select your configured sensors.
2.7.1 Transducer Electronic Data Sheet (TEDS)
If you are using an accelerometer with Transducer Electronic Data
Sheet (TEDS) capabilities, the x, y, and z values for sensitivity will
automatically display. Additionally, TEDS sensitivity overrides any
sensitivity values you enter manually.
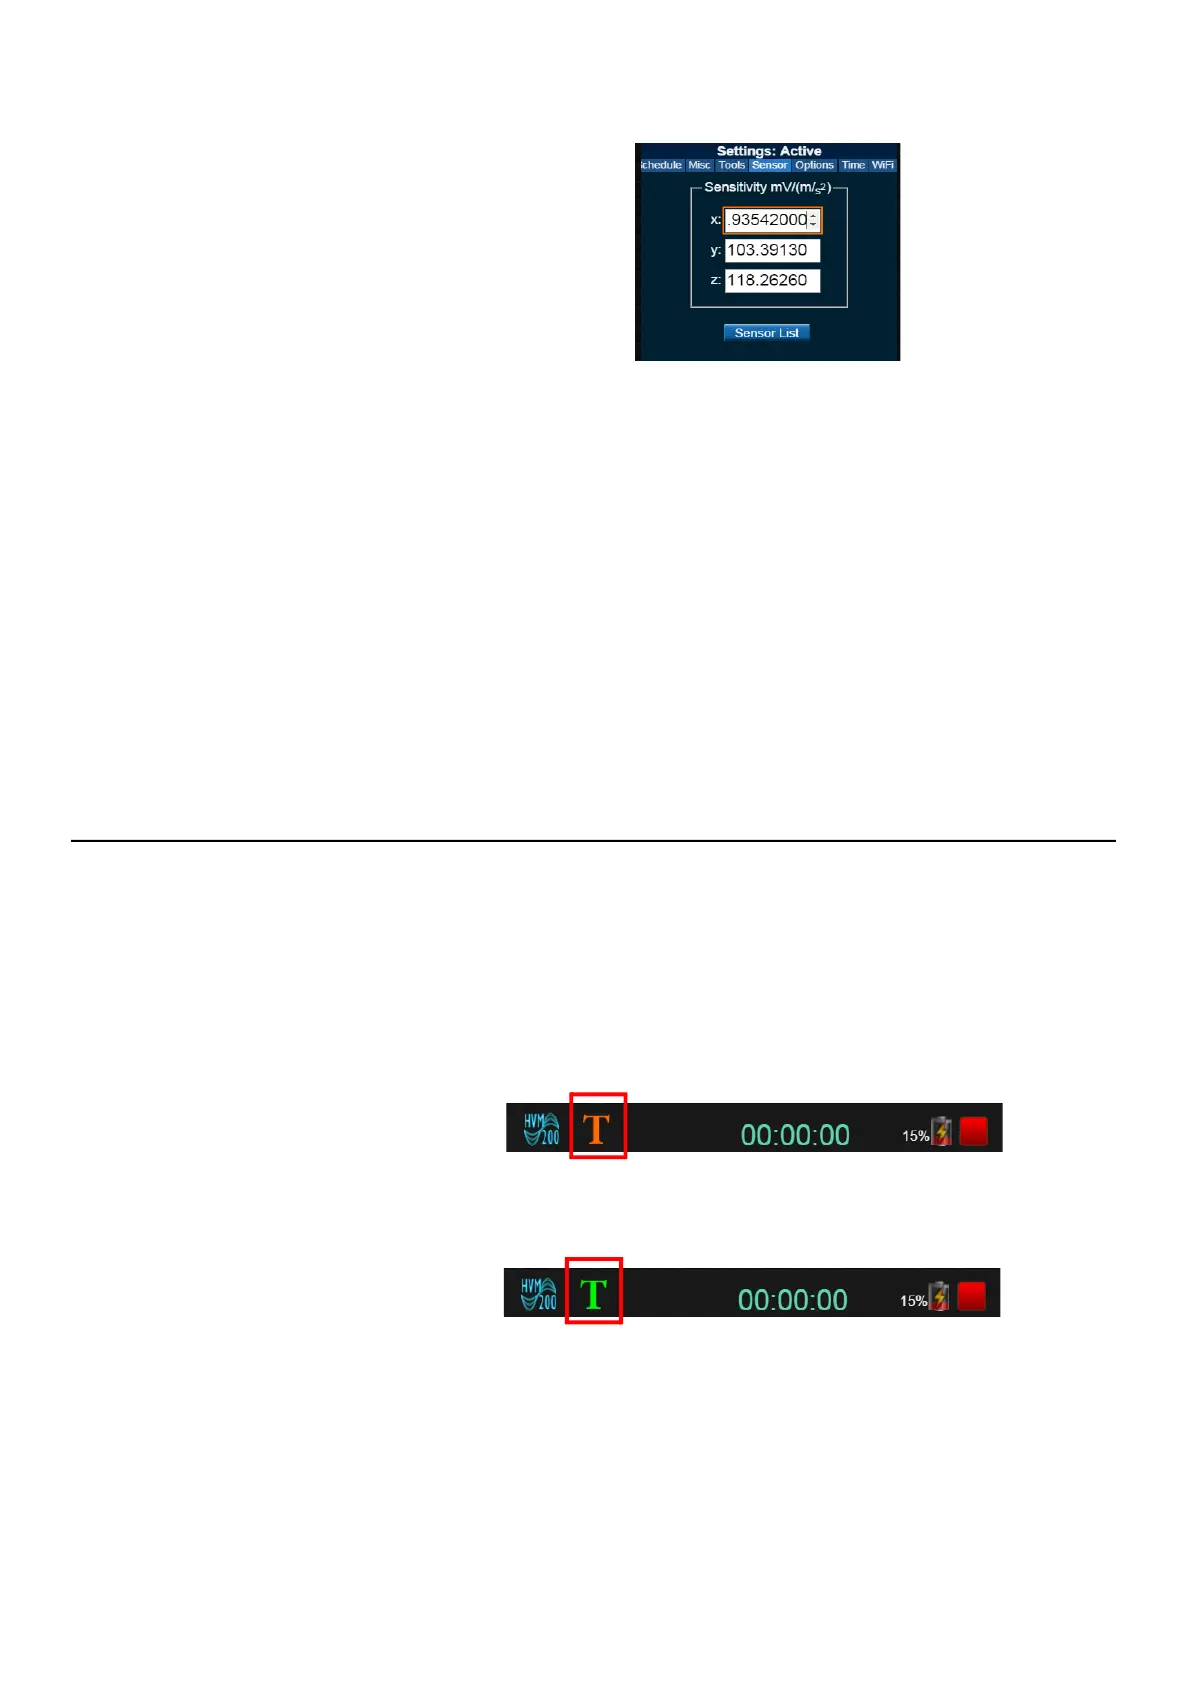
If TEDS is successfully found in the accelerometer, the T icon appears in
the top display as shown below.
FIGURE 2-1 TEDS
Orange TEDS icon indicates that not all
sensitivity values are discovered.
Green TEDS icon indicates all sensitivity values
are discovered and functioning.
 Loading...