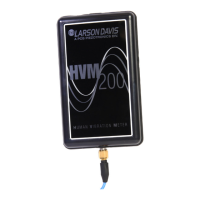
HVM200 Reference Manual Charging the HVM200 2-1
Section 2 Getting Started
2.1 Charging the HVM200 .................................................................................2-1
2.2 Power Button Operation ............................................................................2-2
2.3 Installing the HVM200 Control App ............................................................2-3
2.4 Installing the G4 LD Utility ..........................................................................2-3
2.5 Connecting the HVM200 to a Mobile Device ..............................................2-4
2.5.1 Mobile Device Connection Options ......................................................................2-4
2.5.2 Connecting to a Mobile Device via Access Point .................................................2-4
2.5.3 Connecting HVM200 to WiFi Network ..................................................................2-5
2.6 Connecting HVM200 to G4 LD Utility ..........................................................2-6
2.6.1 G4 LD Utility Connection Options ........................................................................2-6
2.6.2 Connecting the HVM200 meter to G4 LD Utility via USB .....................................2-7
2.6.3 Connecting the HVM200 meter to G4 LD Utility via IP Address ...........................2-7
2.7 Connecting the Accelerometer ..................................................................2-8
2.7.1 Transducer Electronic Data Sheet (TEDS) ...........................................................2-9
This module provides instructions for setting up and configuring HVM200 meters
for use with the HVM200 Control app and G4 LD Utility.
2.1 Charging the HVM200
To get an accurate reading, the HVM200 must be fully charged. When this is the
case, the Power LED displays a solid green color. Time to fully charge is 3 to 6
hours. We recommend that you charge your meter as described here before each
measurement.
Step 1. Slide and remove the back battery cover from the HVM200 meter.
FIGURE 2-1 Remove Battery Cover
Step 2. To insert the supplied battery into the HVM200, do the following:
a. Slide the battery contacts against the meter power contacts.
b. Lower the other end of the battery into the tray.

 Loading...