HVM200 Reference Manual Upgrading Firmware or Options 4-3
Step 1. Launch the HVM200 Control app or the G4 LD Utility Live View.
Step 2. Click the menu icon , and select Setup WiFi from the menu that
appears. This opens the Network screen.
Step 3. Click the power icon in the top left.
Step 4. The app displays a WiFi Alert. Select Confirm to continue. WiFi is now
disabled.
4.2.2 Turning WiFi On
To enable the WiFi signal on the HVM200, complete the following steps.
Before you begin:
• Launch G4 on your PC.
• Connect the HVM200 via USB cable to your PC. For help with this,
see, 2.6.2 Connecting the HVM200 meter to G4 LD Utility via USB.
The USB connection is required for this process.
Step 1. In G4, go to the Setup WiFi screen.
Step 2. Click the red power icon in the top left.
Step 3. G4 displays a WiFi Alert. Click Confirm to continue.
Step 4. Select the Reboot button, then click Confirm in the pop-up window to
continue.
TAKE NOTE You can also press and hold the power button on the meter.
Step 5. G4 displays a second alert. Wait 30 seconds.
Step 6. Reconnect your meter to G4 or the Control app.
4.3 Upgrading Firmware or Options
Before you begin:
• Launch G4 on your PC.
• Power on and connect the HVM200 via USB cable to your PC. For
help with this, see, 2.6.2 Connecting the HVM200 meter to G4 LD
Utility via USB. The USB connection is required for this process.
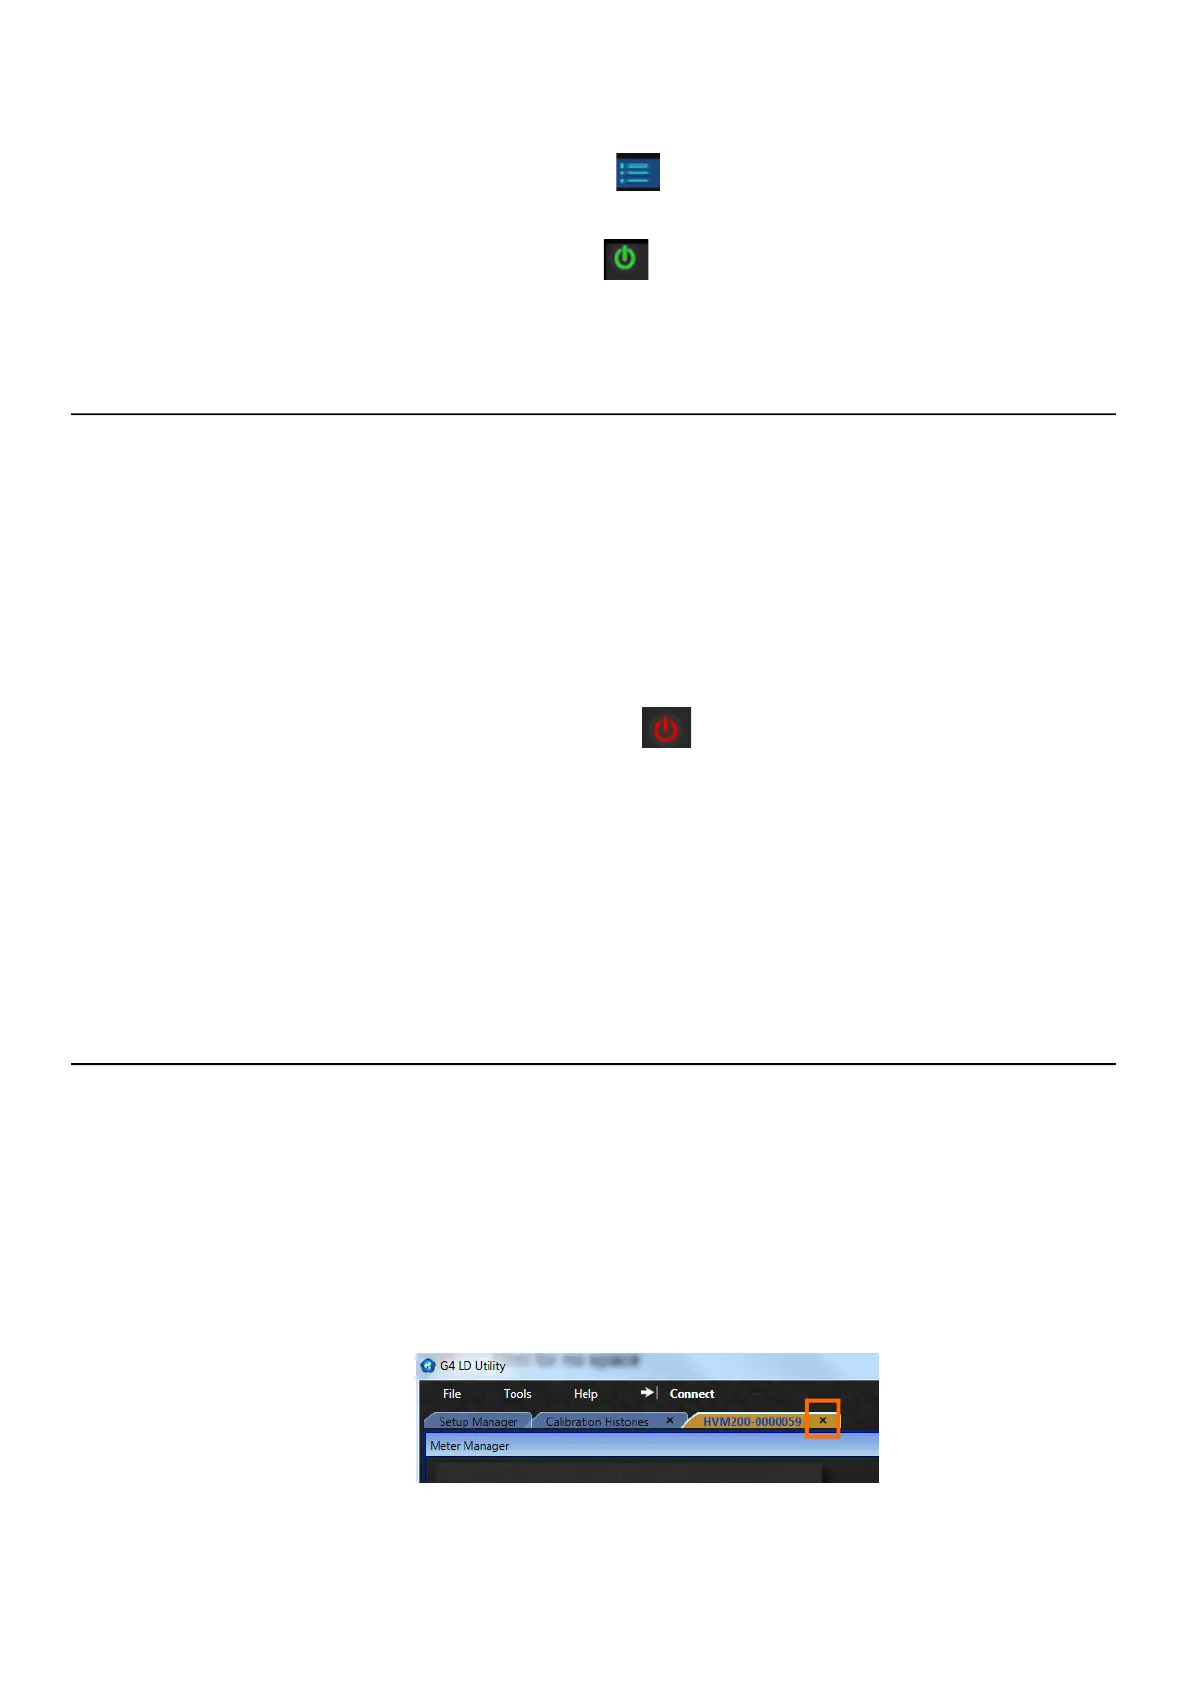
• Close any open HVM tabs by clicking the × on the tab.
FIGURE 4-1 Disconnect Meter
 Loading...