2 User Manual - LCR Elite2 - ver 1.3
The navigation button can be used for shortcut operation as well. Therefore, user can switch settings quickly in
the measurement display and doesn’t need to go back and forth between the menu display and measurement
display. Detailed information is provided in Chapter 3: Making Measurements.
Turn On the Meter
To power on the meter, press the navigation button once. The meter powers up with the most recently selected
measurement function.
Power Off
There are two ways to power off the meter:
1. Automatic power off. The meter powers off automatically if neither a measurement is performed nor any
button is clicked for around 1 minute.
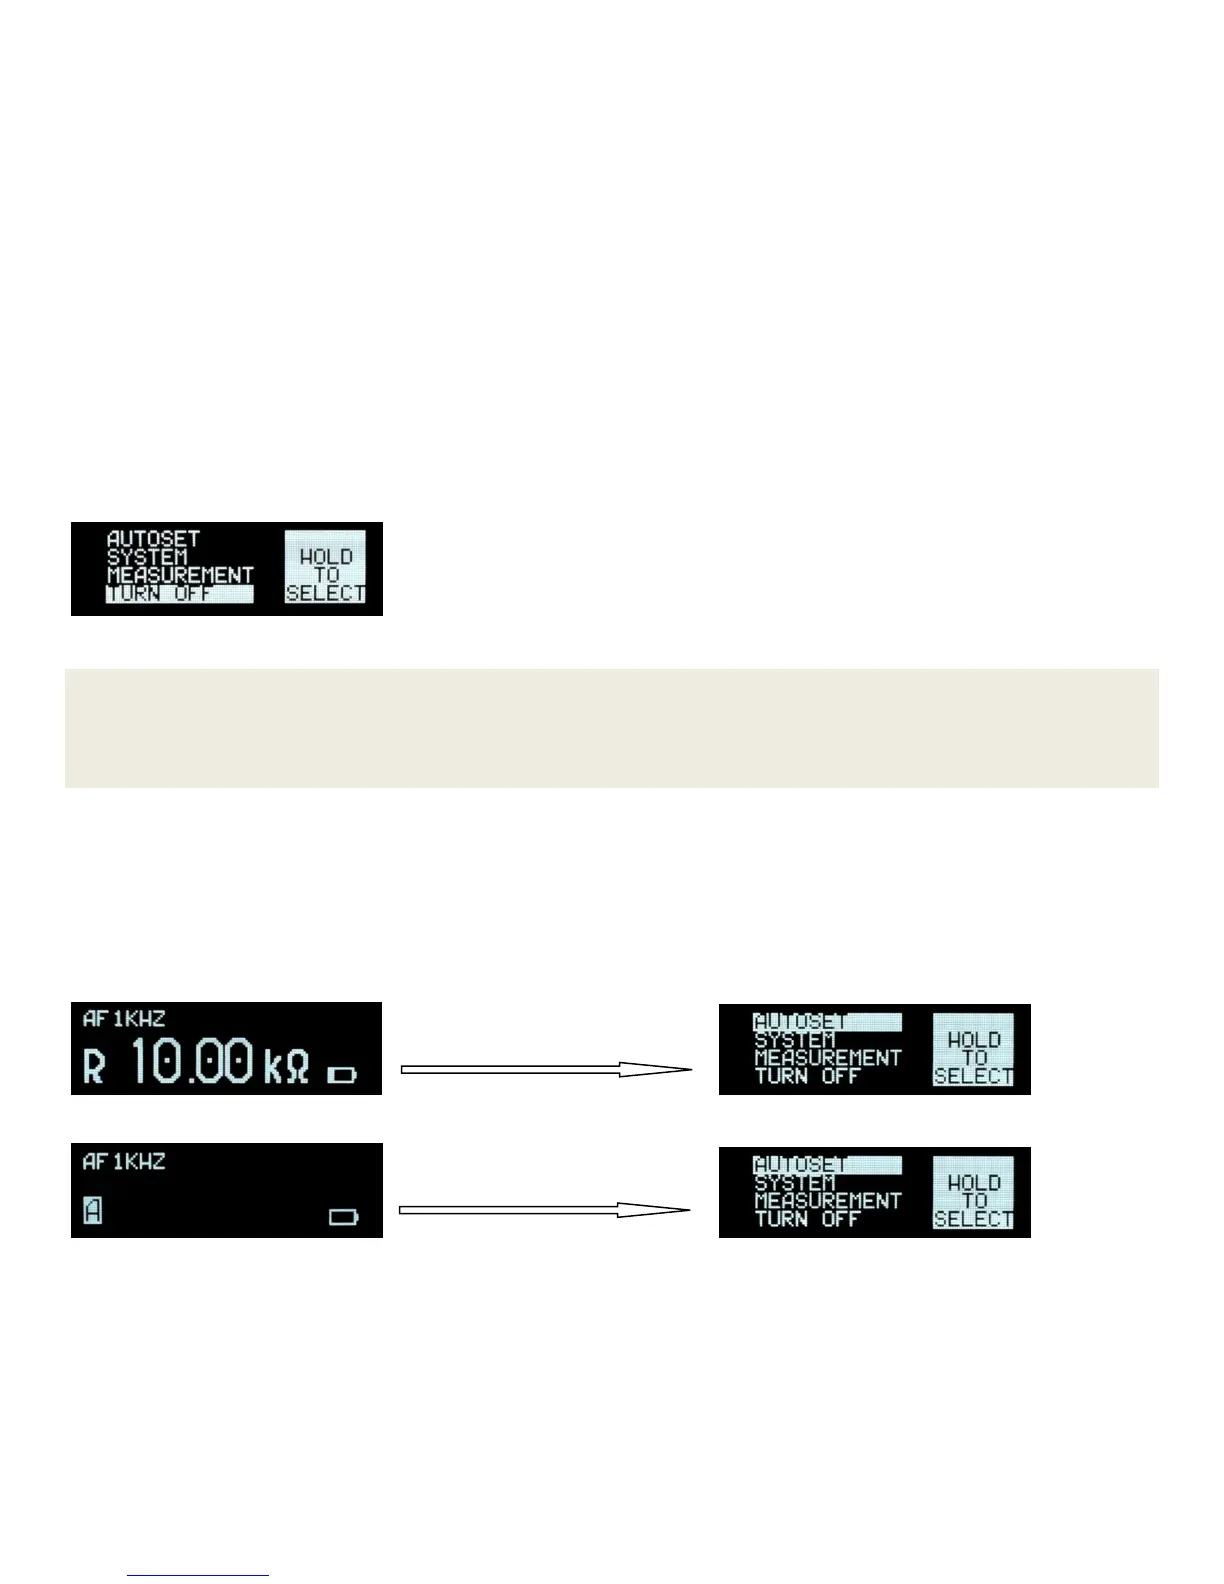
2. Manual power off by selecting the turn off option from main menu as Figure 1-3 shows.
Figure 1-3: Turning off Display
NOTE
If test frequency is manually set to 10kHz, automatic power off may take longer to occur or not occur at all. This
is due to the meter being more sensitive at 10kHz. It may see parasitic values and keep measuring even when
the tips are open.
Switching to Menu Screen from Measurement Screen
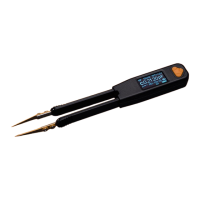
When the meter is in measurement mode, user can switch it to menu screen by holding the navigation button for half a
second or so until the main menu screen shows up. Figure 1-4 shows the meter goes to main menu screen from active
mode (measuring components). Figure 1-5 shows the meter goes to main menu screen from idle mode (not measuring
any component in measurement mode).
Figure 1-4: Switching from Measurement Display (in Active Mode) to Main Menu Display
Figure 1-5: Switching from Measurement Display (in Idle Mode) to Main Menu Display
Charging the Battery
The meter is powered by an internal, lithium-ion polymer rechargeable battery. It can be charged by connecting
to a computer USB port using a standard micro-B USB cable or, by using a USB power adapter. The USB power
adapter should have output voltage 5V +/- 5% with output current 100mA or greater. The USB power adapter is
available separately.