Installing the components
Chapter 2 - page 4
2
D-H002.0607EN
2.1.4 Installing the charger unit on a wall
NOTE
• For the correct placement within the cowshed, see details as described in figure 2 2.
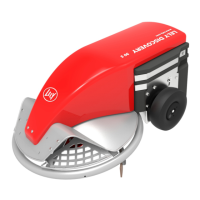
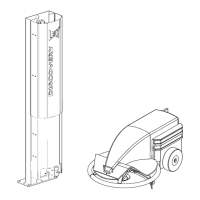
1) Fit the electrodes (5, figure 2 1) to the lower support (4) with M8 bolts (4x).
2) Place the support (4), with the electrodes, against the wall. Adjust the height of the support (4) so that the
centre line of the lower electrode (measured from the floor) is at 33 cm (figure 2 3).
3) Mark the centres of the groove holes (4x) in the support (4, figure 2 1).
4) Fit the support (4, figure 2 1) to the wall using suitable bolts (not supplied). Make sure that the groove holes
are in line, rather than the sides of the plate (because there is a 10 mm difference). Ensure that the whole unit
is level and standing straight. Check the height of the upper electrode (measure from the cowshed floor). This
must be at 40 cm.
NOTE
• The electrodes can be bent a little with respect to each other, meaning that the distance of 40cm may no
longer be exact. If this is the case, you should alter the distance for the upper electrode manually.
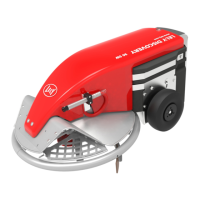
5) Tighten the bolts for the lower support (4).
6) Fit the battery charger (7) on the upper cover.
7) Fit the upper support (3). To make sure that there is a proper overlap between the covers, the separation
between the two supports must be 50 cm.
8) Put the electrical wiring in place (red + and black -).
• Read through the safety instructions carefully before fitting and connecting the battery charger.
For more information see chapter 2.1.5 'Installing the battery charger'.
9) Fit the lower cover (9) and then the upper cover (6).