12
lencomarine.com
Auto Calibration
Pro Control Auto Calibration
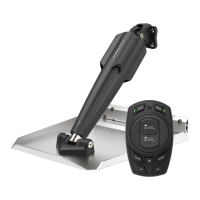
Entering Calibration Menu
1. To enter or exit the Pro Control Auto Calbration
Menu press Auto, Hold and DIM ( ).
2. The AUTO and HOLD LEDs will both display
constantly lit when all three buttons are pressed
correctly.
3. The AUTO and HOLD LEDs will begin to flash
in sync when the three buttons are depressed
simultaneously for four seconds.
Calibration Settings
Pro Control Auto Calibration Menu Defined
While every eort has been made to make this product work “out
of the box” some users may wish to adjust certain parameters
most suitable for their vessel.
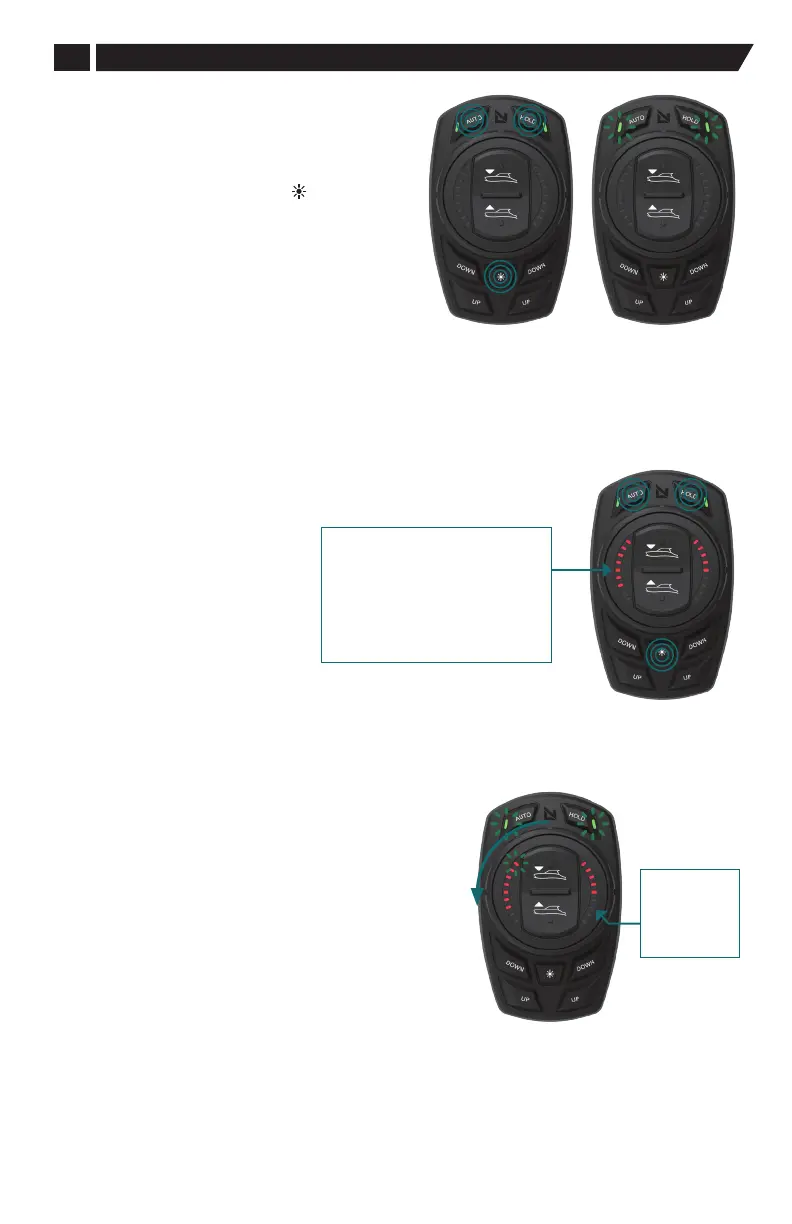
The following parameters may be
adjusted when the keypad is in
the Calibration menu: both AUTO
and HOLD button LEDs slow blink
in unison when the keypad is in
the Calibration mode.
Calibration: 1. Actuator Rate of Travel
This function sets the rate at which the actuators extend.
Actuator rate of extension and retraction speed is set
by the pitch UP/DOWN button on the dial: 1 is slowest;
5 is fastest.
Adjust the value, displayed by the right-hand LEDs, using
the pitch UP/DOWN button on the dial. A guide to which
speed the LEDs correspond to can be found in the figure
on the right. The selected value will auto save when
exiting the menu.
LED's
1 = Actuator Extension Speed
2 = Holeshot Activation Speed
3 = Holeshot Intensity
4 = On-Plane Transition Speed
5 = On-Plane Delta Pitch
6 = Controller Aggression Level
7 = Throttle On-Demand Pitch
Rate of Travel
LED's
1 = lowest
speed to
5 = fastest
speed (max)
In
Calibration
Mode
Entering
Calibration
Mode