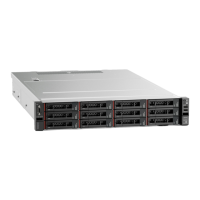
Step 4. Apply the drive bay label based on the type of the installed backplane. The drive bay label comes
with each type of the supported drive backplane:
• 0–7
Apply this label to the chassis if an 8-bay backplane is installed.
• 0–11
Apply this label to the chassis if a 12-bay backplane is installed.
The following illustration shows the location for applying the drive bay label to the server models
with a 12-bay backplane installed. The location is the same for applying the drive bay label to
server models with an 8-bay backplane installed. Ensure that the drive bay label is stuck in the
correct location. The label helps you to locate the correct drive during problem determination.
Figure 37. Drive bay label for server models with a 12-bay backplane installed
After installing the 3.5-inch-drive backplane, connect the cables to the system board. For information about
the cable routing, see “Internal cable routing” on page 28.
Install a system fan
Use this information to install a system fan.
“Read the
installation
Guidelines” on
page 46
“Power off
the server
for this task”
on page 90
“ATTENTION:
Static Sensitive Device
Ground package before opening”
on page 48
S033
CAUTION:
Hazardous energy present. Voltages with hazardous energy might cause heating when shorted with
metal, which might result in spattered metal, burns, or both.
S009
CAUTION:
To avoid personal injury, disconnect the fan cables before removing the fan from the device.
66
ThinkSystem SR550 Setup Guide

 Loading...


