• Youku: http://list.youku.com/albumlist/show/id_52339612.html
Procedure
Step 1. Prepare your server.
1. Install the required performance system fans. See “Install a system fan” on page 223.
2. Install the required riser brackets. See “Install a riser 1/2 assembly” on page 204.
3. Install the backplane to the drive cage. See “Install the middle or rear 3.5-inch-drive
backplane” on page 172.
4. Remove rearwall brackets irrelevant for installing the 2 x 3.5-inch rear drive cage. See the
rearwall bracket combinations matrix in the “Rearwall bracket replacement” section in
Maintenance Manual.
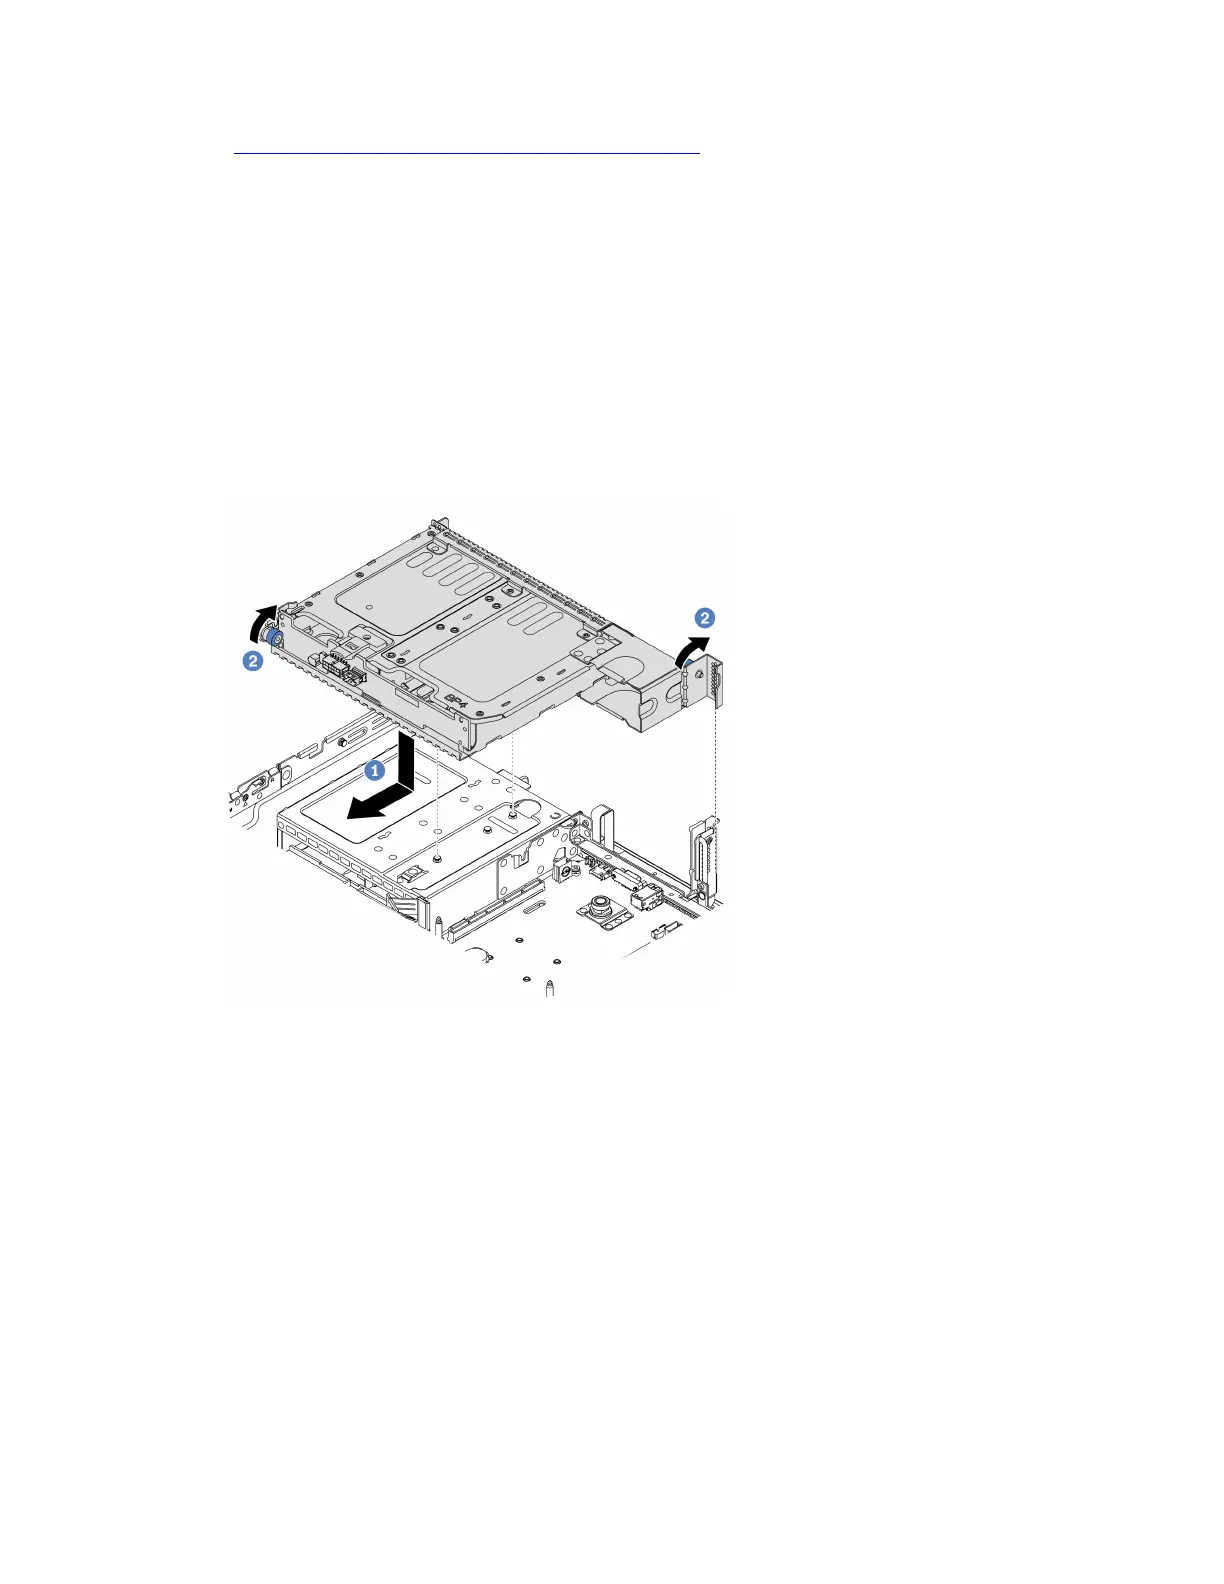
Step 2. Install the 2 x 3.5-inch rear drive cage.
Figure 78. Installing the 2 x 3.5-inch rear drive cage
1. Align the rear drive cage with the chassis, and lower the drive cage into the chassis. Move the
rear drive cage forward until it clicks into position.
2. Twist and release the blue plunger to secure the drive cage
Step 3. Check and ensure that the blue plungers are latched into place to secure the rear drive cage.
After you finish
1. Install the drives or drive fillers into the rear drive cage. See “Install a hot-swap drive” on page 197.
2. Connect cables to the rear drive backplane. See Chapter 3 “Internal cable routing” on page 61.
Install the 4 x 3.5-inch rear drive cage
Use this information to install the 4 x 3.5-inch rear drive cage.
About this task
Chapter 4. Server hardware setup 189

 Loading...


