HDMI-OPT-TX and RX family
User’s Manual
Section 4. Installation and operation Page 25 / 60
4.3. Powering devices
4.3.1. Powering HDMI-OPT extender units
Warning! When building an electronic system, make sure that all of the devices are powered down
before connecting them. Powered on devices may have dangerous voltage levels that
can damage sensitive electronic circuits.
4.3.2. Boot up of HDMI-OPT extender units
After the system is complete, connect the output of the +5V Power Adaptor to the
HDMI-OPT unit.
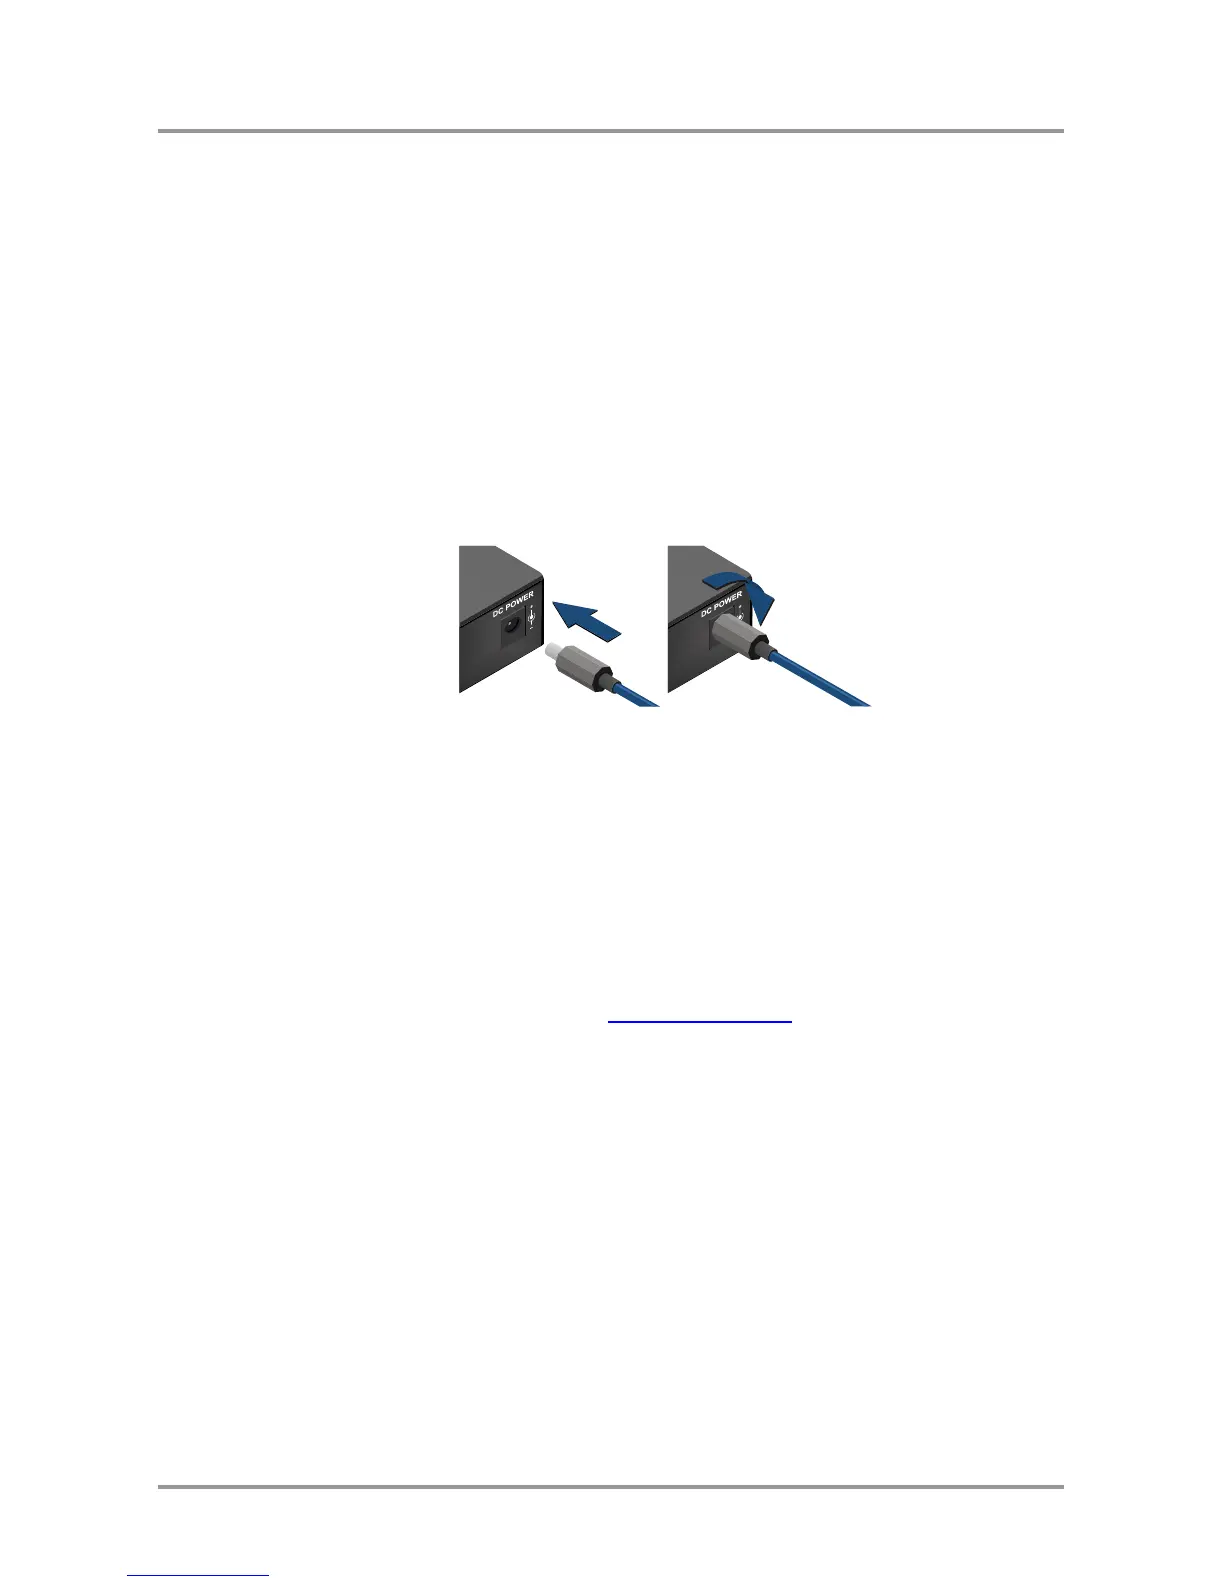
The special locking DC plug provides safe connection. Plug the connector into the +5V
1A DC IN receptacle and twist 90° clockwise to lock it. Plug the adaptor into the electric
outlet. The unit is immediately powered ON.
Figure 4-1. Locking DC plug
After being powered on, the HDMI-OPT unit flashes two times all the LEDs one by one.
After the LED flashing, HDMI-OPT unit checks the video output(s): reads EDID if there is
a Hot Plug signal and authenticates devices in case of HDCP encryption. This procedure
takes approximately two seconds.
HDMI-OPT unit does not store the LED function setting so after booting it starts with the
PRIMARY (SOLID) mode.
After the HDMI-OPT unit is initialized, the attached HDMI source and monitor(s) can be
powered on.
Info If none of the LEDs light up upon power-up, the unit is most likely damaged and further
use is not advised. Please contact support@lightware.eu