24
Using the Main Menu
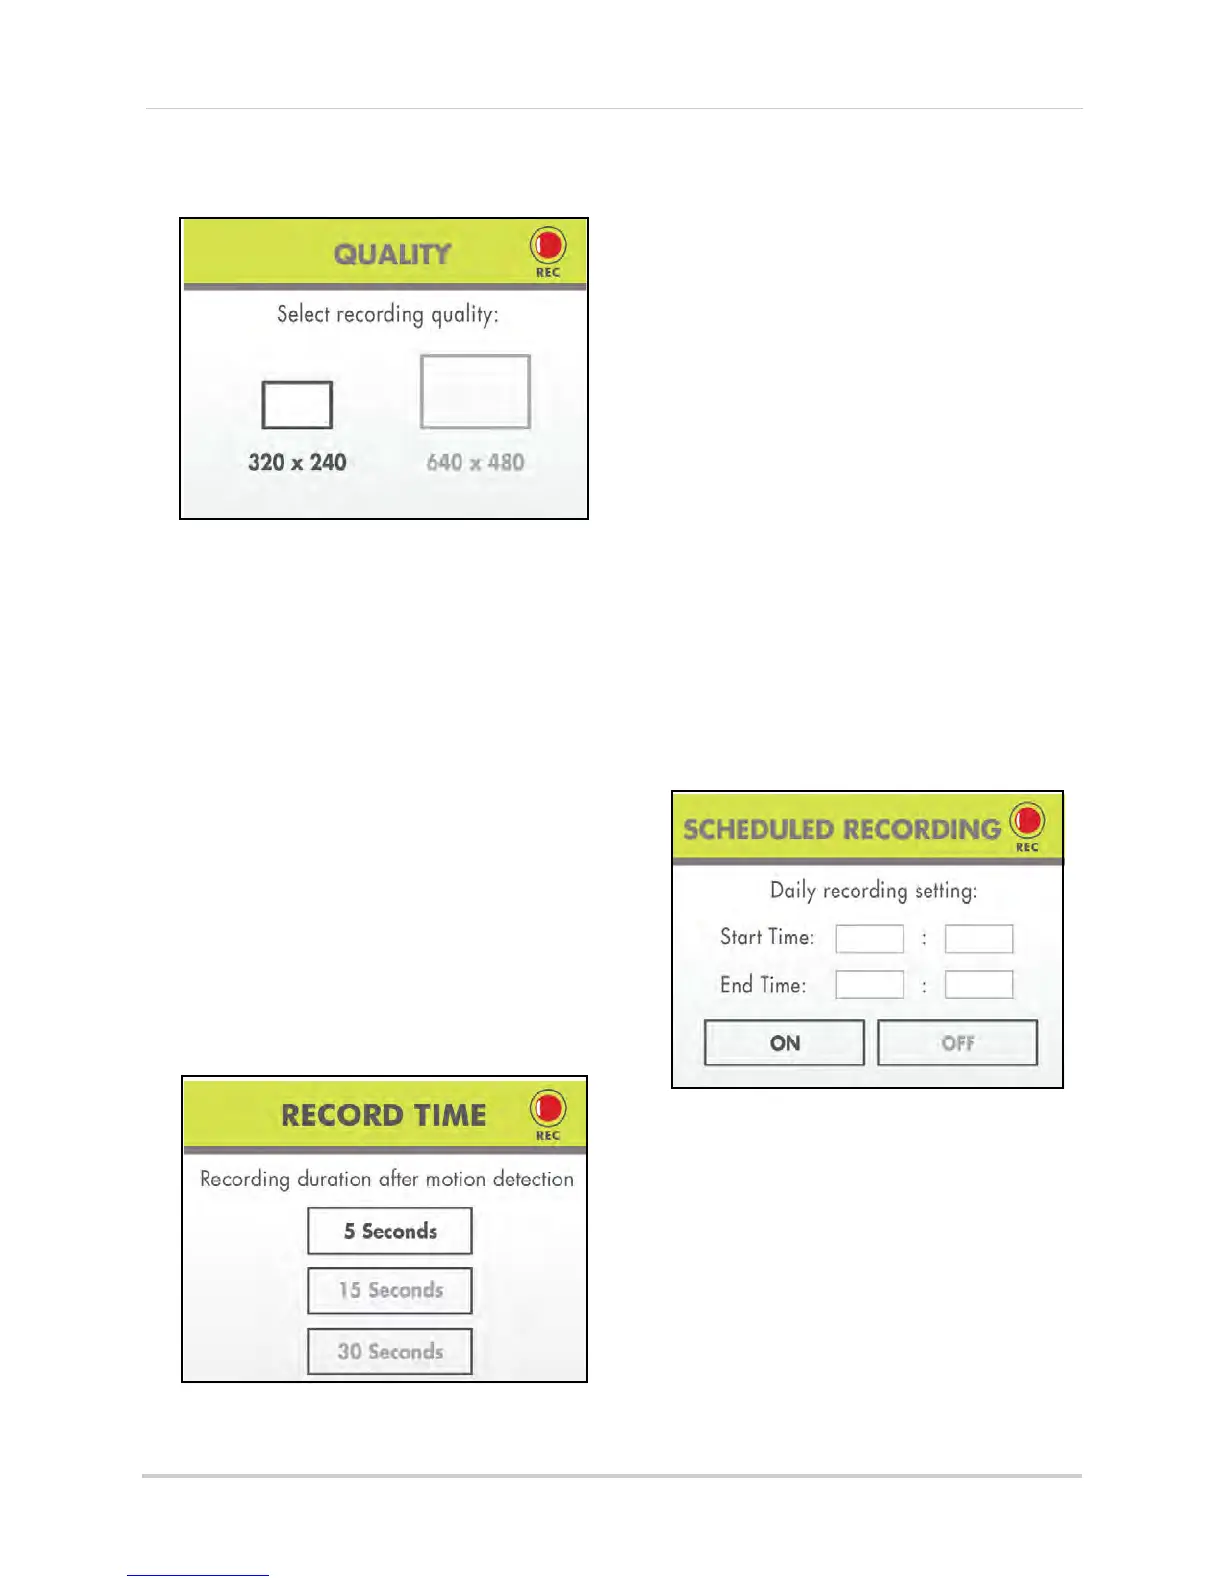
Quality
To change the image quality:
1 From the Main Menu, select Record and
pr
ess the Enter button on the remote.
2 From the record menu, select Quality and
pr
ess the Enter button on the remote.
3 Press LEFT/RIGHT to select 320x480
(QV
GA) or 640x480 (VGA).
4 Press the En
ter button on the remote to
save your settings.
5 Press the MENU
button on the remote
until all menu windows are closed.
Record Time
Use the Record Time menu to set the
length of the time for the system to
record after motion is detected by a
camera.
To change the motion recording time:
1 From the Main Menu select Record and
pr
ess the Enter button on the remote.
2 From the Record menu select Trigger
Record and pr
ess the Enter button on the
remote.
3 Sel
ect 5 se
conds, 15 Seconds, or 30
Seconds and press the Enter button.
4 Press the MENU
button until all menu
windows are closed.
Schedule Record
Use the Schedule Record menu to set
start and stop times for Schedule
Recording. During this time block, the
system will record continuously from
one specific camera, or from any
cameras in Auto Sequence Viewing
Mode.
NOTE: The time uses
the 24-hour clock.
To set a recording schedule:
1 From the Main Menu, select Record and
pr
ess the Enter button.
2 From the Record menu, select Schedule
Rec
ord and press the Enter button.
3 Press RIGHT/LEFT to move the cursor
(y
ellow); press UP/DOWN to change the
hour and the minutes.
 Loading...