26
Using the Main Menu
2 Press MENU on the wireless receiver or
remote control.
3 From the Main Menu, select Pairing and
pr
ess the Enter button on the remote.
4 Select Camera 2, Camera 3, or Camera 4
and pr
ess the Enter button on the remote.
NOTE: By defa
ult, the camera included
with your system is paired as
Camera 1 (channel 1).
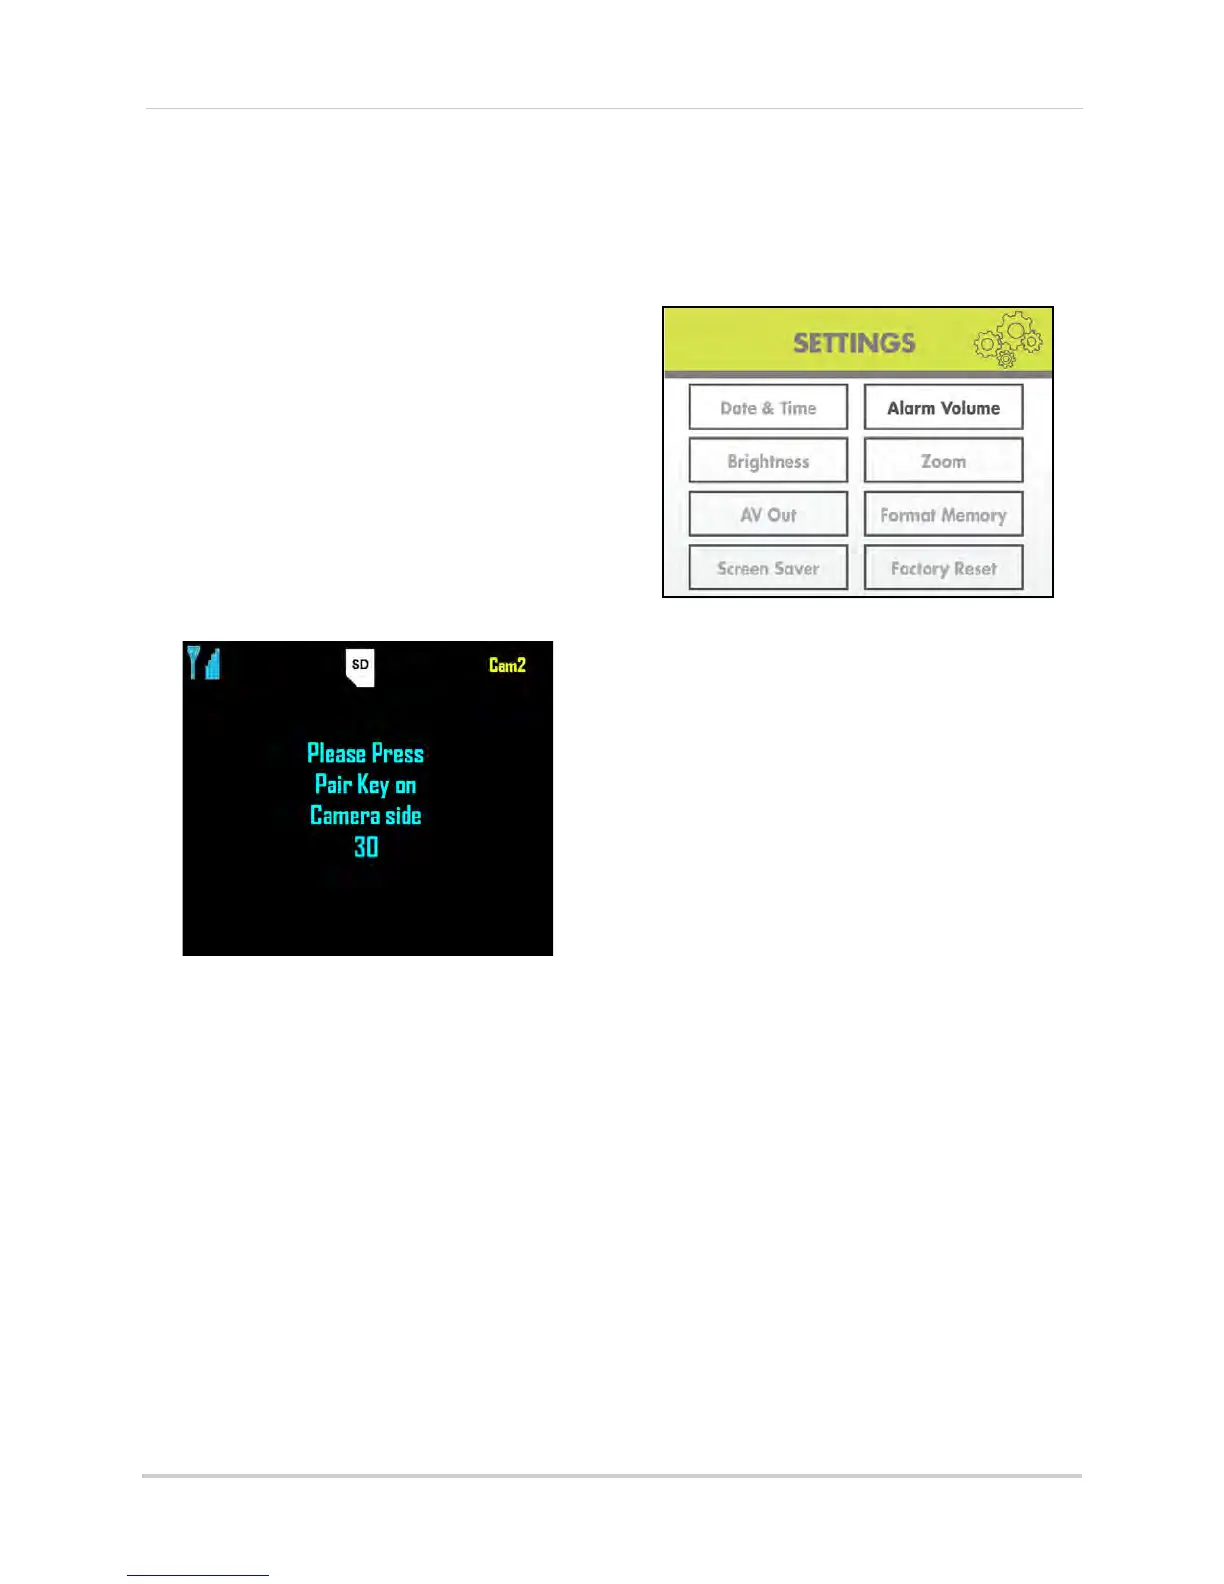
5 F
ollowing the on-screen prompt, press the
Pair button
on the rear panel of the
camera. You have 30 seconds to press the
PAIR button on the camera. Once paired,
the camera will be immediately displayed
on-screen.
NOTE: If you do press the Pair button
on the camera during the 30
second pairing window, repeat
steps 2~5 to try the pairing
process again.
Settings
Use the Settings menu to set the system
time, change display options, and
format the SD card.
The Settings menu contains the
following sub-menus:
• Date & Time: Set th
e date and time on the
system
• Brightness: Adjust screen brightness
level
• AV Out: Select the TV system for audio/
video output
• Screen saver: Select an image for Screen
Saver mode
• Alarm Volume: Increase/decrease the
system volume
• Zoom: Set 1X or 2X digital zoom on
cameras
• Format Memory: Format the SD card
• Factory Reset: Restore the system to
factory settings
 Loading...