Rev #35 March 2024
Page 17 of 43
6 Installation
PowerMouse can be installed behind the instrument panel.
6.1 Connecting LXNAV PowerMouse/PowerMouse+
LXNAV PowerMouse is connected to DC power supply using PF POWER 12 VDC cable. Red wire goes
to + positive and blue wire goes to – ground. External indicator can be connected via a splitter or
directly to the other port.
Instrument has no internal fuse. 3A external fuse is required!
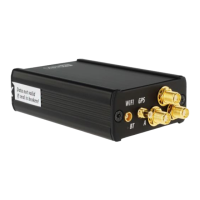
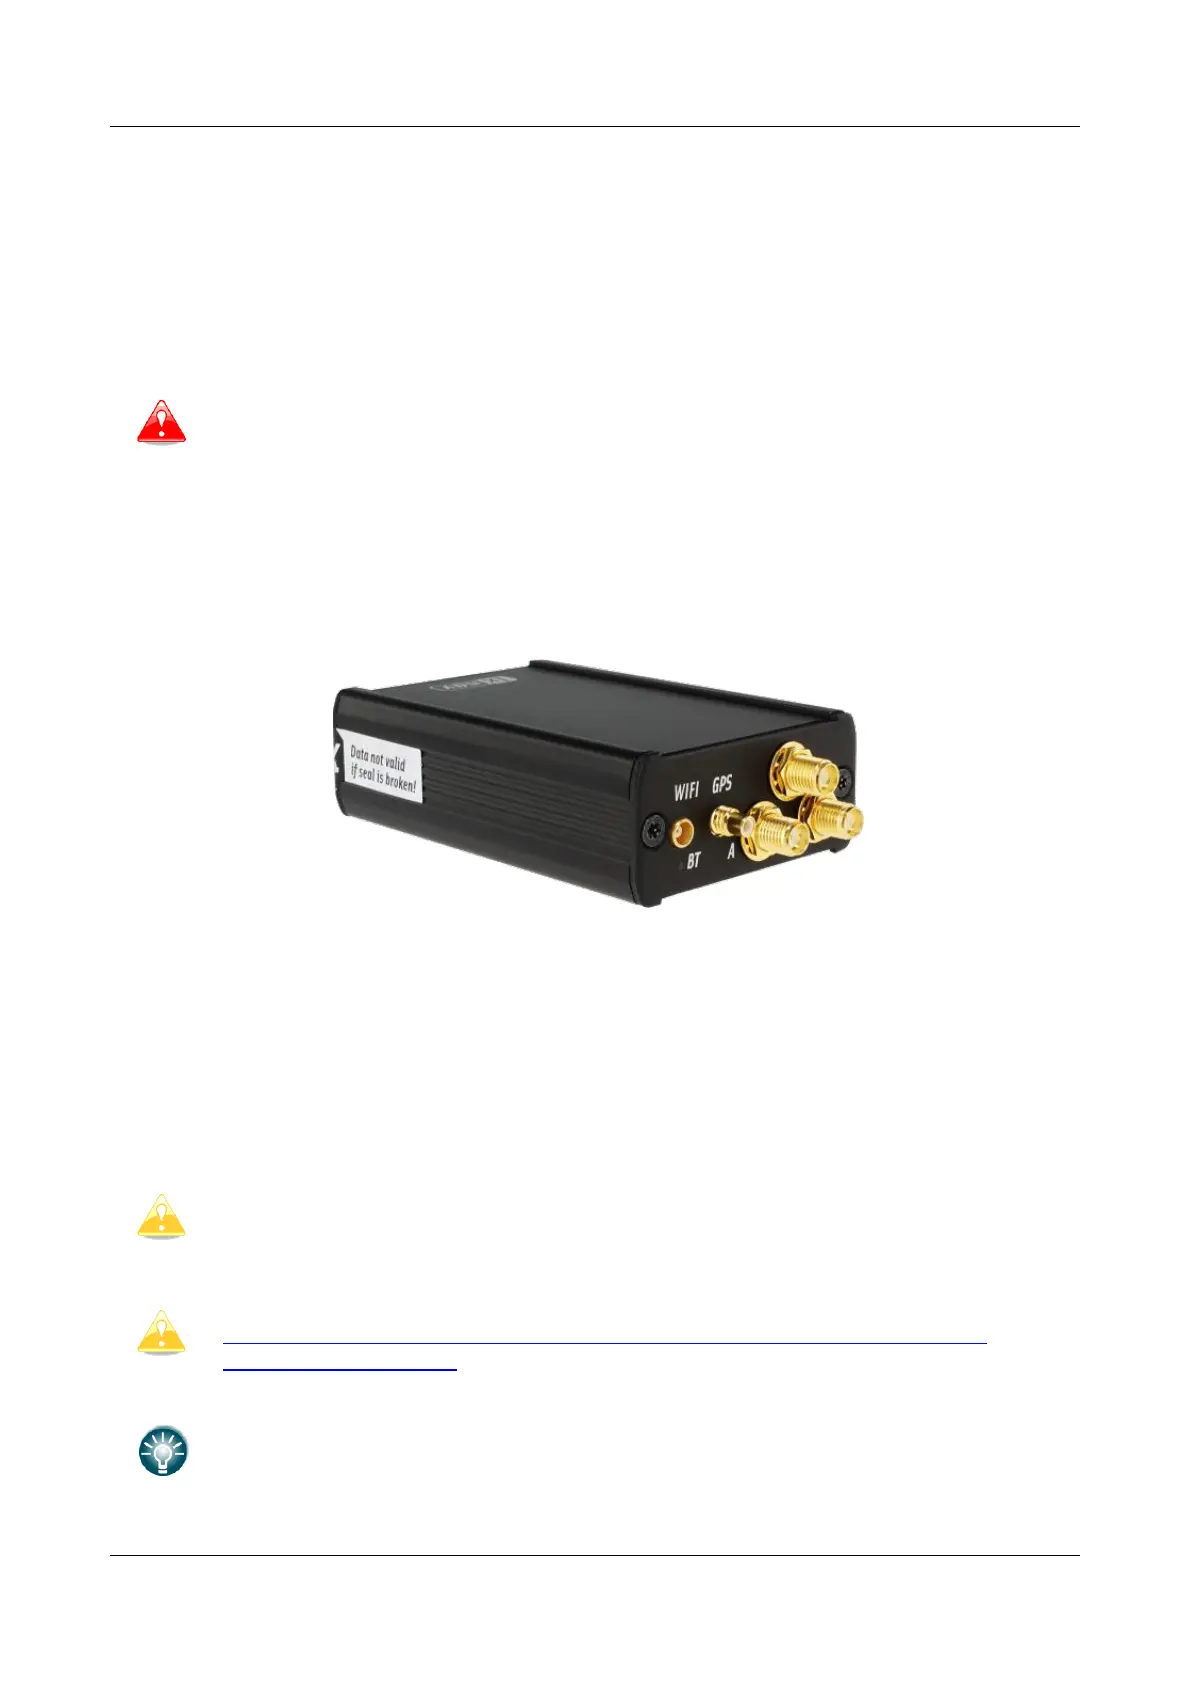
6.2 Connecting Antennas
PowerMouse has 4 connectors for different antennas. Two SMA connectors (A and B) are for FLARM
Antennas and there is one antenna for the ADSB (optionally). GPS connector serves for GPS antenna
and BT connector for Bluetooth antenna.
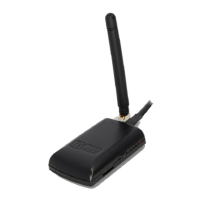
Following FLARM Antennas are available:
• Short Dipole (90°) lambda/4
• Long dipole (90°) lambda/2
• Flat folded dipole
• Classic dipole
• Antenna with ground plate
• T-Dipole antenna (default option)
For better range, FLARM antennas must be positioned vertically, away from
metal/carbon parts and cables, with clear view to the sky.
For additional information about installation of antennas you may have a look at
FLARM’s official application note:
https://flarm.com/wp-content/uploads/man/FTD-041-Application-Note-FLARM-
Antenna-Installation.pdf
1x Flarm T-dipole antenna is included in the package. When you buy RFB option,
the second antenna is included as well.