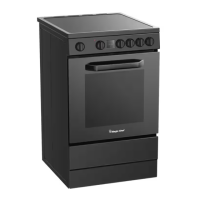
MAINTENANCE
Cooktop Light, =fequipped Door Lock Lever
Beforereplacingthe cooktoplightbulb,DISCONNECT The ovendoormustbe lockedfor self-cleanandSpeed
POWER TO RANGE. Be sure the bulbiscool. Do not Cook operationsonly.A fan will automaticallyturn on
touehahotbulbwithadampclothasthebulbmaybreak, whenthe door is lockedand will automaticallyturnoff
To turnon cooktop light: Pressandholdrockerswitch when the door is unlocked.See pages 24 and 25 for
self-clean instructionsand pages 19 to 22 for Speed
untilthelightturnson.Theovenlightswitchislocatedon Cookinstructions.
the backguard.
Do notmove the door lock leverto the rightor locked
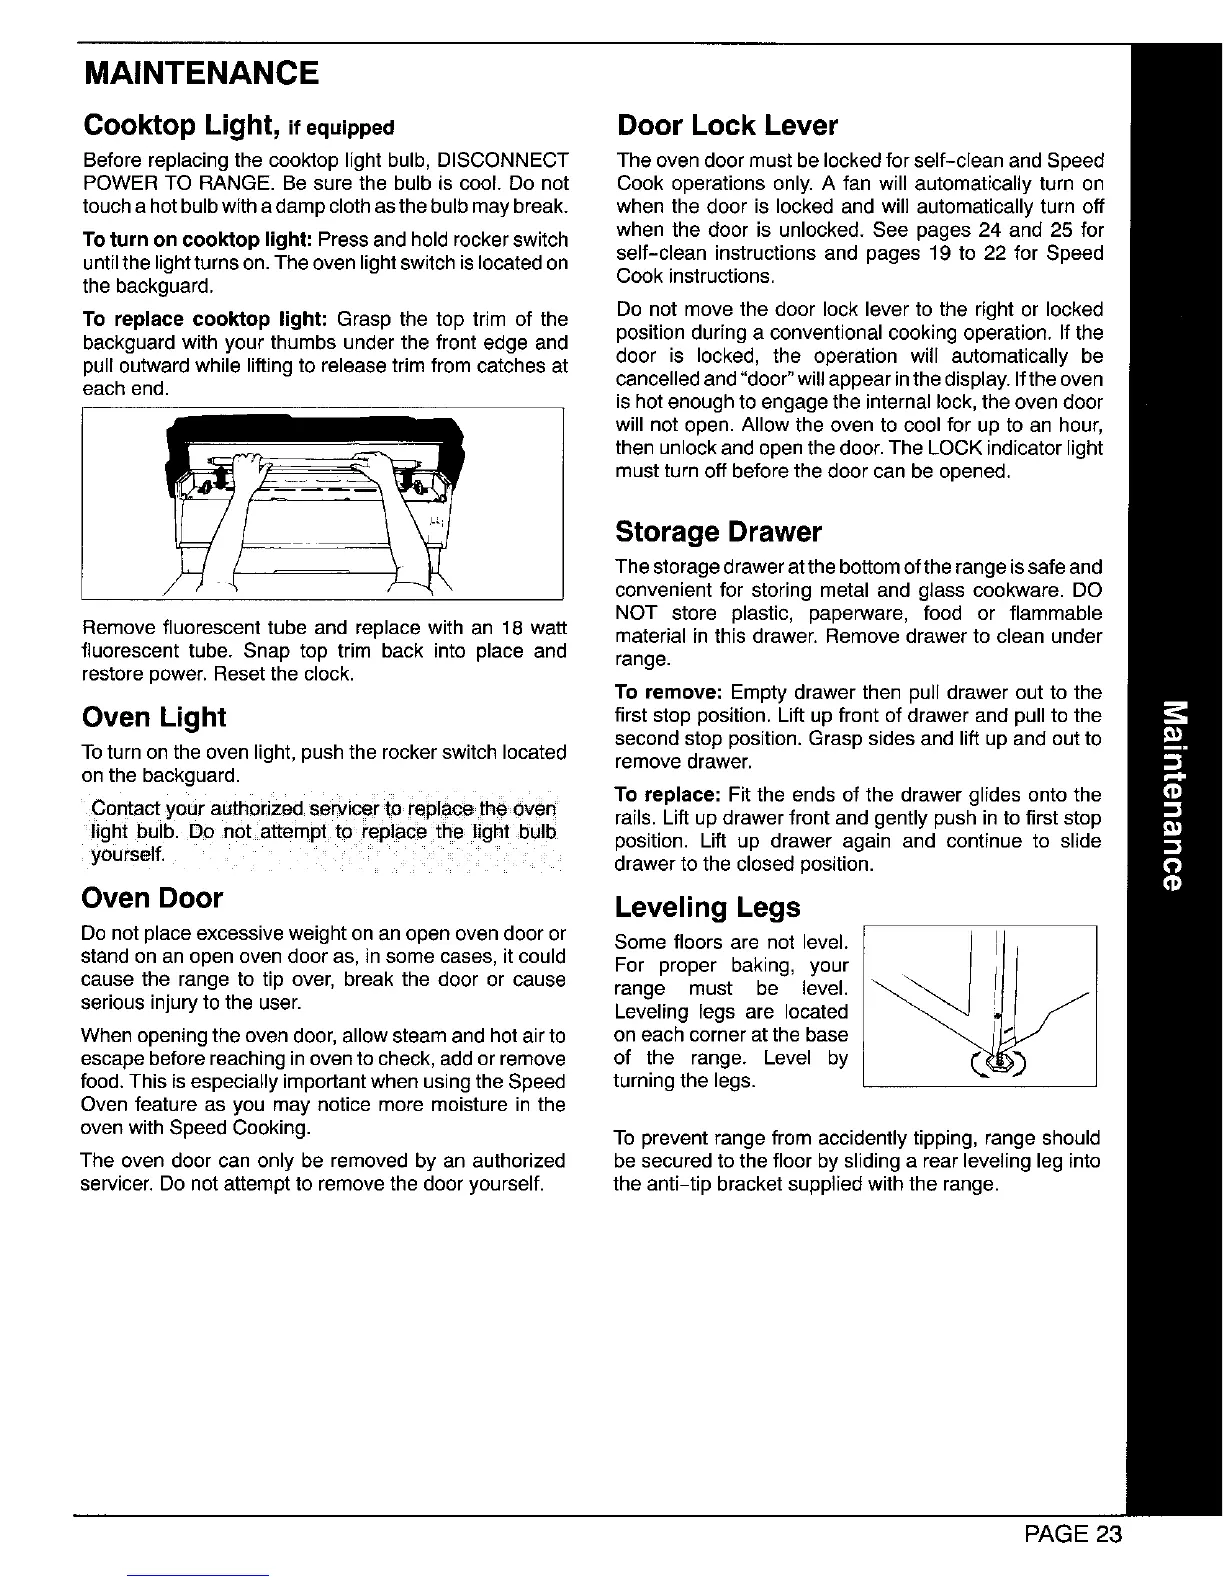
To replace cooktop light: Grasp the top trim of the
backguardwithyour thumbsunderthe frontedge and positionduringa conventionalcookingoperation.Ifthe
door is locked, the operation will automatically be
pulloutwardwhileliftingtoreleasetrimfromcatchesat cancelledand"door"willappearinthedisplay.Ifthe oven
eachend. is hotenoughtoengagethe internallock,the ovendoor
will notopen.Allowthe ovento coolfor up to an hour,
then unlockandopenthe door.The LOCKindicatorlight
mustturnoffbeforethedoorcan beopened.
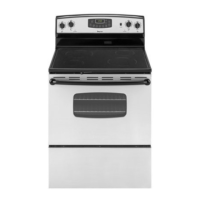
Storage Drawer
The storagedraweratthe bottomofthe rangeissafeand
convenient for storing metal and glass cookware. DO
NOT store plastic, paperware, food or flammable
Remove fluorescent tube and replace with an 18 watt material in this drawer. Remove drawer to clean under
fluorescent tube. Snap top trim back into place and
range.
restore power. Resetthe clock.
To remove: Empty drawer then pull drawer out to the
Oven Light firststop position. Liftup front of drawer and pull to the
second stop position. Grasp sides and lift up and out to
Toturn on the oven light, push the rockerswitch located
remove drawer.
on the backguard.
Contact your auth0dZedservicerto replacethe dven To replace: Fit the ends of the drawer glides onto the
rails. Liftup drawerfrontand gentlypushintofirst stop
light bulb. Do notattempt to replacethe I ght bulb
position. Lift up drawer again and continue to slide
yourself. .... drawer to the closed position.
Oven Door Leveling Legs
Do notplace excessiveweighton an open oven door or Some floors are not level, ii I.
stand on an open oven door as, in some cases, it could For proper baking, your
cause the range to tip over, break the door or cause range must be level.
serious injury to the user. Leveling legs are located
When opening the oven door, allow steam and hotair to on each corner at the base
escape before reachingin ovento check, addor remove of the range. Level by
food. This is especially important when using the Speed turning the legs.
Oven feature as you may notice more moisture in the
oven with Speed Cooking. To prevent range from accidently tipping, range should
The oven door can only be removed by an authorized be secured to the floor by sliding a rear leveling leg into
servicer. Do not attempt to remove the door yourself, the anti-tip bracket supplied with the range.
PAGE 23