Operation Manual easyScreen
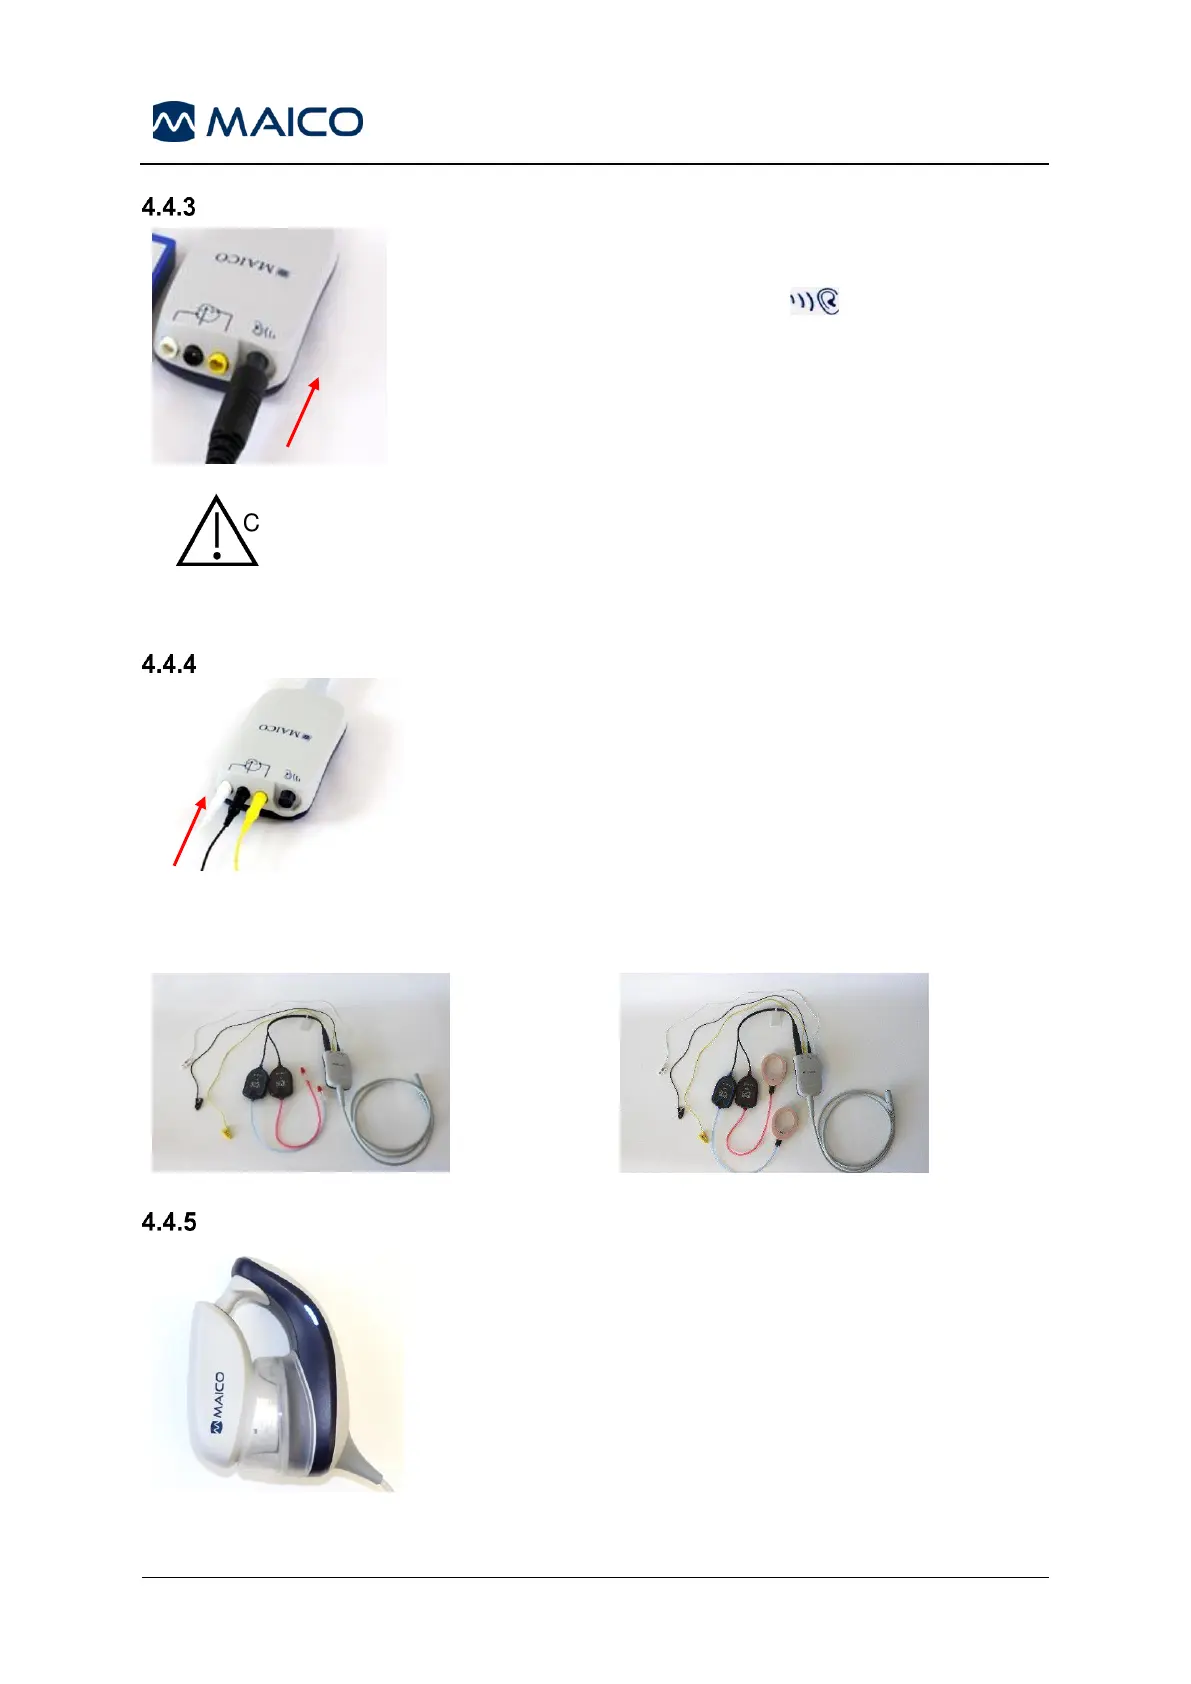
Connecting the Insert Earphone Cable or OAE Probe to the Preamplifier
Align the plug at the end of the insert earphone cable or
OAE probe with the socket at the top of the preamplifier
cable marked with the graphic . Insert the plug and
push it securely into place (Figure 26).
The plug contains a series of small metal pins that insert
into corresponding jacks in the socket. Be careful that the
plug and socket are properly aligned so that the pins are
not bent or broken during insertion. Do not twist the
connector in the socket.
Connecting the Electrode Lead Wires to the Preamplifier
Connect the three electrode lead wires securely into the
electrode jacks on top of the preamplifier, matching the color
of the lead wire with the jack. Be sure they are fully inserted
into the jack (Figure 27).
Fully assembled cables for an ABR tests using insert earphones are shown in Figure
28 (eartips) and Figure 29 (EarCups
TM
).
Connecting the BERAphone
®
to the Hardware Tester (Optional Use)
To perform a hardware integrity test, connect the
BERAphone
®
to the hardware tester (Figure 30). Hold it
in place while performing a measurement. The
impedance values at all electrodes should be acceptable
and the end result of the test should be a “Refer”.