9
EN
Initial Set-Up
When you rst connect the unit to the mains socket, the display will show the welcome screen then
with language menu shown up, turn SCROLL/SELECT dial on unit or press
12
w
/
s
3
buttons on remote control to change the display language of
your choice and press the SCROLL/SELECT dial on unit or SELECT button
on remote control to conrm.
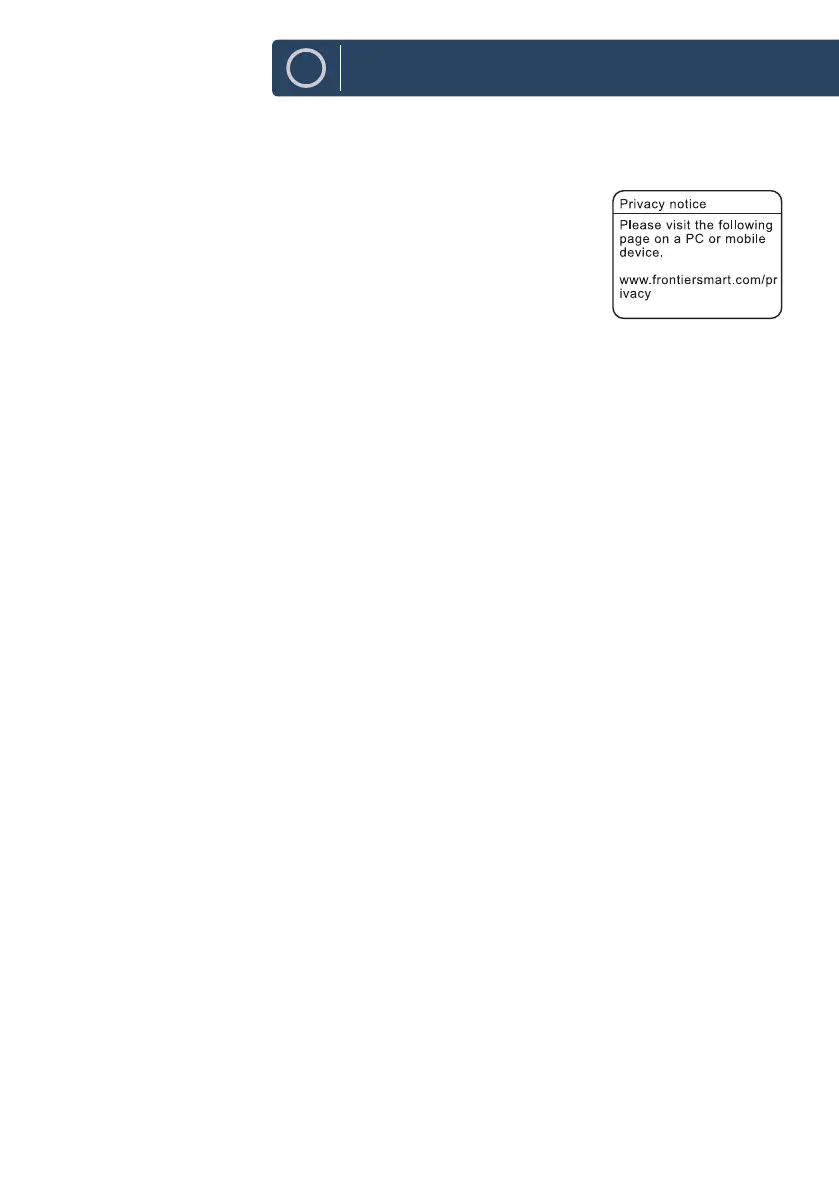
Then the privacy policy page will come up. Please visit the website
mentioned in the page for the details of the privacy policy. Press SCROLL/
SELECT dial on unit or SELECT button on remote control to accept and
move forward to the next step.
1. To launch the initial Setup wizard, turn the SCROLL/SELECT dial on the unit or
7
/
8
buttons on
remote control to select [YES], then press the SCROLL/SELECT dial on the unit or SELECT button
on the remote control to conrm.
2. In the next step you can select the time format. Select the desired setting [12] or [24] and press the
SCROLL/SELECT dial on the unit or SELECT button on the remote control to move on to the next
step.
3. Here it is possible to select which source (DAB/FM/Network/No update) the unit uses to obtain and
update the time and date. If "Update from Network" selected, proceed to the next step to select
time zone to ensure that the time is displayed correctly. And then select the "Daylight savings" is
[ON] or [OFF].
4. In the next step you can specify whether the product should remain connected to the Internet
when on standby. Turn the SCROLL/SELECT dial on the unit or press
7
/
8
buttons on the remote
to select [YES], then press the SCROLL/SELECT dial on the unit or press SELECT button on on the
remote to conrm.
5. Your radio will now scan for your wireless network, this may take a few seconds then a list of all the
wireless networks will appear on the screen. Select the WLAN network you know and whether to
use WPS (Push Button/Pin) or Skip WPS to enter the password using the displayed keyboard.
Connecting using the WPS button on your router
Connecting using the WPS (Wi-Fi Protected Setup) button on your router is a quick and easy way to
connect your radio without having to type in a password. Select one of the following connection
methods:
-
Push button
If your router has a WPS button you will notice [WPS] at the front of your network name.
6. Press
12
w
/
s
3
buttons to select Push Button, then press SELECT button to conrm.
7. You will now see a message on the screen telling you to press the WPS button on your router. Press
the WPS button on your router. Check your routers instruction manual if you are unsure which
button is the WPS button.
8. Press the SELECT button to conrm. Your radio will now connect to your router, this may take a few
seconds.
Instructions Guide