Introduction
This chapter provides you with the information required to install the Accessory
Unit and includes information on:
.
Positioning the Dispersion Unit & Controller Unit.
.
Unpacking the Dispersion Unit & Controller Unit.
.
Checking the contents.
.
Connecting the Dispersion Unit & Controller Unit.
.
Powering up the Controller Unit.
Site requirements
Your Accessory will only be used in conjunction with a Mastersizer system. For
the site requirements of your Mastersizer system, refer to section A of the
Installation Guide.
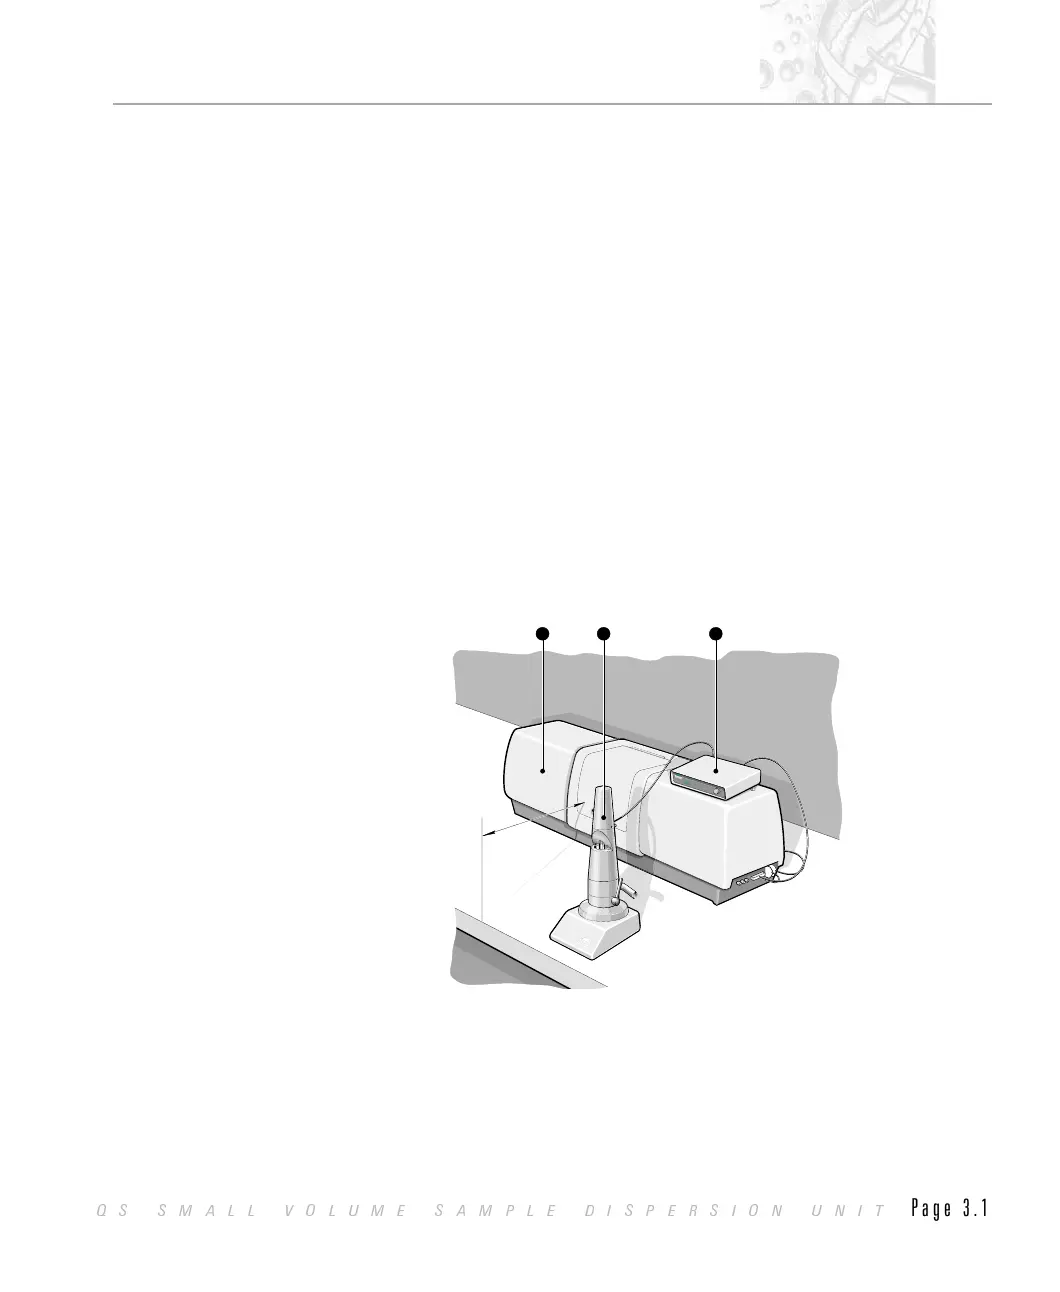
The space your Accessory À requires in relation to the Mastersizer S or X Á,is
illustrated below:
The Controller Unit is designed to be placed on top of the Receiver cover of the
Optical Unit.
The space your Accessory À requires in relation to the Mastersizer Micro or
Microplus Á, is illustrated below.
D
i
spersionU
n
itCont
roller
INST
R
UME
N
T
S
250mm
D
i
spersionU
n
itCont
roller
INST
R
UME
N
T
S
D
i
spersionU
n
itCont
roller
INST
R
UME
N
T
S
S
t
irrerS
p
eed
RP
M
12
Small Volume Sample Dispersion Unit
INSTRUMENTS
Small Volume Sample Dispersion Unit
INSTRUMENTS
1
ILL 3040
CHAPTER 3
QS SMALL VOLUME SAMPLE DISPERSION UNIT
Page 3.1