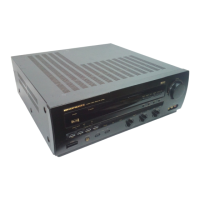
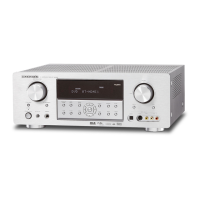
NAMES AND
FUNCTIONS
16
BASIC
CONNECTIONS
BASIC
OPERATION
ADVANCED
CONNECTIONS
SETUP
ADVANCED
OPERATION
TROUBLESHOOTING
OTHERSSETUP
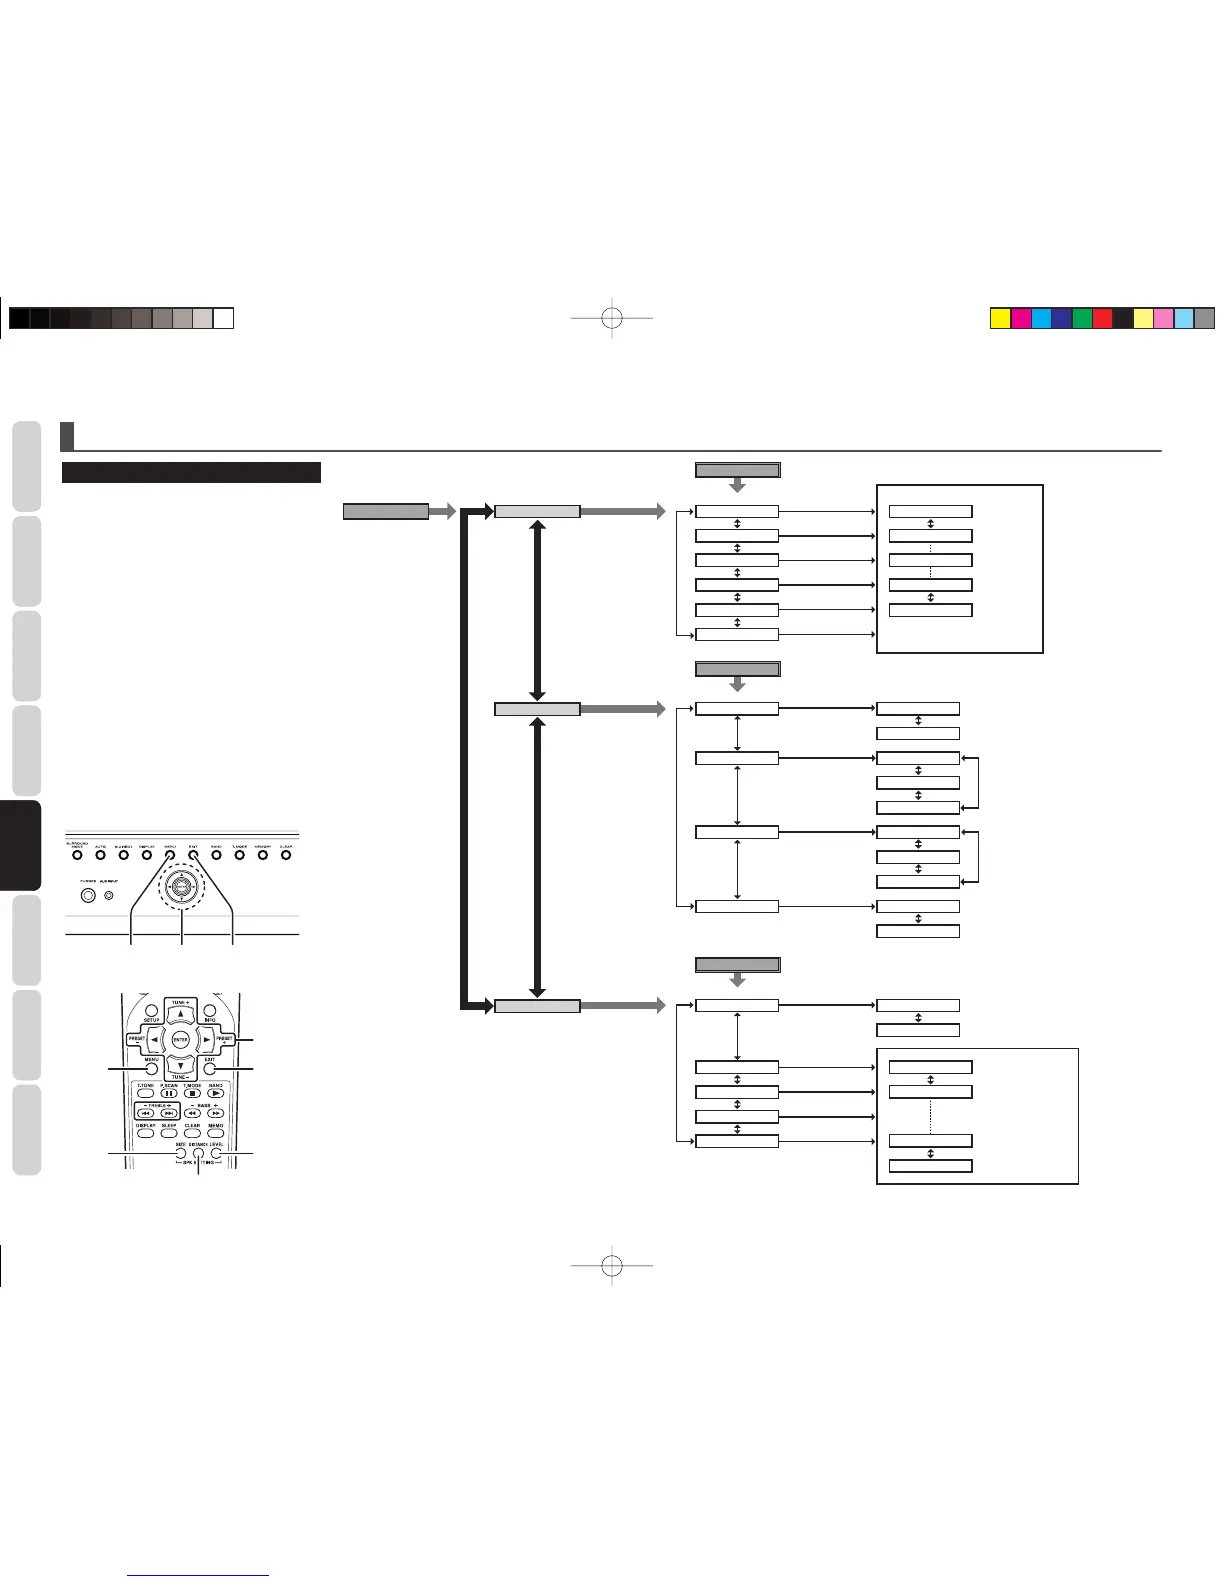
SPEAKER SETUP
After you have installed the unit, connected all the
components, and determined the speaker layout, it
is now time to perform the settings in the Speaker
Setup menu for the optimum sound acoustics for
your environment and speaker layout.
Before you perform the following settings, it is
important that you fi rst determine the following
characteristics:
After all components are connected, initial setup
must be performed.
1.
Press the AMP button of the remote controller.
(This step is not needed when operating the
setup menus from the unit itself.)
2. Press the MENU button on the remote
controller or the unit.
3.
Select a desired sub-menu with the 3 or 4
cursor buttons, and press the ENTER button
to enter. The display will change to the
selected sub-menu. You can move the each
sub-menu with the 1 or 2 buttons.
4. If you desire to exit from this menu system,
press the EXIT button.
3, 4, 1, 2,
ENTER
EXITMENU
3, 4, 1, 2,
ENTER
EXIT
MENU
SIZE
DISTANCE
LEVEL
SETUP
MENU
Press MENU button. ENTER button
FL
Maximum
+10dB
+9dB
0dB
-9dB
-10dB
1dB interval
1dB interval
1foot (0.3m)
interval
Minimum
Maximum
30FT (9.0M)
29FT (8.7M)
2FT (0.6M)
1FT (0.3M)
Minimum
CT
FR
FRNT SML
LRG
SML
LRG
NONE
SML
LRG
NONE
YES
NONE
FT
M
CNTR
SURR
SUB
UNIT
FRNT
CNTR
SURR
SUB
SR
SL
SW
Press LEVEL button on the remote controller.
ENTER button
ENTER button
3
/
4
button
1
/
2
button
3
/
4
button
SPK LEVEL
SPK SIZE
SPK DIST
LEVEL
Press SIZE button on the remote controller.
1
/
2
button
3
/
4
button
3
/
4
button
3
/
4
button
SIZE
Press DISTANCE button on the remote controller.
1
/
2
button
DISTANCE
SR3053S01ENG.indd16SR3053S01ENG.indd16 09.4.2111:46:53AM09.4.2111:46:53AM