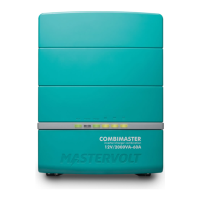
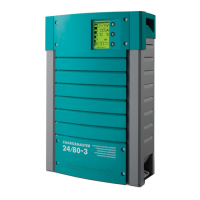
CombiMaster 120V Series –
User and Installation Manual
4.5 Wiring
The wire sizes stated in this manual are only guidelines. Fusing is based on the gauge and
length of the cable, which in turn depend on the load connected to the CombiMaster
Inverter/Charger. Always comply with all local rules and regulations.
Turn off the DC and AC power source during installation. Powered wires can spark when
touching the CombiMaster Inverter/Charger DC or AC terminals.
4.5.1 DC wiring
Always keep your wire runs as short as practical to prevent low voltage shutdowns and to keep the DC
breaker from nuisance tripping (or open fuses) because of increased current draw.
Model
Inline fuse
Note: make sure that the fuse's voltage rating meets the battery voltage. Especially for a 48V system
because most fuses do not exceed 32V.
Use cable lugs on the ends of the wires. These lugs should be crimped with a proper crimping tool.
Recommended wire colors (refer to local rules):
Red Positive + (POS)
Do not put anything between the battery cable ring lug and the battery post or the inverter’s DC
terminal. When connecting the battery cable to the battery post or inverter DC terminal, the cable
should be placed directly against the inverter terminal or battery post. Incorrectly installed hardware
causes a high resistance connection which could lead to poor inverter/charger performance and may
affect the cable and terminal connections.
Run the cables next to each other to limit the electromagnetic field around the cables. The negative
cable should be connected directly to the negative post of the battery bank or the ground side of a
current shunt. Do not use the chassis frame as the negative conductor. Tighten securely. The positive
cable must be fused and connected to the positive post of the battery bank. Use a fuse that matches
the applied wire gauge and is rated at 125 to 150% of the full load current. The fuse with fuse-holder is
available from your local Mastervolt distributor.
For more information on fuses, consult Blue Sea's Wire, Fuse and Fuse Holder Selection Chart.
[http://assets.bluesea.com/files/resources/reference/20010.pdf ]
 Loading...


