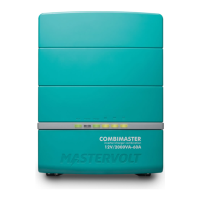
CombiMaster 120V Series –
User and Installation Manual
4.6 Tools and materials needed
Make sure you have all the materials you need to install a CombiMaster Inverter/Charger:
• For CZone setup, a tee connector.
• For MasterBus setup, an RJ45 MasterBus cable.
• DC cables to connect the CombiMaster Inverter/Charger to the batteries and common negative. See
section 4.5.1 for specifications.
• DC fuse holder with a DC fuse, to be integrated in the positive DC cable (as per ABYC
recommendations).
• Screws/bolts (Ø ¼" / 6mm) with plugs to mount the CombiMaster Inverter/Charger to a surface. Use
mounting materials which are suited to carry the weight of the CombiMaster Inverter/Charger.
• AC cable to connect the AC input to an AC power source. See section 4.5.2 for specifications.
• Batteries. See section 4.3 for specifications.
• Appropriate and reliable cable terminals, cable lugs, battery terminals and cord end terminals.
We recommend as a minimum tool kit:
• Socket wrench to fix the main DC cables (M8 /
5
/
16
")
• Socket wrench to fix the Safety ground connection (
5
/
16
").
• Flat blade screwdriver to fix the screw terminals of the AC wiring.
• Tools to fix the screws / bolts (Ø ¼" / 6mm) with plugs to mount the CombiMaster Inverter/Charger to
a surface.
• Philips screwdriver to open the connection compartment.