INSTALLATION
EN / Mass Combi 12/1200-60 & 24/1200-35 / June 2007 21
5.4 THINGS YOU NEED
Make sure you have all the parts needed to install the Mass Combi:
Quantity
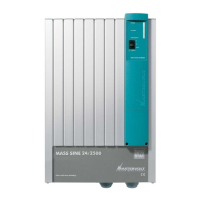
Mass Combi (included) 1
Battery temperature sensor with cable and plug (included). 1
DC-cable to connect the positive DC connection (+) of the Mass Combi to the plus pole of the DC-distribution; for
specifications see section 9.1, maximum recommended length: 2m / 6ft, colour: preferably red or at least a
different colour to make a clear distinction between the positive and negative wire from the battery
1
DC-cable to connect the negative DC connection (–) of the Mass Combi to the negative pole of the DC-
distribution; for specifications see section 9.1, maximum recommended length: 2m / 6ft, colour: preferably black
or at least a different colour to make a clear distinction between the positive and negative wire from the battery.
1
DC-fuse holder with a DC-fuse, to be integrated in the positive DC-cable. For specifications see section 5.3.2 1
Screws / bolts (Ø 6mm) (with plugs) to mount the cabinet to a surface. Use mounting materials which are
suitable to carry the weight of the Mass Combi
4
AC cable* to connect the AC input to an external power source (e.g. a shore connection or a generator set); 1
AC cable* to connect the external load to the AC “Power” output. 1
AC cable* to connect the external load to the AC “SHORT BREAK” output. 1
Batteries. Refer to section 9.1 for specifications. X
Appropriate and reliable cable terminals, cable lugs, battery terminals and cord end terminals X
* Double insulated three wire cable with wire colours according to the locally applicable regulations. The applicable length and
wire diameter depend on the electrical installation (see section 5.3.1).
We recommend as a minimum tool kit:
x Socket wrench 13mm to fix the DC-input (battery) cables
x Flat blade screw driver 1.0 x 4.0 mm to fix the screw terminals
x Tools to fix the screws / bolts (Ø 6mm) with plugs to mount the cabinets to a surface
x Philips screw driver to open the connection area of the Mass Combi
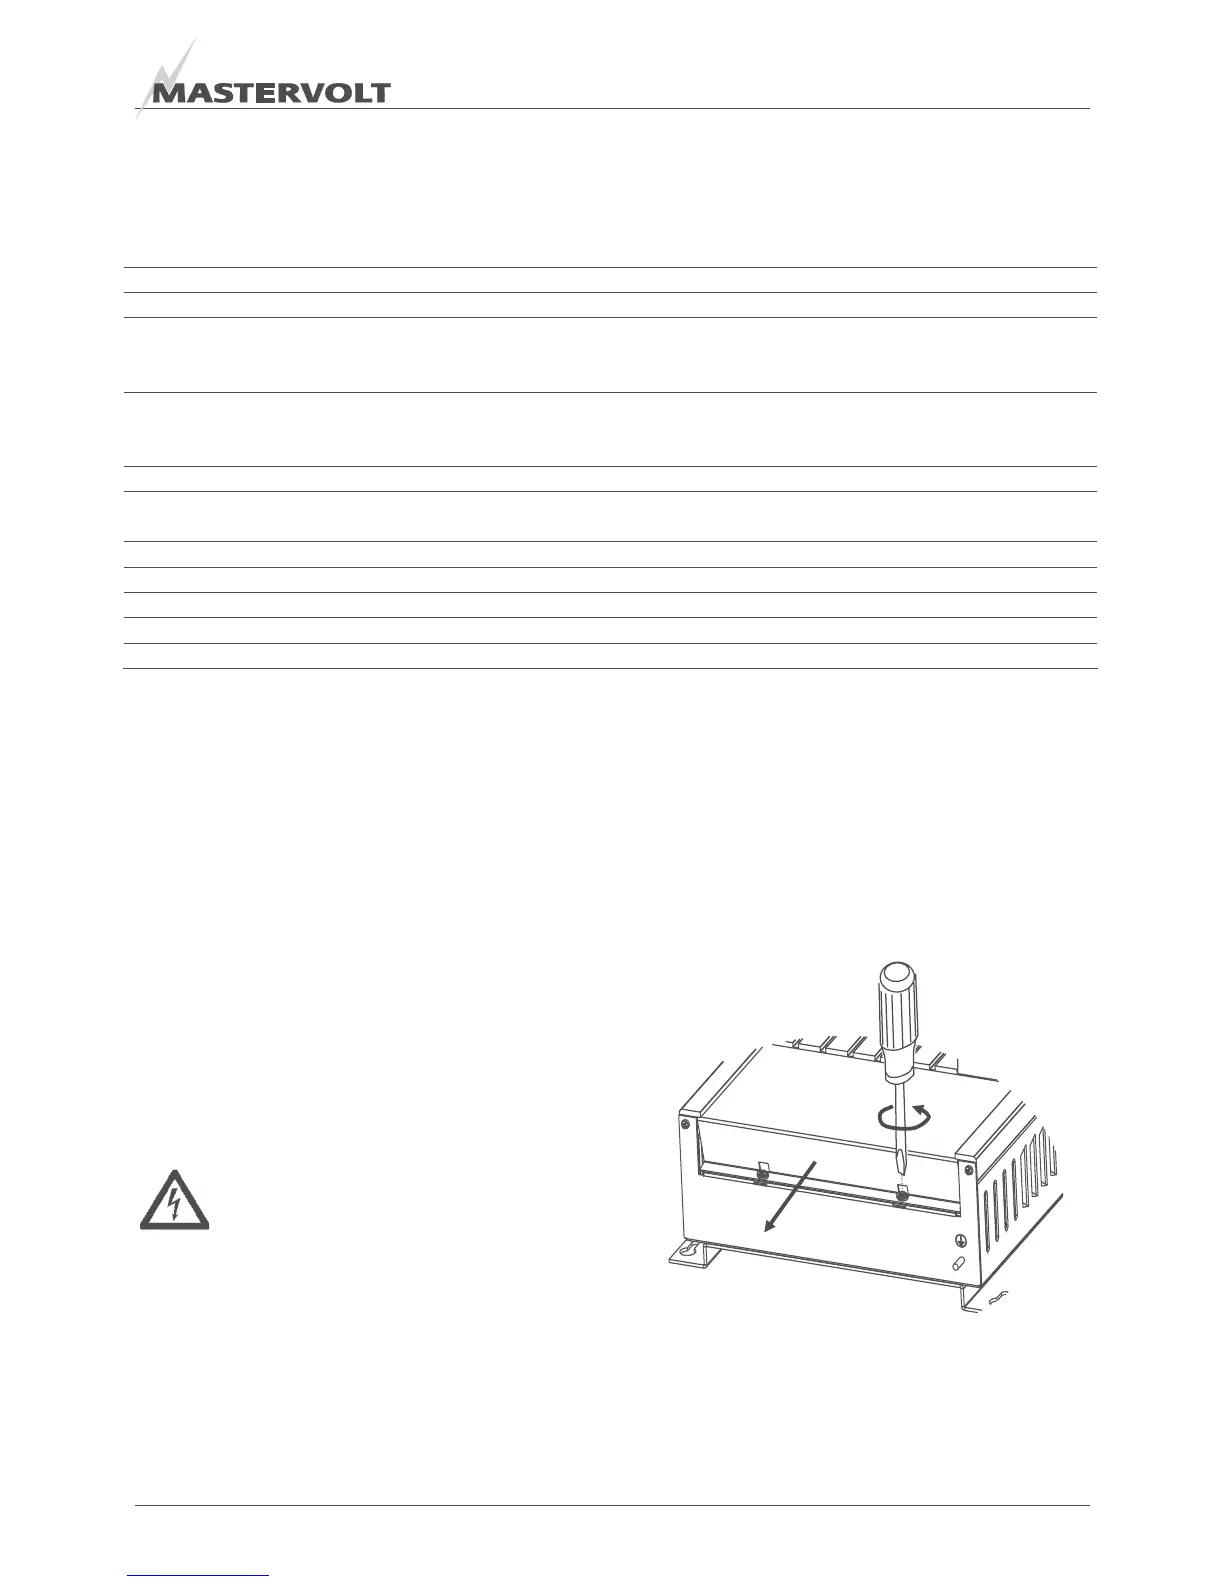
5.5 REMOVAL OF THE FRONT PANEL
See figure 16. Steps:
1 Loosen the two Phillips screws that secure the front
cover plate for two turns.
2 Slide the front cover plate from the cabinet
(downwards).
The connectors for the battery, the AC and the remote
panel are now visible. See figure 17.
WARNING
The front panel may never be removed while
the Mass Combi is still connected to a power
source!
Figure 16
Step 1
2x
Step 2
 Loading...