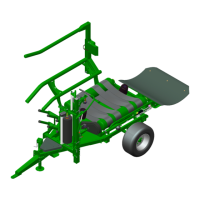
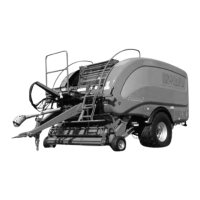
McHale 991 High Speed Round Bale Wrapper
55
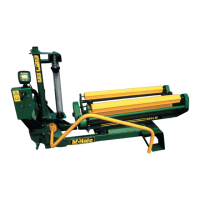
8.4 Side-tip bale damper
The 991 High Speed may be used in conjunction with a side-tip bale damper instead
of the standard bale damper. The side-tip bale damper may be used as a standard bale
damper or with one adjustment to enable it to tip the bales on their ends. To change
from standard tipping to side tipping the following is carried out.
1. Be extremely careful when working with the side-tip bale damper.
2. Hinge up the bale damper cradle plate ensuring it is secure and cannot fall.
3. Remove the large linch pin and pull the support arm out on the shaft.
4. Turn the support arm through 90 degrees (pointing upwards) and push the
support arm back into place. Secure it with the large linch pin.
5. Lower the bale damper cradle plate down again.
6. The machine is now ready to side tip bales. When side tipping bales, the
machine must be stopped during tipping.
7. Reverse this procedure to change back to normal tipping. The side-tip rear
extension piece must be removed for normal tipping, if fitted.
8.5 Wrapping behind the tractor
The following is the recommended method for working the 991 High Speed after a
tractor. It assumes the bales are well shaped for wrapping. However since it is
impossible to allow for all differing conditions and terrain it may be necessary for the
operator to vary this.
The electronic control box should be set to program “High Speed” (Select “1 roll of film”
mode (Button 17) for continuous use with a single roll of film or select “2 rolls of film”
mode (Button 18) for use with two rolls of film). (See ‘Electronic control box functions’).
The table must be in the correct starting position.
Side-tip active Side-tip inactive
WARNING: Keep out of the ‘Danger Zone’
Keep all persons outside of the ‘Danger Zone’ during all machine
operations! (See ‘Danger Zone’)