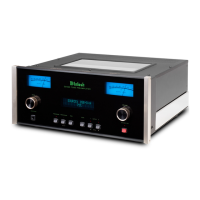
13
page 14 for additional information. At this time the
LED above the TRIM Push-button will be illumi-
nated.
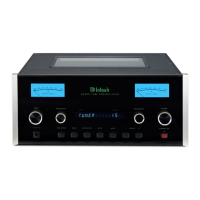
3. Press the OUTPUT 2 / MENU ► Push-button to
select the next Setup Mode Menu item “McIntosh
USB AUDIO, V_.__ Firmware”. Refer to figure
2B and to page 14 for additional information.
4. Next, press the OUTPUT 2 / MENU ► Push-but-
ton again and the Front Panel Display will indicate
“SETUP: SOURCE INPUT, TUNER: RCA”
Refer to figure 3.
5. To exit from the Setup Mode, press the TONE
BYPASS/SETUP Push-button. The LED above
the TRIM Push-button will extinguish and the
Front Panel Display will revert back to its normal
display. Refer to figure 1B.
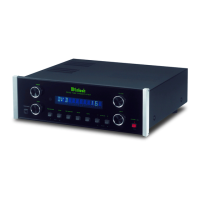
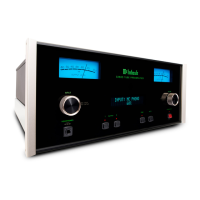
Your McIntosh C2500 has been factory configured for
default operating settings that will allow immediate
enjoyment of superb audio without the need for fur-
ther adjustments. If you wish to make changes to the
factory default settings, a Setup Feature is provided to
customize the operating settings using the Front Panel
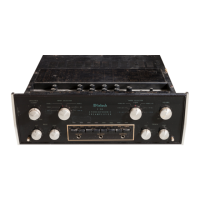
Information Display. Refer to the C2500 Front Panel
Illustration on the previous page while performing the
following steps.
Note: If the C2500 is currently On, proceed to step 2.
1. Press the STANDBY/ON Push-button on the
Front Panel or press the (Power) Push-button
on the Remote Control to switch On the C2500.
The Front Panel Display will indicate “SOURCE:
TUNER, TUBE WARMUP”. Refer to figure 1A.
After the Tube Warmup is completed, the C2500
will go through a brief startup initialization with
the Front Panel Display indicating the last used
source and volume setting, this is followed by the
volume setting indication starting at zero and then
increasing to the last used volume setting. Refer to
figure 1B.
2. Press and hold the TONE BYPASS/SETUP Push-
button until the Front Panel Display indicates
“C2500 V_.__, S/N: _______”. The information
indicated on the Front Panel Display includes the
Model Number, Firmware Version and the Serial
Number for this unit; Refer to figure 2A and see
How to Operate the Setup Mode Default Settings
Setup
Figure 1B
 Loading...