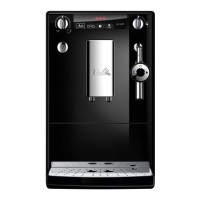
106
Phase 1
During Phase 1, one bean symbol is shown on the display.
→ First, two automatic rinsing processes are carried out. Afterward, the
standby symbol illuminates.
5 Reach into the recess on the right side of the appliance (Fig. A,
no. 14) and pull o the cover to the right.
6 Press and hold the red button on the handle of the brewing unit
(Fig. B, no. 1) and turn the handle clockwise to the stop (approxi-
mately 75°).
7 Use the handle to pull the brewing unit out of the appliance.
→ The standby symbol and the symbol for cleaning will ash
alternately, as long as the brewing unit is out of the machine.
Caution!
Danger of damaging the brewing unit
– During the cleaning programme, only remove the brewing unit
when instructed to do so.
8 Leave the brewing unit as it is (do not move or twist the compon-
ents of the brewing unit).
9 Thoroughly rinse o the entire brewing unit from all sides under
running water.
10 Let the brewing unit drip dry.
11 Place a cleaning tab in the brewing unit (Fig. C).
12 Reinsert the brewing unit into the appliance and turn the handle
of the brewing unit anti-clockwise to the stop to lock.
→ Phase 1 is completed.
Heft_Lattea_Fernost_2_3.indd 106 12.05.2014 15:15:43
 Loading...