RIGHT HAND NON-RATCHETING
Page 6A-40 90-855347R1 JANUARY 1999
5. Install cross pin retaining spring onto sliding clutch as follows:
IMPORTANT: DO NOT over-stretch retaining spring when installing onto sliding
clutch.
6. Spirally wrap spring into groove on sliding clutch.
7. Place gear housing in a soft jaw vise with the driveshaft in a vertical position.
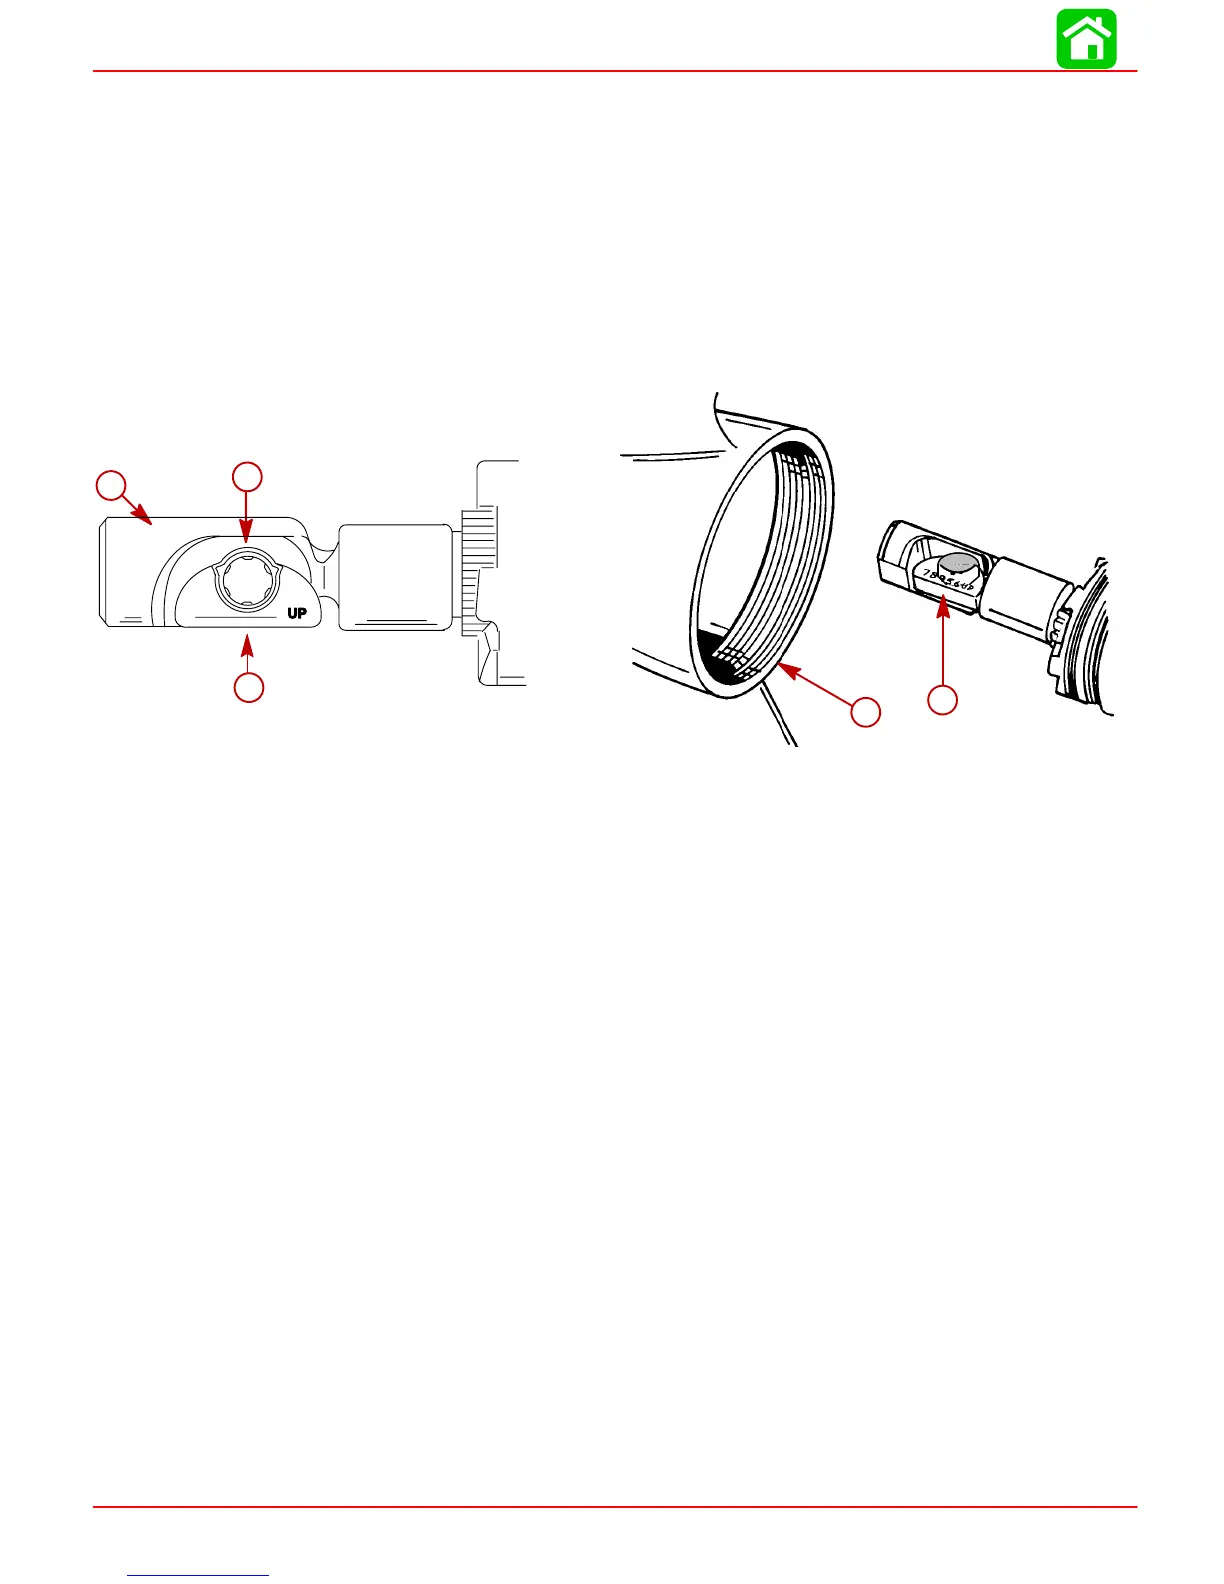
8. Coat cam pocket of cam follower with 2-4-C w/Teflon Marine Lubricant.
9. Place shift cam into cam pocket of cam follower with numbered side of cam facing up.
10. With shift cam positioned as shown, insert propeller shaft thru forward gear until shaft
bottoms out.
51864
d
e
55095
a
b
c
a-Cam Pocket
b-Cam Follower
c-Shift Cam
d-Shift Cam (Position as Shown)
e-Gear Housing
 Loading...


