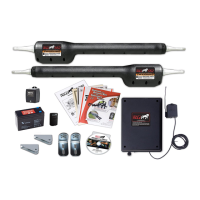
MM571W / MM572W Installation Instructions 31
If your gate operator does not function properly after it is installed, use this guide before calling the Nortek Security and Control
Service Department.
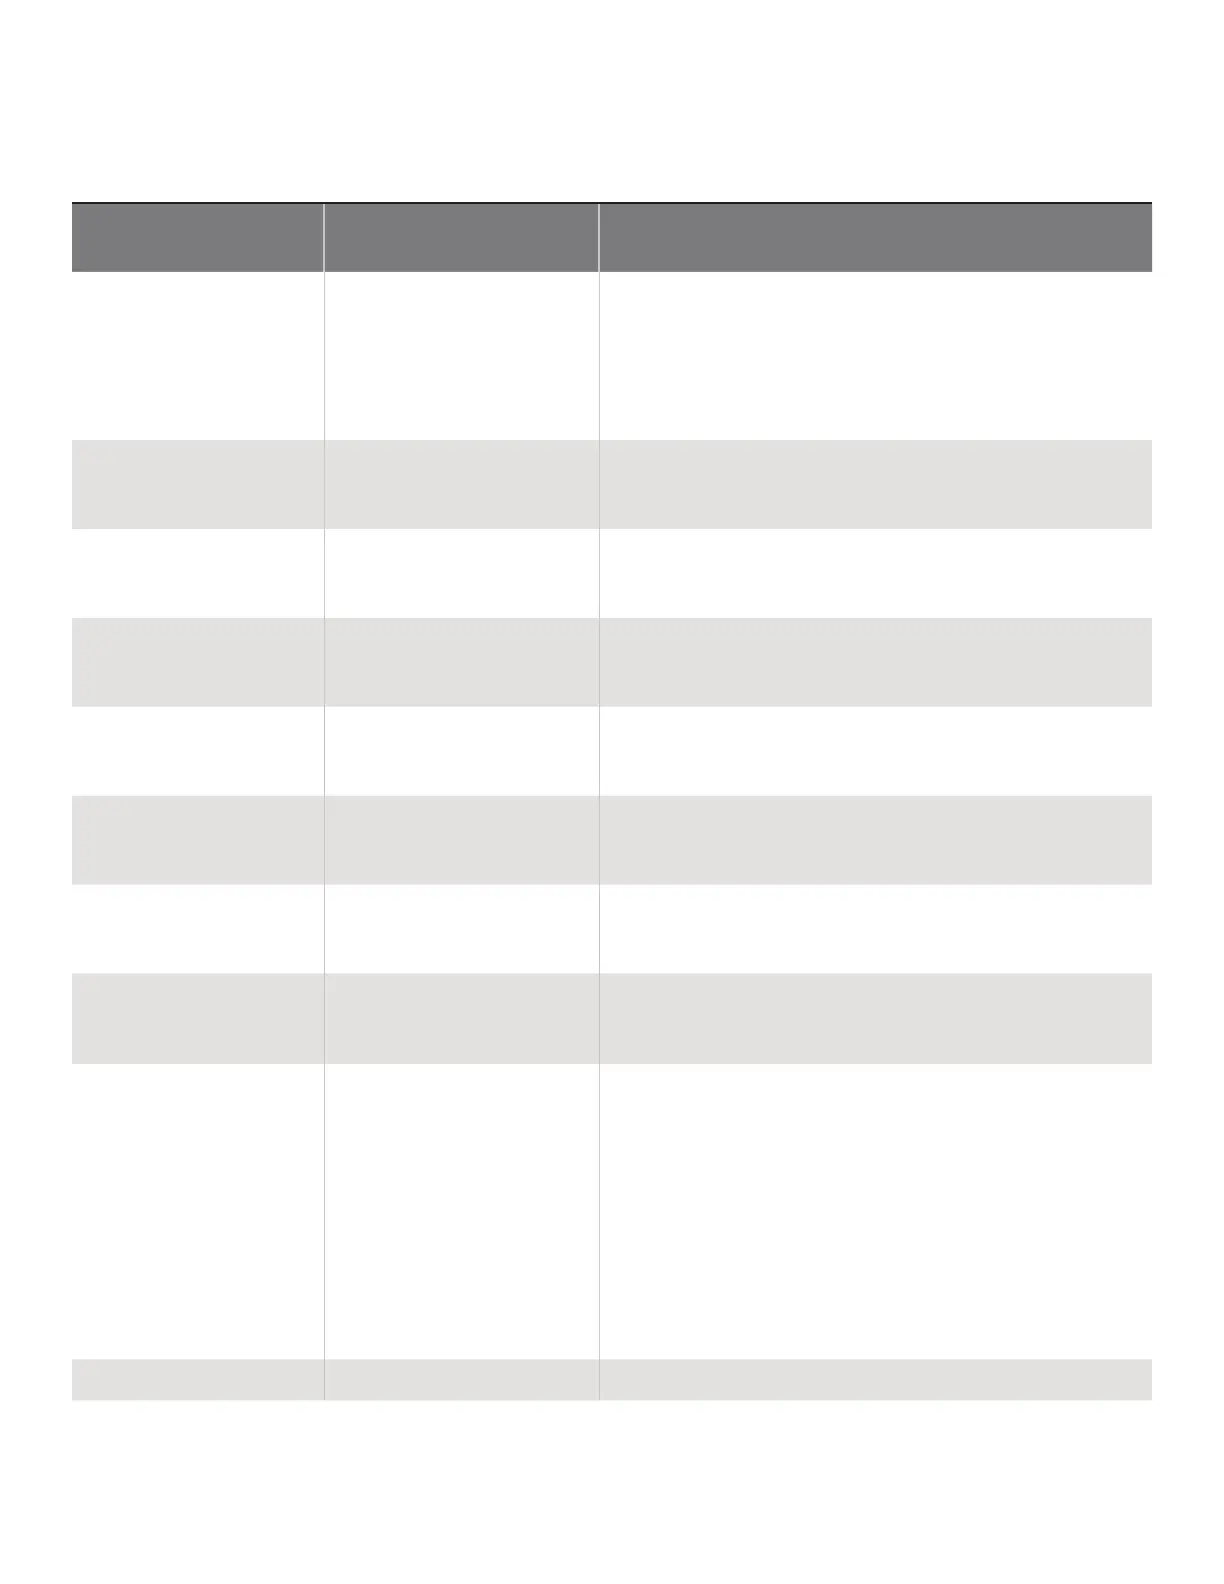
Troubleshooting Guide - Visual Feedback
Visual Feedback Possible Diagnosis Check/Solution
The unit does not seem to turn on
Blown fuse(s)
Lack of power
Power switch
h Check battery harness , ensure the battery is connected red to red
(+) and black to black (-)
h Check both board fuses and harness fuse
h Check the battery voltage
h Check charge source
h Ensure the unit is switched on
LED 2 (red) 1 blink, pause, 1
blink…
Cycle terminal shorted
Detach any wires connected to this terminal. If the LED clears and
the unit begins to function, check for a defective accessory, triggered
accessory or shorted wiring.
LED 2 (red) 2 blinks, pause, 2
blinks…
Safety terminal shorted
Detach any wires connected to this terminal. If the LED clears and
the unit begins to function, check for a defective accessory, triggered
accessory or shorted wiring.
LED 2 (red) 3 blinks, pause, 3
blinks…
Exit terminal shorted
Detach any wires connected to this terminal. If the LED clears and
the unit begins to function, check for a defective accessory, triggered
accessory or shorted wiring.
LED 2 (red) 4 blinks, pause, 4
blinks…
Shadow terminal shorted
Detach any wires connected to this terminal. If the LED clears and
the unit begins to function, check for a defective accessory, triggered
accessory or shorted wiring.
LED 2 (red) 5 blinks, pause, 5
blinks…
Close Edge terminal shorted
Detach any wires connected to this terminal. If the LED clears and
the unit begins to function, check for a defective accessory, triggered
accessory or shorted wiring.
LED 2 (red) 6 blinks, pause, 6
blinks…
Open Edge terminal shorted
Detach any wires connected to this terminal. If the LED clears and
the unit begins to function, check for a defective accessory, triggered
accessory or shorted wiring.
Charge LED rapidly ashing
Unit does not detect the presence of
a battery
h Check battery connections and harness, ensure the battery is
connected red to red (+) and black to black (-)
h Check all fuses
Charge LED off Unit not charging
h Battery at full charge
h Top left fuse if blown, check charge source polarity, replace fuse
h Normal systems check, it will come back on momentarily.
h No transformer output, proper output should be 19 Vdc
h Poor or night solar conditions.
h Check circuit breaker or GFI.
h Power at outlet
h Low voltage wire problem from charge source (transformer or
solar panel) to the control board.
h Ensure transformer or solar panel wires are properly connected to
the control board. It is necessary to observe correct polarity.
Charge LED Flashing Battery or Batteries disconnected
Connect battery/batteries