MM571W / MM572W Installation Instructions 7
H
1
2
1
Fence Post: MM571W
Leading Edge of
Second Gate: MM572W
1
2
1
Fence Post: MM571W
Leading Edge of
Second Gate: MM572W
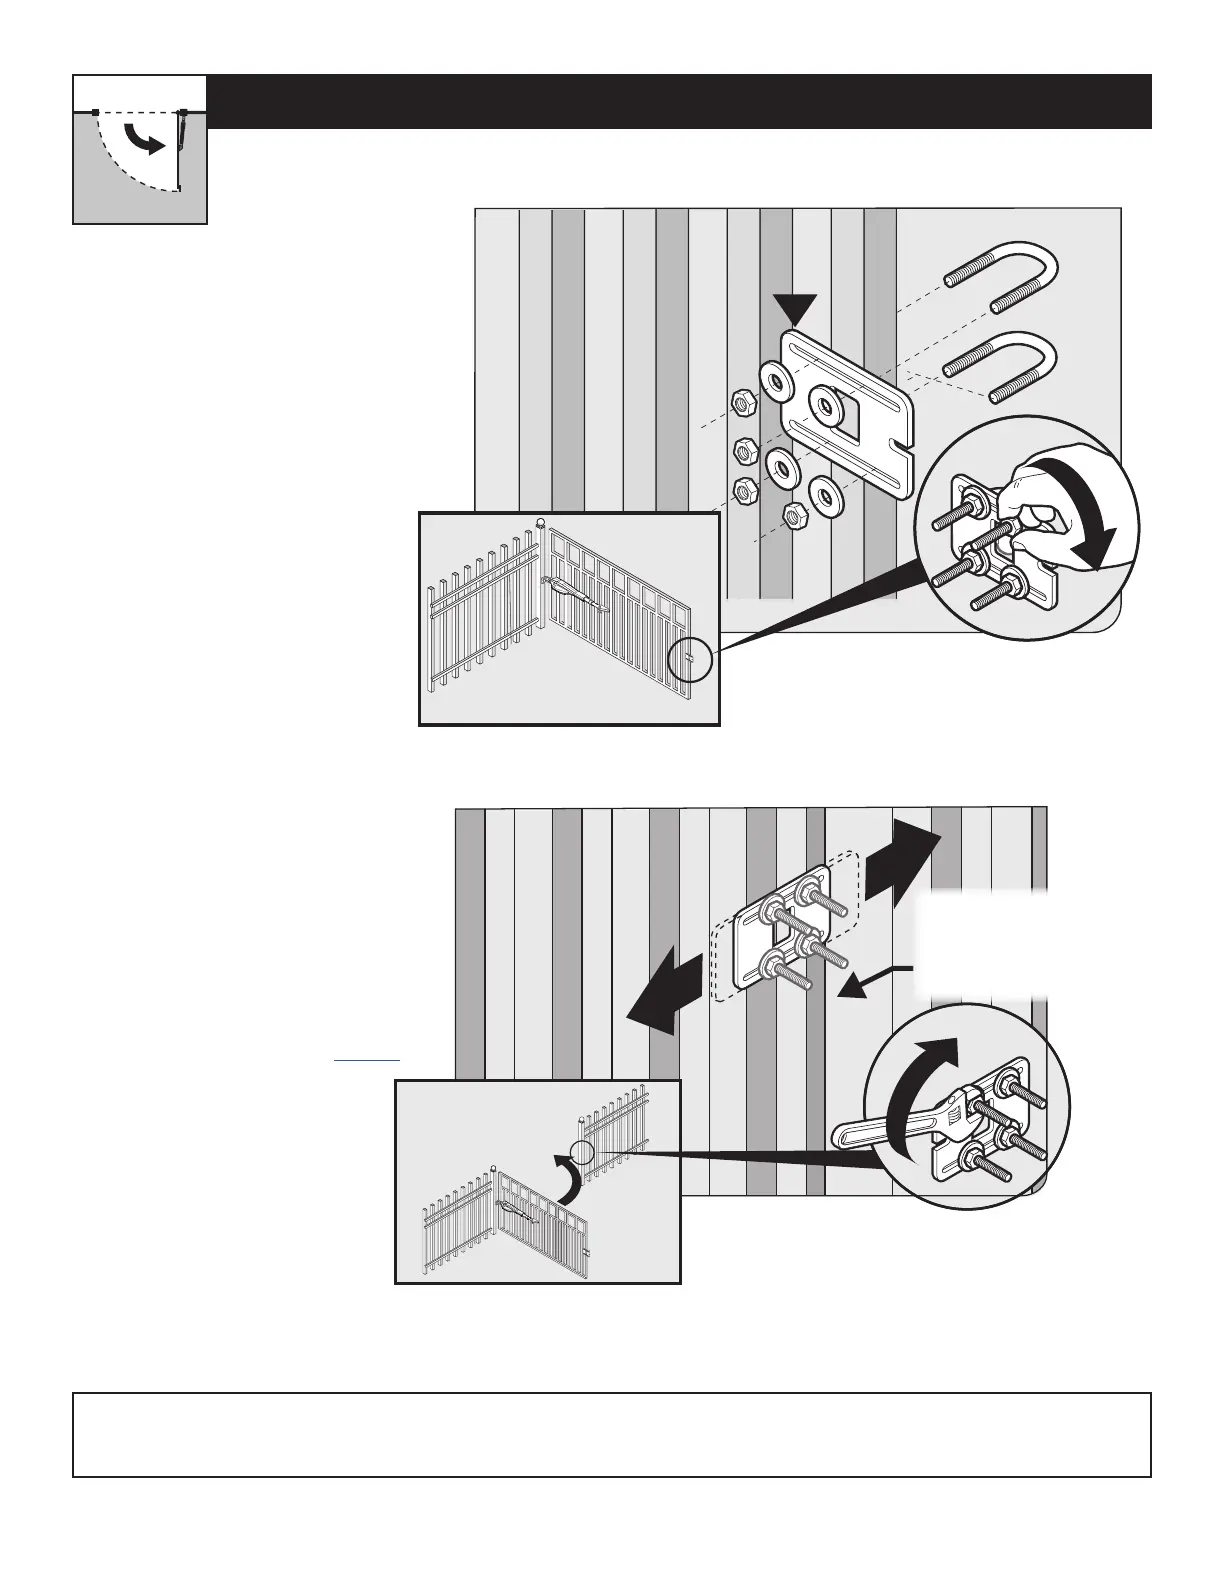
● Remove the operator from the
gate post and gate brackets.
● With the gate fully open, install
the closed position stop plate
(hardware not included).
● Do not fully tighten hardware
until after the next step.
● Swing the gate to the closed
position, and adjust the closed
position stop plate against the
fence post.
● Tighten the mounting hardware.
● Return the gate to the open
position and reinstall the operator
arm.
● To complete the pull-to-open
installation, proceed to page 14.
INSTALLING THE CLOSED POSITION STOP PLATE / PULL-TO-OPEN
Step 1
Step 2
Your Property
Note: For MM572W installations, the closed position stop plate should be installed on the leading edge of the PRIMARY gate leaf,
and adjusted to close against the leading edge of the SECONDARY gate leaf.