. A complete Parts List is available at www.MillerWelds.com
OM-264259 Page 26
Ref. 803 640-A / 801 400-B / Ref. 254 087-A
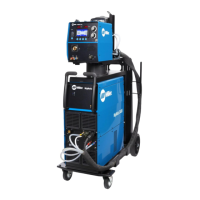
6-5. Sequence Of Cutting Operation
! The pilot arc starts immediately
when trigger is pressed.
Connect work clamp to a clean, paint-free
location on workpiece, as close to cutting
area as possible.
. Unit automatically regulates pressure to 75 psi
(517 kPa) for cutting.
CUT GOUGE
. Connect work clamp to portion of workpiece
that does not fall away after being cut.
. For more information, go to MillerWelds.com.
For standard (shielded) cutting, place drag shield
on edge of metal. For extended (non-shielded)
cutting, use 1/8 in. (3.2 mm) standoff distance
(dragging tip will reduce tip life).
90°
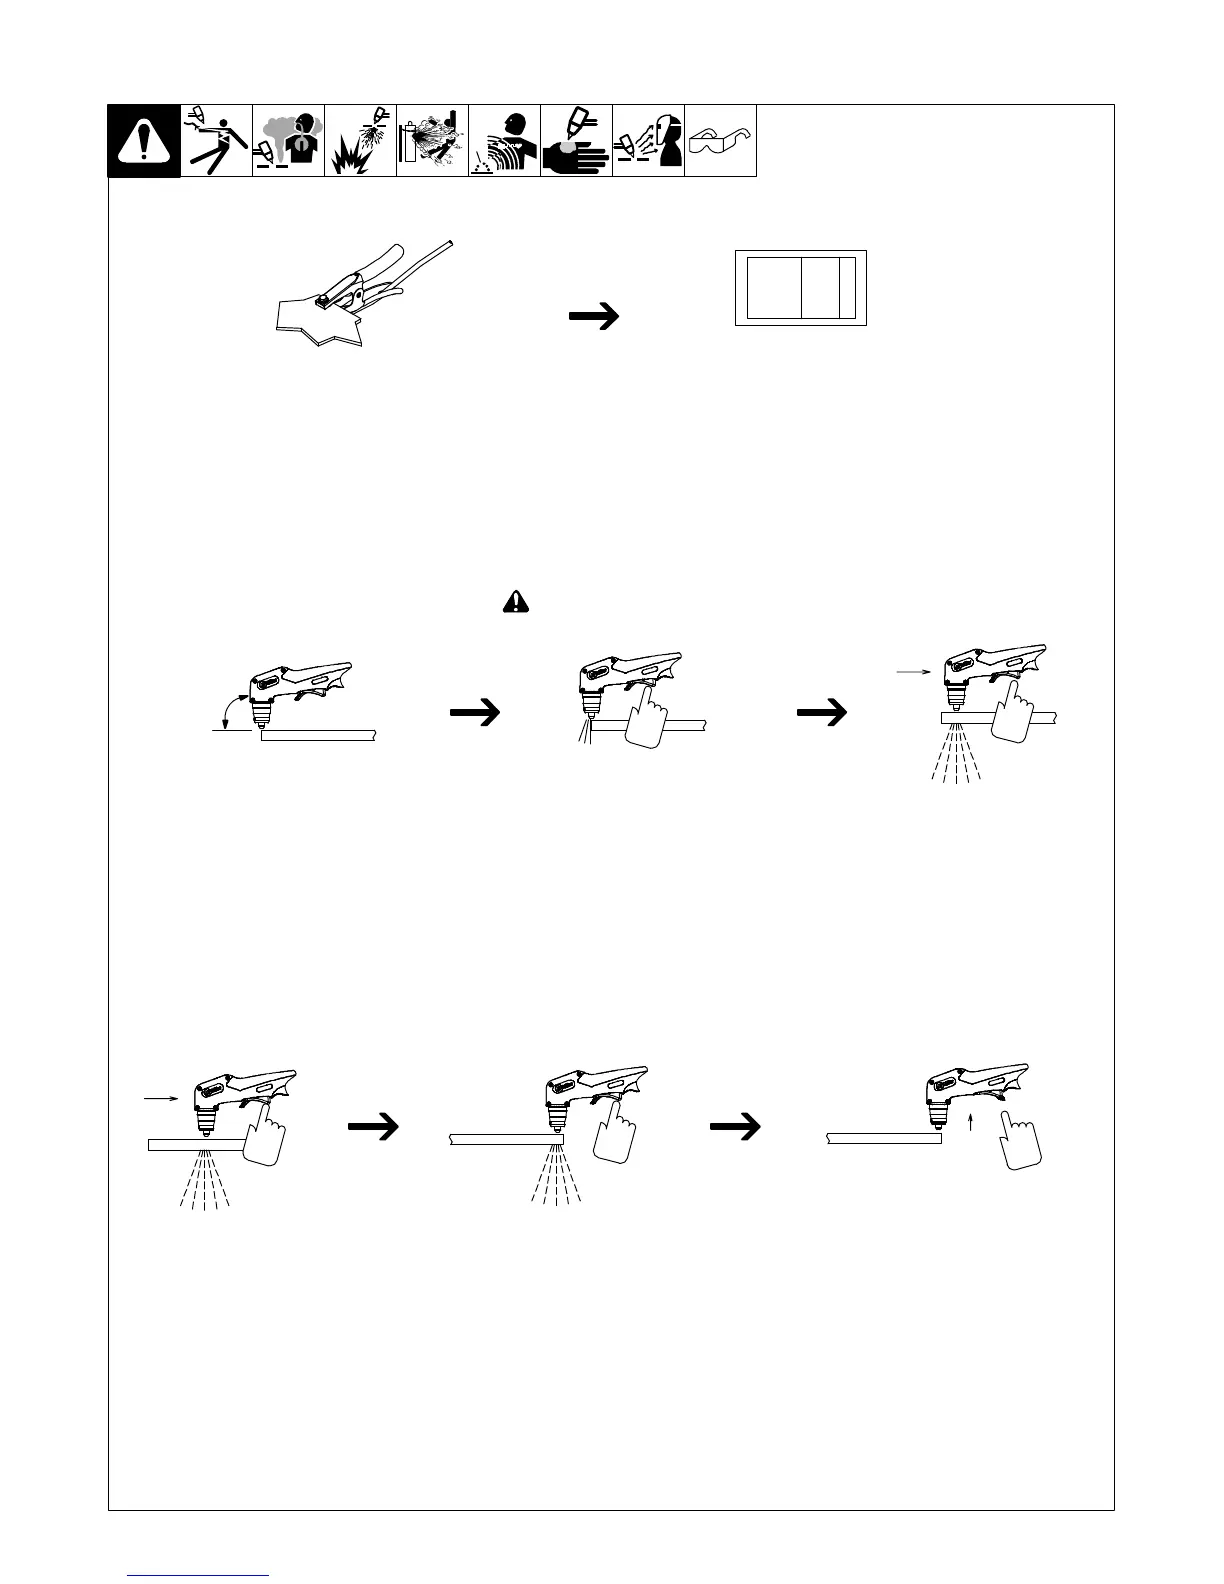
out bottom of cut.
After cutting arc starts, slowly
start moving torch across metal.
Adjust torch speed so
sparks go thru metal and
Pause briefly at end of
cut before releasing trigger.
Raise trigger lock and press
trigger. Pilot arc starts.
Postflow continues for approx. 20 seconds
after releasing trigger; cutting arc can be
instantly restarted during postflow by raising
trigger lock and pressing trigger.
 Loading...