EasyManuals Logo

Miller Spectrum 875 User Manual

Miller Spectrum 875
56 pages
To Next Page IconTo Next Page
To Previous Page IconTo Previous Page
Page #40 background imageLoading...
Page #40 background image
. A complete Parts List is available at www.MillerWelds.com
OM-264259 Page 36
8-4. Wrapper Removal/Installation
805 209-A
Tools Needed:
! Turn off power, and
disconnect input power plug
from receptacle or turn off
and lockout/tagout line dis-
connect device before
working on unit.
! Significant DC voltage can
remain on capacitors after
unit is Off. Check to see that
front panel lights (LEDs) have
stopped flashing and are off
before removing wrapper.
1 Wrapper
2 Front Bezel
3 Rear Bezel
4 Torx Screw (Fine Thread)
Remove 13 screws from wrapper,
and front and rear bezels as shown.
Spread open tops of front and rear
bezels.
5 Consumables Storage
Compartment Opening
Be sure that opening clears the
storage compartment. Lift wrapper
off unit.
. When installing wrapper, front
and rear wrapper flanges must
be on outside of front and rear
portion of metal chassis.
Torx 25
1
4
1
1
2
3
2
3
5

Table of Contents

Questions and Answers:

Question and Answer IconNeed help?

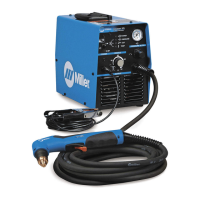
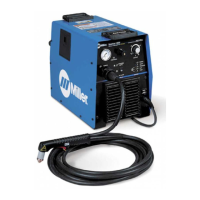
Do you have a question about the Miller Spectrum 875 and is the answer not in the manual?
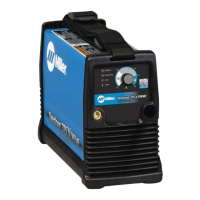
Miller Spectrum 875 Specifications

General IconGeneral
Amperage Output20-60 A
CNC InterfaceOptional
Gas SupplyClean, dry, oil-free air or nitrogen
Input Frequency50/60 Hz
Output Current Range20-60 A
Welding ProcessPlasma cutting
TIG StartNot applicable
Rated Output60 A
Cutting Capability3/4 in (19 mm)
Cutting Capacity1 in (25 mm)
Severance Capacity1-1/4 in (32 mm)
Input Phase1- or 3-Phase
Duty Cycle60%

Related product manuals