4
INSTALLING THE SOFTWARE
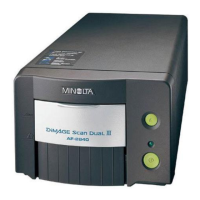
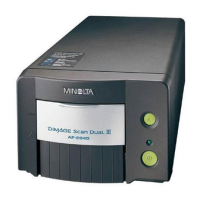
1.Turn on the Dimâge Scan Multi, then turn on your PC.
2.Start Windows 95 or Windows NT.
WINDOWS 95/WINDOWS NT
Windows 95
• The New Hardware Found dialog box will appear.
Windows 95 Release 2 (OSR2)
• The appearance and/or wording of some dialog
boxes may vary.
• The following dialog box will appear.
5 From the START button, select Run…
• The Run dialog box will appear.
3.Click on Cancel.
• This dialog box may appear several times.
Repeat step 3 until the dialog box no longer
appears.
3a. Click on Next.
• A similar dialog box will appear.
3b. Click on Finish.
• This dialog box may appear several times. Repeat
step 3 until the dialog box no longer appears.
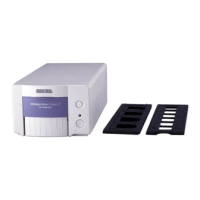
4.Insert the Dimâge Scan Multi CD-ROM into the CD-ROM drive.
• These installation instruction assume drive D is the CD-ROM drive.
Windows NT
3.Select Start ‘ Settings ‘ Control Panel, then double-click on the SCSI Adapters icon.
Confirm that Minolta #2883 appears as a connected device for your SCSI board.
• If Minolta #2883 does not appear, turn the system off and check all the connections. Repeat the procedure.
3.This step varies with your specific operating software…