13
INSTALLATION
Refer to section: 'Important Safety Information' rst.
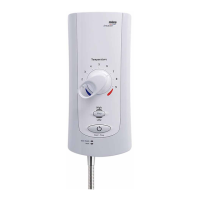
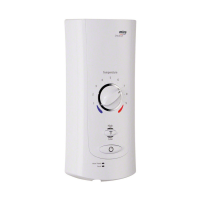
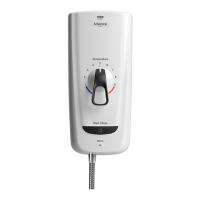
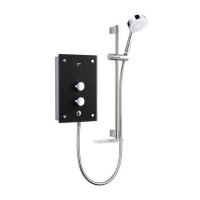
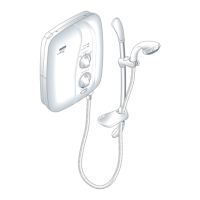
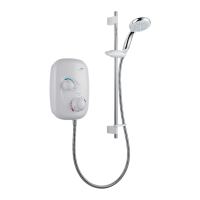
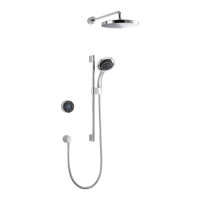
This installation covers all models of the Mira Advance ATL Thermostatic
shower.
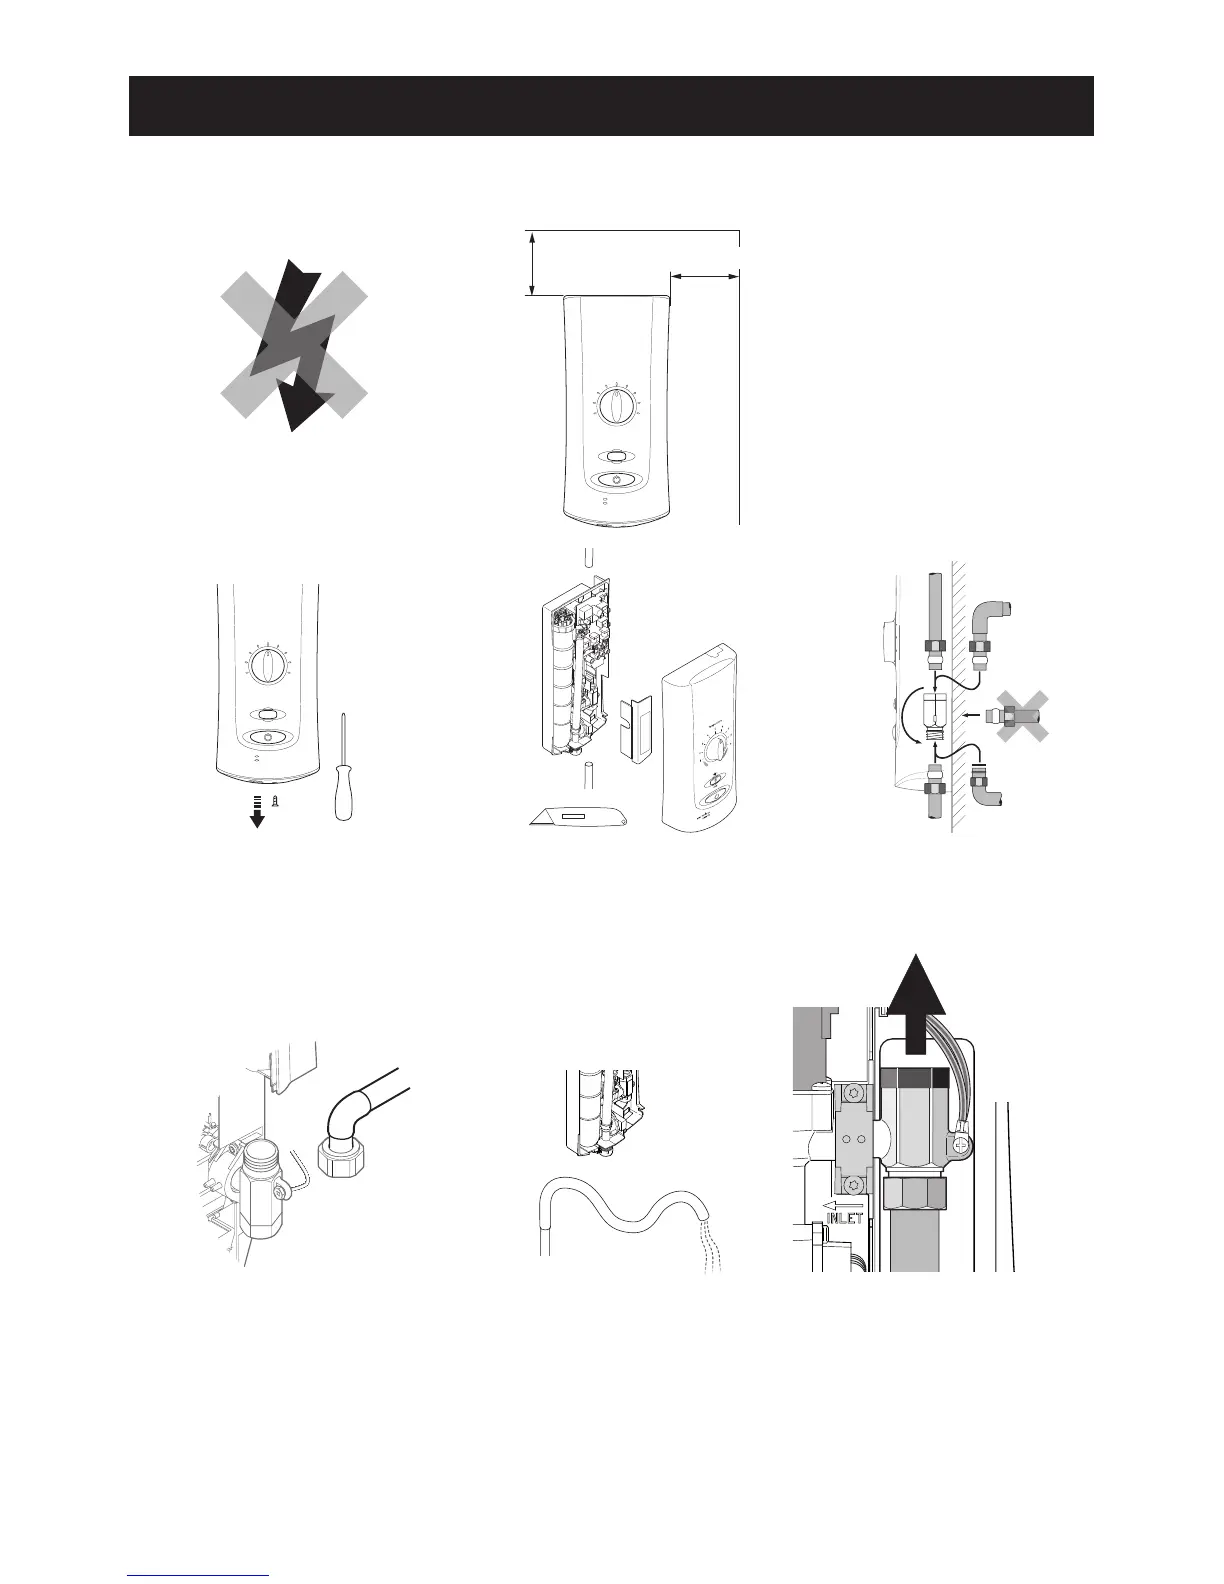
1. Electrical supply
is turned off at the
mains.
2.
Decide on shower position,
leaving adequate space for
maintenance.
(If installation includes an
Instantmatch by Whale®
drain pump, see "Wireless"
section for information
on position of wireless
devices.)
3. Remove cover screw. 5. Turn inlet connector
to suit supply pipe. Do
not trap green wire.
6. Complete any
soldering required
away from appliance.
8. DO NOT flush
through the product
by removing the inlet
filter. Debris may
damage the product
and invalidate the
guarantee
7. Flush a minimum of
10 litres (2 gallons)
through pipework prior
to connection.
10 mm
100 mm
4. Remove cover and
splash guard. Determine
cable and pipe supply
routes via cutouts
moulded in the case
and cover
DO NOT
REMOVE
TO FLUSH
PRODUCT
 Loading...