14
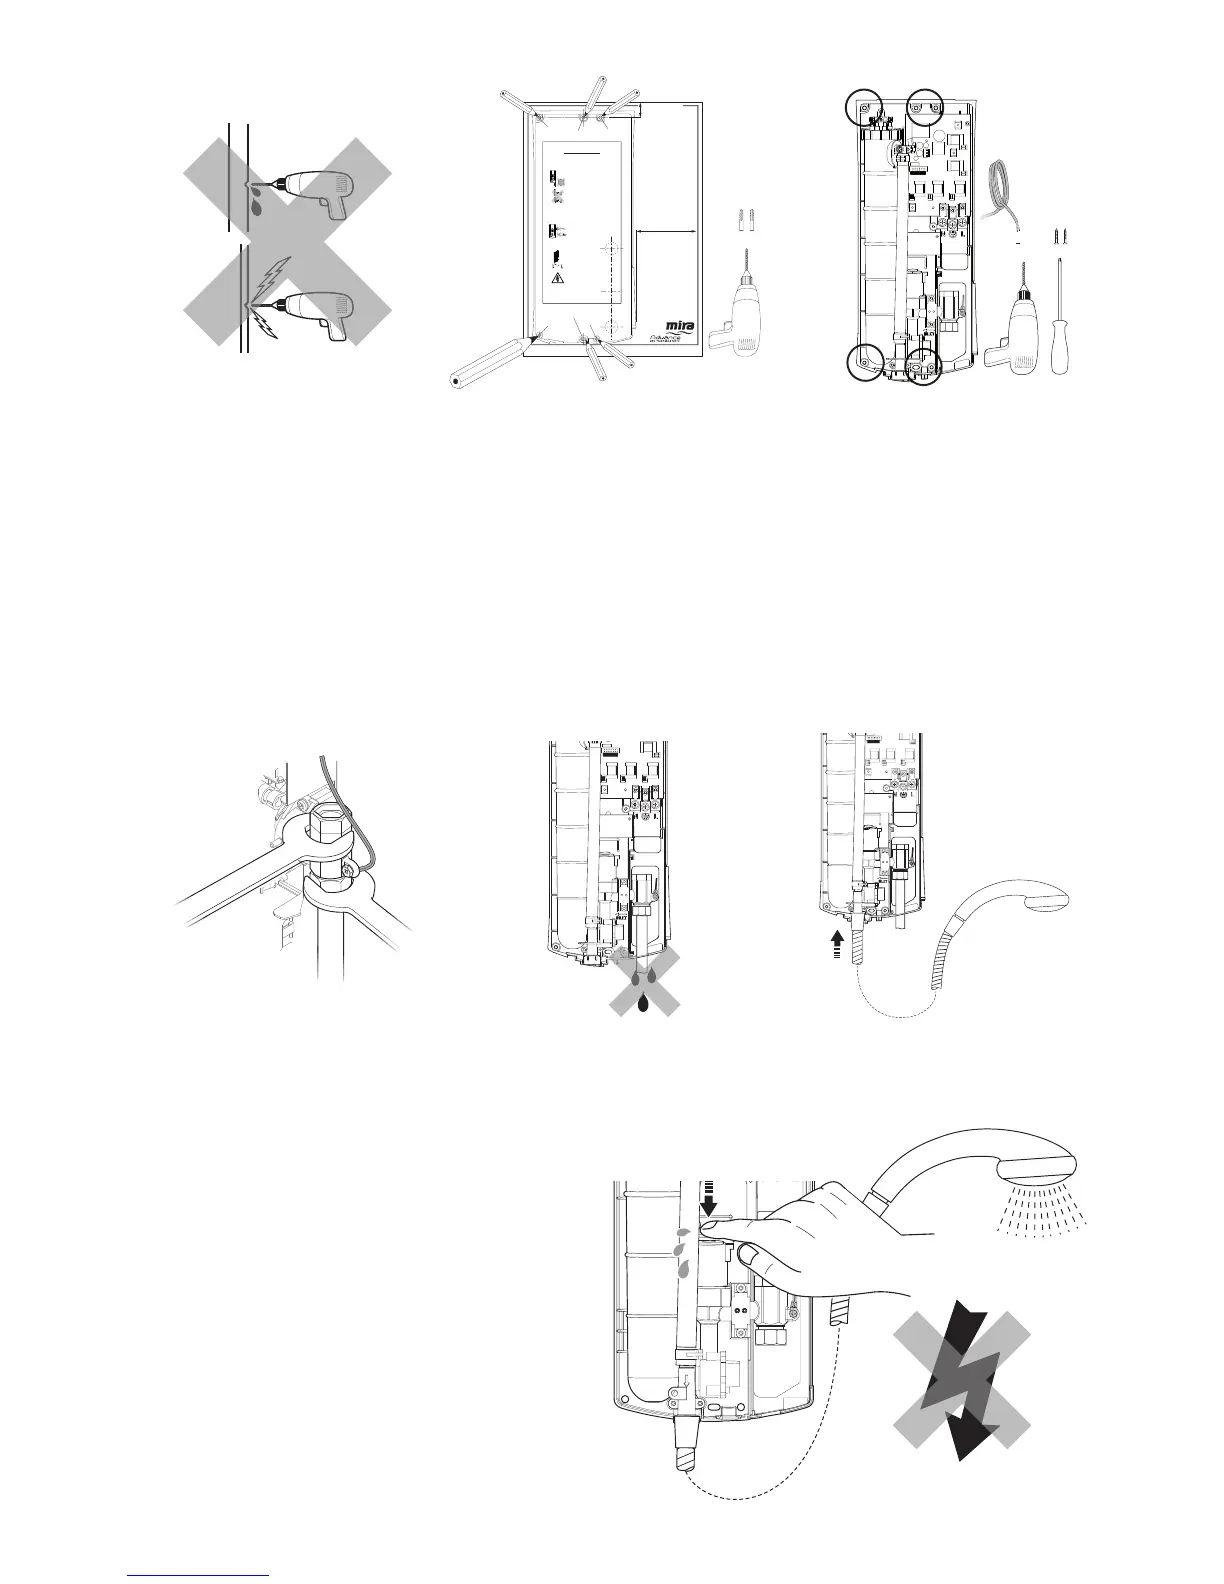
9. Caution! Do not drill
into buried cables or
pipes.
10. Use template provided
to mark and drill
required xing holes.
Do not drill through
the plastic case into
the wall. Plaster and
brick dust will damage
internal components.,
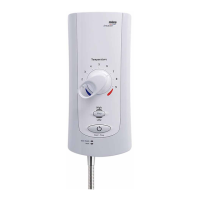
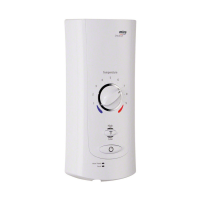
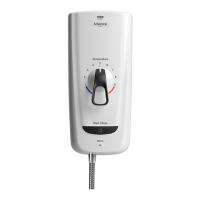
Mira Advance ATL
Attention Installer
IMPORTANT! The following key details should be read in
conjunction with the Installation and User Guide.
Optional
Fixing Hole
Required
Fixing Hole
1083677-W7-A
© Kohler Mira Limited, May 2007
Optional
For technical support and general enquires,
spare parts and after sales service contact us on:
Telephone : 0870 241 0888
Fax : 01242 282 595
email : mira_technical@mirashowers.com
Optional
Optional
Leave minimum gap to
install and maintain
Do not install the appliance where it
may become frozen.
Do not drill into buried cables or
pipes.
Avoid dust contamination of the
product by using this template to mark
and drill into the wall. Drill appliance
case separately.
Do not use alternative screws to
secure the cover.
Do not seal any part of the appliance.
Use the correct supply cable
size. Refer to BS 7671.
Leave minimum gap
to remove cover
Required
Fixing Hole
Thoroughly fl ush the
pipework before connecting
to the appliance.
11. Drill holes through
plastic case as
required. Route signal
cable to shower drain
pump (if applicable).
Fix appliance to wall.
Use appropriate
screws and wall plugs
for xing.
14. Connect hose and
showerhead, pointing
into bath or tray.
13. Turn on water supply
and check for leaks.
12. Connect supply pipe.
Do not overtighten.
15. Important! Priming the Shower
Make sure electricity is isolated!
Push down and hold air bleed
button to prime appliance until
water flows from shower head
for a minimum of 10 seconds,
repeat 3 times. Failure to prime
will seriously affect shower
performance!
Carefully dry off water before
connecting / reinstating electricity.
 Loading...