INSTALLATION & SETUP
Mirage 2000/4000/6000 User’s Manual
2-21
For most installations, the
lens surface of the projector
is parallel to the screen—this
prevents major keystoning of
the image (i.e., an image
with non-parallel sides). In
addition, the projector must
be kept level from side-to-
side in order for the lamp to
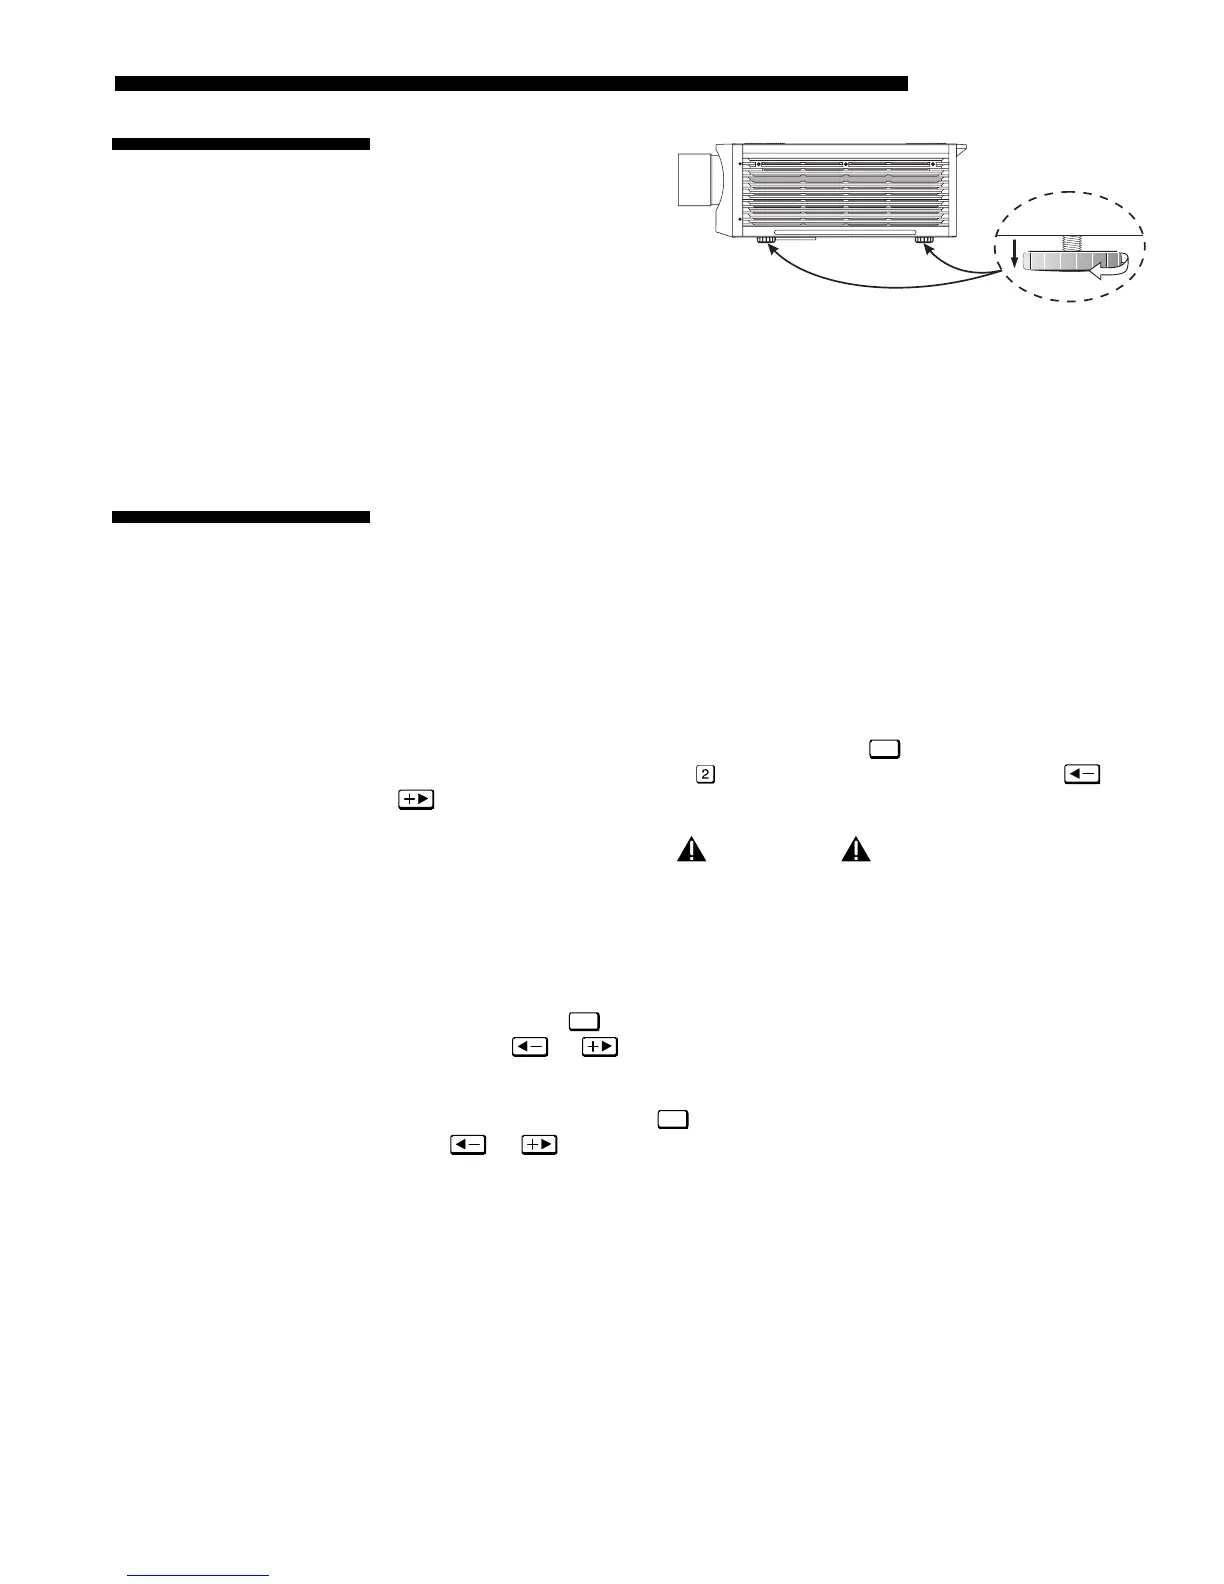
function safely. To make small corrections to the projector's level, rotate each leg as
necessary to raise or lower. For angled installations, see “Special Mounting” under
2.3, Projector Position and Mounting earlier in this section.
Once the projector is properly set up and producing an image, you are ready to make
quick lens adjustments. Refer to 3.3, Using the Keypad and 3.4, Navigating the
Menus if you are unfamiliar with using the keypad and menu system.
NOTE: A non-motorized lens mount is standard.
NON-MOTORIZED:
If you have a zoom lens installed, turn the textured ring of the lens
barrel to decrease or increase the size of the image at the current throw distance.
MOTORIZED: If you have a zoom lens installed, press
Lens
to display the Lens Control
menu. Select the “Zoom” option (
) and adjust image size as desired with or
. Refer back to Figure 2.1.
WARNING
Keep fingers away from the lens opening when
operating the motorized zoom function.
NON-MOTORIZED:
Near the lens opening, turn the lens focus tab until the image is as
sharp as possible.
MOTORIZED: Press
Lens
to display the Lens Control menu. Adjust image clarity as
desired with
or . Refer back to Figure 2.1.
NOTES: 1) Initially, your image may be so blurry you cannot recognize the “Focus”
menu option. Remember that
Lens
activates the “Focus” control (#1)—from here,
press
or to adjust. 2) If focus is not uniform throughout the image, bore
sight is likely poor. Contact your dealer for service.
Lens offsets move the lens and image. Try to achieve the desired overall image
position and best brightness while maintaining a rectangular image. If the brightness
looks uneven, or the edges do not look perfectly straight, the projector may not be in
the optimal position for your screen. See 2.3, Projector Position and Mounting for
full details. Lens offset ranges are also listed on page 5-1.
NON-MOTORIZED:
To relocate the image, turn either or both of the front knobs
adjacent to the lens. The top knob “Vertical” will raise or lower the image, the
bottom knob “Horizontal” will shift the image left or right.
2.7 Leveling
Figure 2.21. Adjusting the Feet Height
2.8 Zoom, Focus &
Lens Offset
Zoom
'
Focus
'
Lens Offset
'