OPERATION
3-4
Mirage 22000/4000/6000User’s Manual
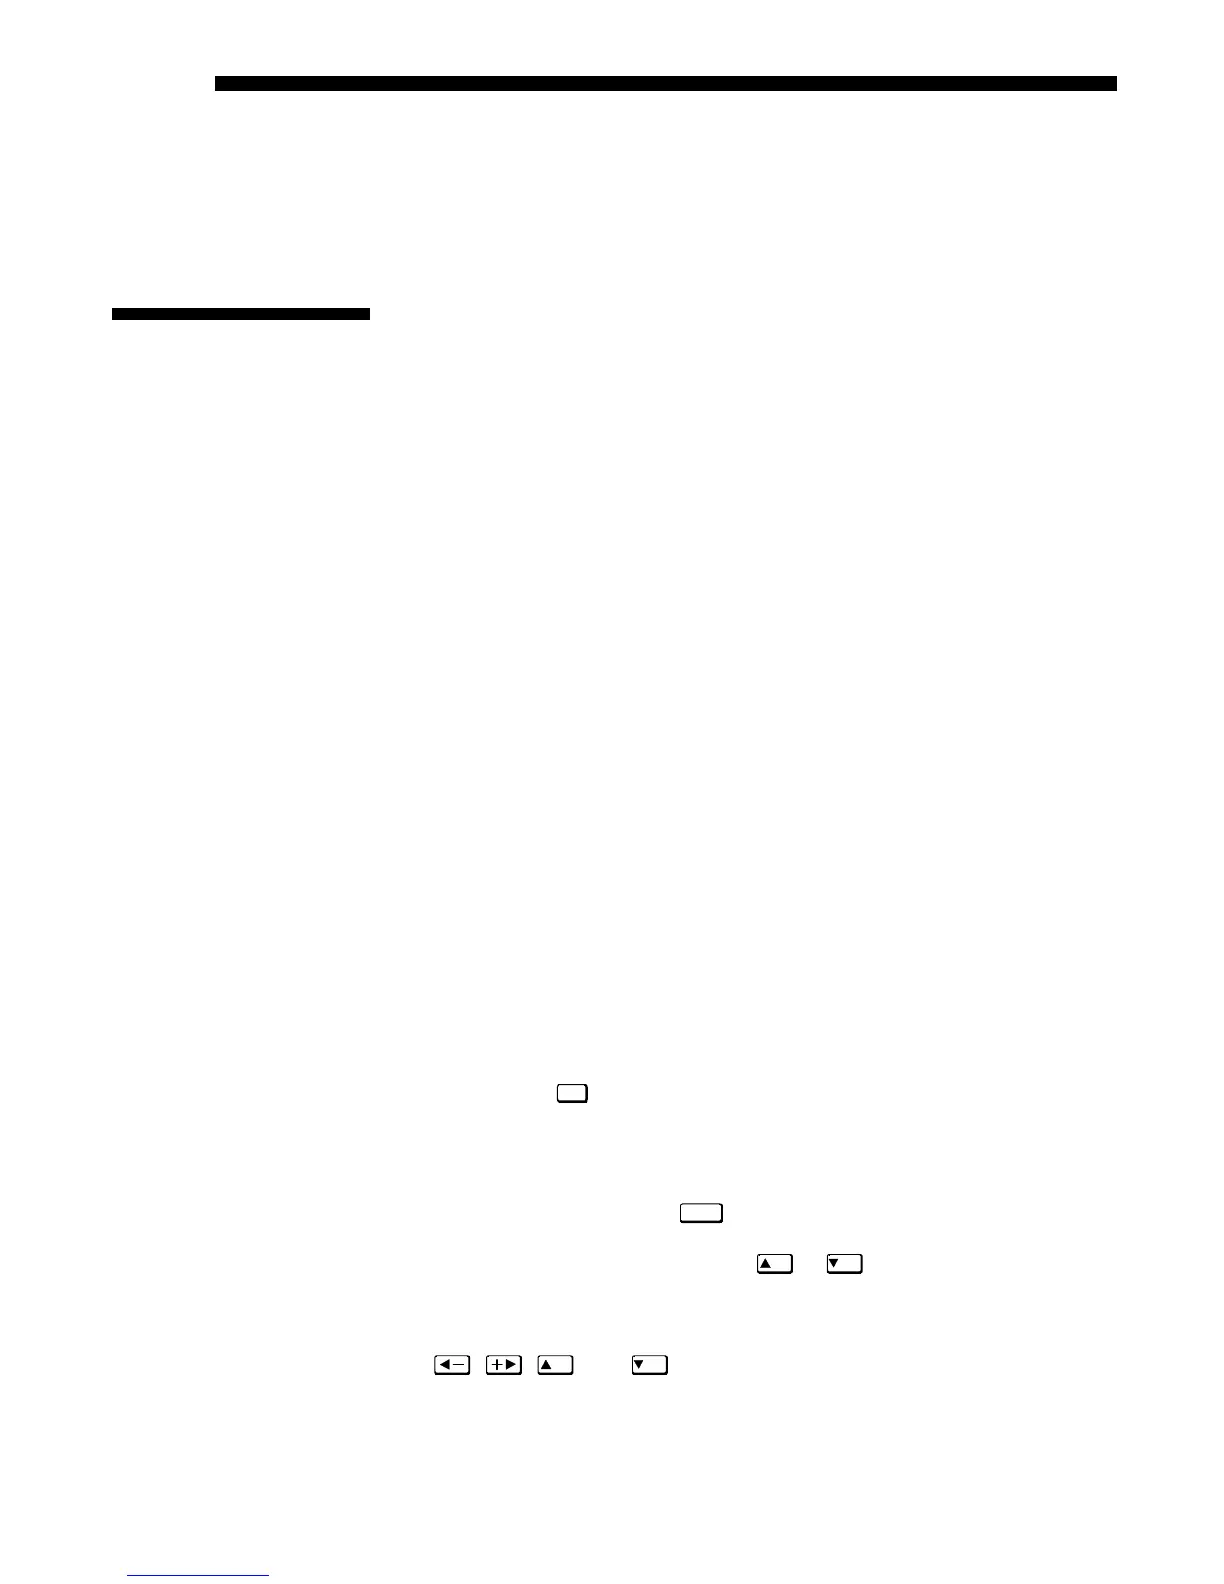
INFRARED SENSORS —- The infrared (IR) sensors on the front and rear of the
projector receive infrared signals from the IR keypad for remote control of projector
functions. For proper operation make sure that these sensors are not blocked.
HARD RESET —
Emergency access for powering down the projector in the event of a
system failure. Insert a pen point or small screwdriver.
The keypad appears in three locations:
• Built-in to the rear of the projector
• Infrared (IR) Remote for tetherless control up to 100 feet away
• Wired Remote (optional) tethered to the rear of the projector
While each keypad is identical in layout and provides complete control of the
projector, you may find one keypad more convenient than another for your specific
installation and application.
The built-in keypad is located at the rear of the projector. An LCD window above
this keypad provides feedback regarding current status and activities of the projector.
The IR Remote Keypad controls the projector by way of wireless communications
from a battery-powered infrared (IR) transmitter. Use the IR remote keypad the same
way you would use a remote keypad supplied with a TV or VCR. When making key
presses, point the keypad either toward the screen or toward the front or rear of the
projector. One of two sensors on the projector will detect the signals and relay the
commands for internal processing.
The wired remote keypad connects to the 3-pin XLR jack via a 50 ft. cable. It is
recommended when:
• the rear of the projector is inaccessible
• the lighting conditions are unsuitable for proper IR transmission
• you want to use a separate keypad for each projector in a group
NOTES: 1) For extra long distances and/or harsh environments, you may prefer to
use an optional remote Two-Way Controller to control the projector. For operating
details, please see the Two-Way Controller User’s Manual included with this
accessory. 2) Old Vista
GRAPHX
“Roadie style” keypads can be used with this
projector, but the
Func
key codes listed on the back are different and do not apply.
Keep in mind the following guidelines:
1)
Press keys one-at-a-time; there are no simultaneous key presses required.
2)
For any key having an “*” (
Power*
, for example), hold the key for approximately 1
second in order to toggle the function with a single key press. For other keys (or
to use a “*” key in conjunction with
ON
or
OFF
), a momentary press similar to
a mouse click is sufficient.
3)
Press the “lightbulb key” to temporarily illuminate the backlight for the keys
without sending any other command.
4)
,
,
ON
, and
OFF
repeat their “arrow” actions when held down. For
other keys, release and press again to repeat an action. In a network, pause
between adjustments to ensure that the last projector can “keep up” with the
commands.
3.3 Using the
Keypad
Built-in
'
IR Remote
'
Wired Remote
'
—OPTIONAL—
Guide to Ke
ads
'