OPERATION
Mirage 2000/4000/6000 User’s Manual
3-59
NOTES: 1) If you are using a computer or controller to issue commands, use the
correct RS-232 software command to gain control of a single projector.
First make certain that only one (any) networked projector has its "Broadcast Keys"
option selected (checked) — the remaining projectors must have the option
unchecked and their keypads disabled (do this in Configuration / Communication
menu). The "Broadcast Keys" projector will then relay keypad commands to the
others. If using a wired remote, make sure to select the “Broadcast Keys” option for
the projector to which the wired remote is connected.
On either the IR remote or wired keypad, press
to display the projector box.
Press
again without entering a number — the keypad commands will now affect
all projectors.
NOTE: 1) If you are using a computer or controller to issue commands, use the
correct RS-232 software command to broadcast.
Tiling an image means that multiple adjacent
displays work together to form a single image,
like a tiles in a mosaic. This videowall concept
contrasts with other multiple-projector
applications in which each display is a
complete and independent image. Use the
Tiling Setup menu as described below
(accessed via the Size and Position menu or
Configuration/Geometry menu) to configure a maximum of 16 displays (4 x 4) into
one single-image videowall or tiling array.
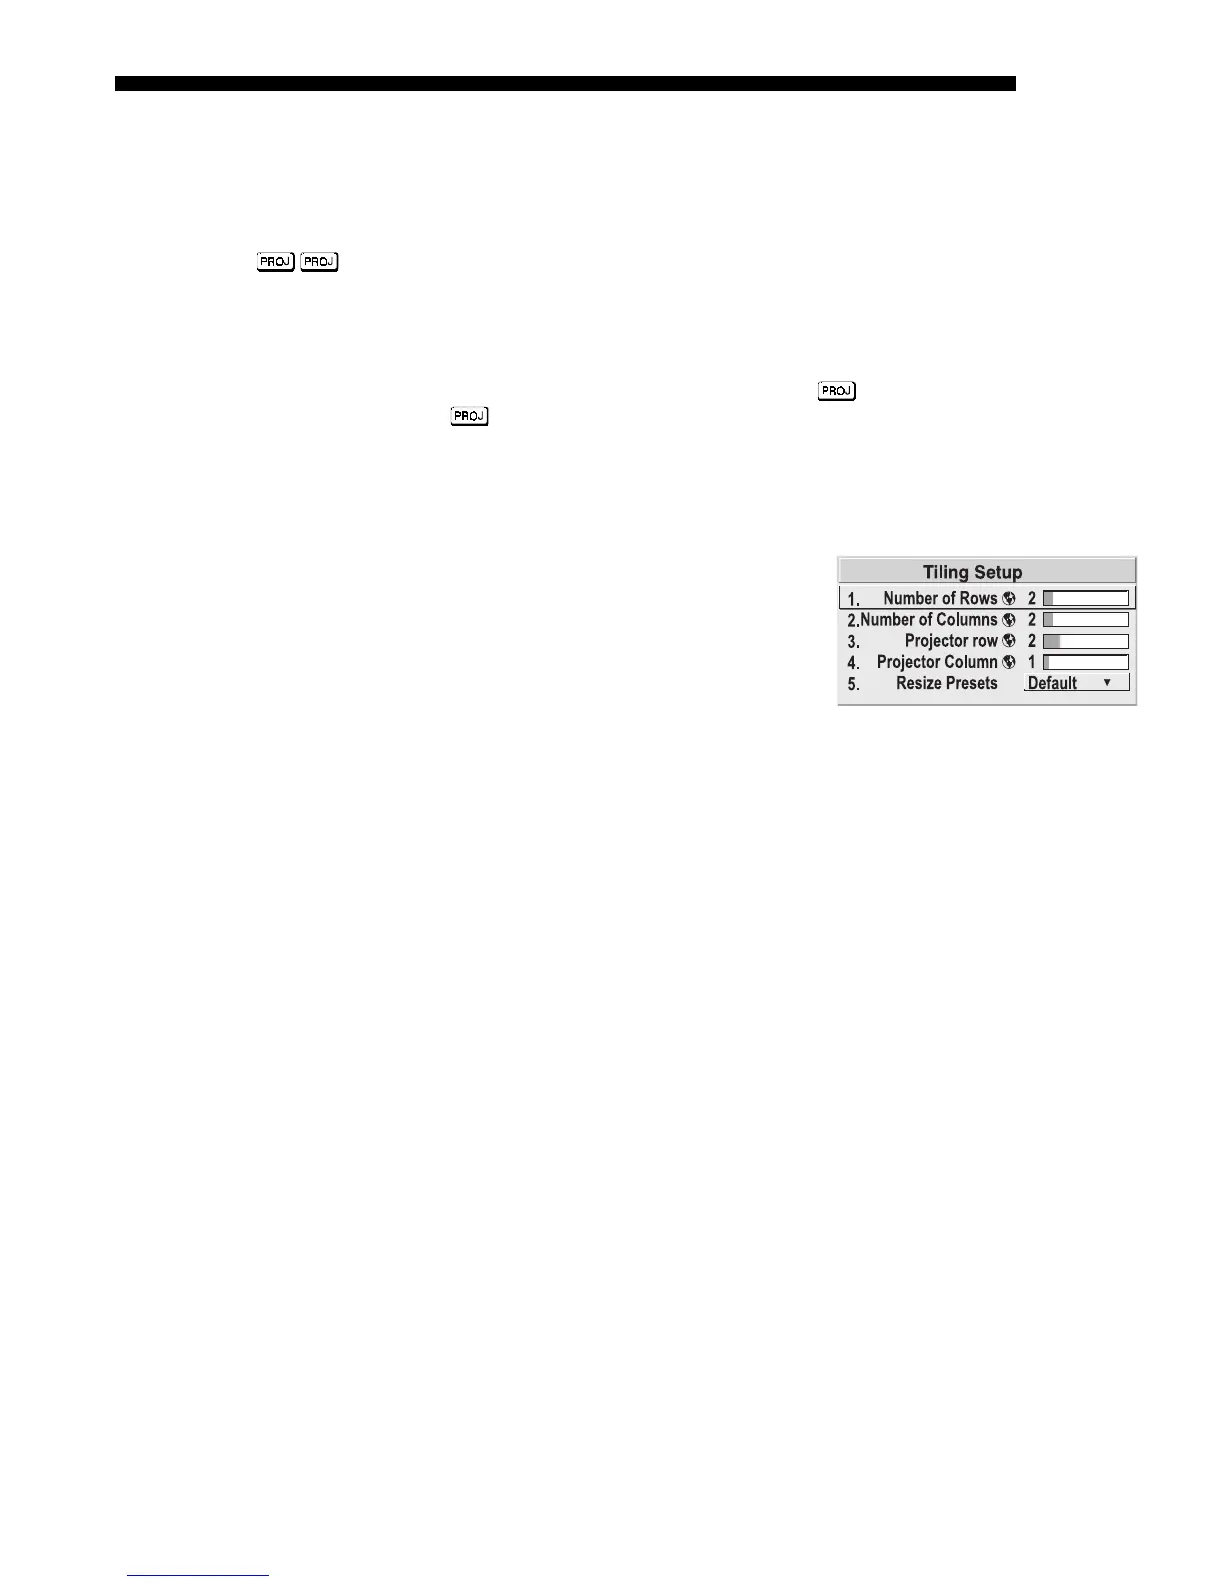
Defining the Videowall
NUMBER OF ROWS – Use the slidebar to define the number of rows (1-4) present in
your videowall. Each projector must have the same setting.
NUMBER OF COLUMNS
–
Use the slidebar to define the number of columns (1-4)
present in your videowall. Each projector must have the same setting.
PROJECTOR ROW AND PROJECTOR COLUMN – For each projector, use these two
slidebars to define the projector’s unique row-and-column location within the
videowall. Any videowall begins with the top left corner display as Row 1, Column
1. See Figure 3.37.
Broadcasting to
'
All Projectors
Tiling An Image
'
Across Multi
le Dis
la
s