20/1531-ASP11301 Uen B5 2017-03-23 24
I
NSTALLING CABINET
Note: It is a must to follow the suppliers Installation User guide/Manuals.
2.5.1 INSTALLING THE AC/DC UNIT
The installation below is intended for the AC/DC unit 51305282. For specific informa-
tion of the 51305282, see supplier Instruction Manual doc No. PM110_6500_00, and
Quick Install Guide doc No. 110_6500_00-QR.
If any other type of AC/DC unit are installed, the same step below shall be taken.
Note: The AC/DC unit can have a shelf mounted below. This will ease the electrical
connection. The shelf to be used is 86/BYB501. See 2.10Installing a Cabinet
Shelf on page 38.
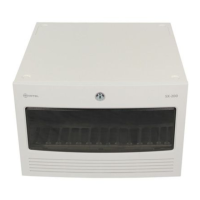
Figure 18: Installing AC/DC Unit
1. If not already done, mount captive nuts (A) (2.3 Installing Supporting Captive
Nuts on page 18).
2. Place the AC/DC unit on the mounted shelves (86/BYB501).
3. Use the four screws (C) supplied with the mounting kit to fasten the AC/DC unit
to the captive nuts in the cabinet. Do not tighten the screws, as they need to be
opened again when connecting cables to the AC/DC unit.
4. Connect the mains supply, distribution/load cables and battery cable acc to
manufacturers instruction/manual. NOTE: Do not Power up the Unit in this stage.
5. Fasten the warning label, energy hazard (SVB 131 75) as close as possible to
the circuit breakers on the front of the AC/DC unit.
2.6 INSTALLING MX-ONE CLASSIC
This section describes the installation of the subracks containing the MX-ONE Classic
boards in the cabinet. Note that this section does not describe the installation of sepa-
rate boards in the subrack. The MX-ONE Classic consists of one subrack.