If the charging indicator is not illumina-
ted, charging has not started.
Make sure that the normal charge port
and the plug are correctly connected, and
perform charging from Step 5 again.
NOTE
l
When the normal charge connector is con-
nected to the charge port, the charging indi-
cator will blink. When charging is started,
the charging indicator illuminates and the
charging port courtesy lamp blinks 3 times.
l
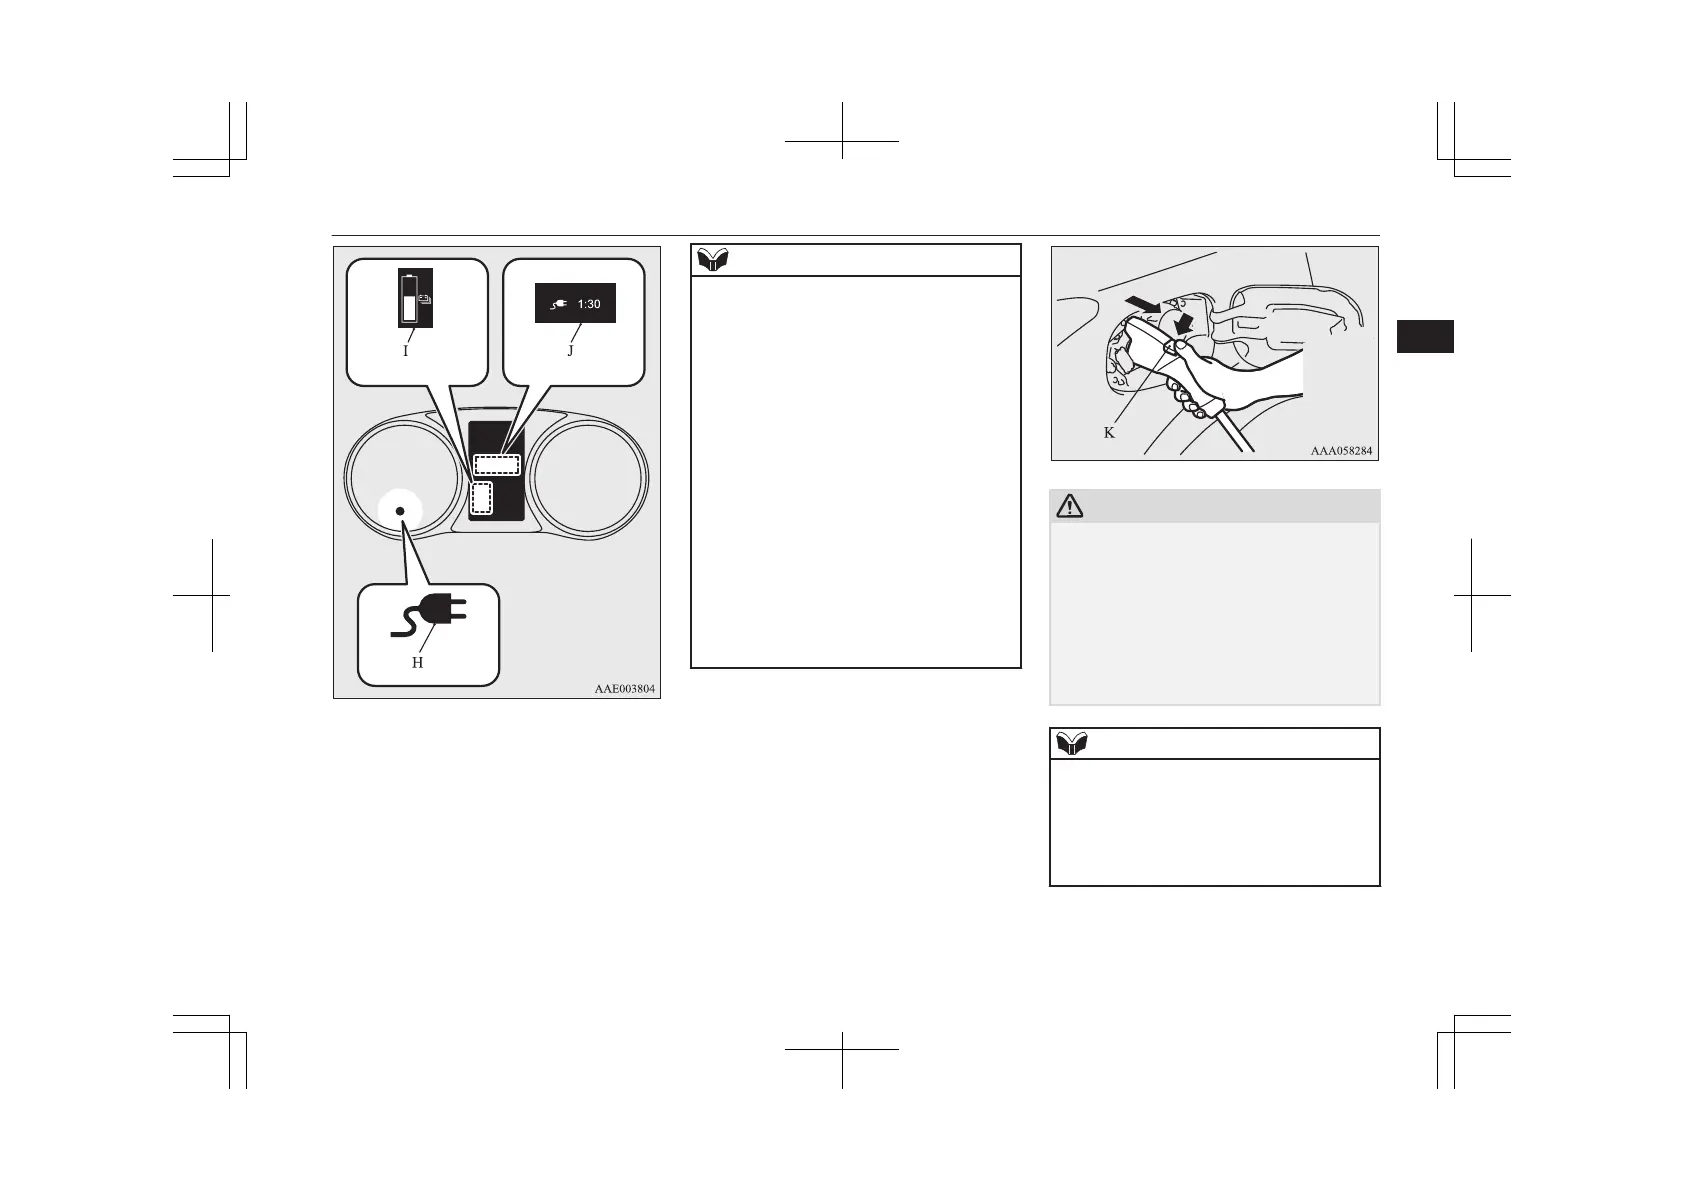
If you want to confirm the drive battery level
or the predicted charging time during charg-
ing, one of the doors is opened or the multi
information display switch is operated, the
drive battery level display (I) appears and
the predicted charging time display (J) ap-
pears on the information screen in the multi
information display.
In addition, when the remaining time is less
than 1 hour, the predicted charging time dis-
play (J) appears --:-- and does not indicate a
malfunction.
When an electrical component is used during
charging, the charging time may become
longer.
9. Charging is complete if the charging in-
dicator goes off. Pull out the normal
charge connector while pressing the re-
lease button (K).
CAUTION
l
Be sure to check the normal charge connec-
tor is removed from the normal charge port.
The vehicle can be driven with the charge
connector inserted when it is not locked
completely which may result in a serious ac-
cident.
Be sure the charge connector is removed
completely from the vehicle after the charg-
ing is completed.
NOTE
l
Charging can be stopped half way. In this
case, also pull out the normal charge connec-
tor while pressing the release button. Press-
ing the manual stop button on the control
box can also stop charging.
Refer to “EV charging cable*” on page 3-07.
10. Close the inner lid and press the rear of
the charging lid until it clicks to close it.
Normal charging (charging method with rated AC 220-240V outlet)
3-15
OGGE19E1
Charging
3

 Loading...