Hints
for
f.cilitating
disassembly-reassembly
work
Engine disassembly
(al Orderlin
ess
is important.
Have
work
benohes ond
parts
t
ray
s
in
goo
d
c
ondition
~
cle
an
and
tidy.
Washing sinks and pans
sh
ou
ld
be
neat and ready
for us..
Have
the dis,,",sembled
part
s plac
ed
in
respec
tive
tray
s, keepmg a group of
assoc
ial
cd
parts
in
the
same
tray
ror
easy
id
entification.
(b) Before
se
parating two parts, be sure
to
make
match
marks
a~
necessary.
Even
for iliost
parts
to
wh
ic
n positional
mat
c
hing
is.
not
crit
i
cai,
such
marks will facilitate reassembly wor
k.
(e) Signs of some defects or naws are visible during
d
is
3ssembly but
JIlay
di
s
ap
pea
r when the
disassem-
bled
part
s
are
wa
sh
ed
clean
.
Leave
your
fIndings
on
re
cord
when
such
signs
are
noted .
(d)
Use
the right kind
of
tool for each disassembling
job.
in
order
to protect
the
parts
and
to speed up
'he
work
.
(e)
Handle
bearU'g8
and busrung' and the
like
with
care. They
are
critical parts: a little nick could
ma
ke
them
unfit
[or
re-use.
Engine
re
....
mbly
(
a)
Mak
e
it
a
rule
not to
rc·use
ditty
parts.
in
reassem
·
bly.
Oil
seals
and
beari1lgs
must be
particul"ly
cle.n
. !lefore instolling them, be sure
to
cle
..
, the
bores
for
admit
ting them,
(b)
It
is
a good practice not to re·use those gaskets
and
sealing
members
removed
f
rom
the
engine
that
ha
s been in long service. Use of replacement
partS
is
m
ore
economical as f
ar
as
gaskets
and
the
like
are
c
oncem~d.
(e) !lefore fitting a running part, be sure to oil its
stiding surf.c
..
.
Use
clean, fresh
'ngine
o
il
.
(d) Hav.
the speCified sealing compoWld on han
Use
of
the
compound is
pres
cr
ibed for most
of
sealing
pa
rts.
(e) Torque limits
ar
e specified for some bolts and
nu
ts
.
Be
sure
to
use
torque
'wrenches
and
to
re
r
er
to t
he
sp
ecified values
of
torque limits.
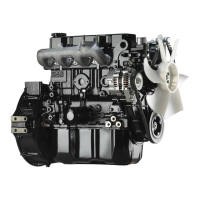
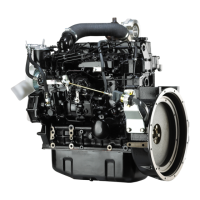
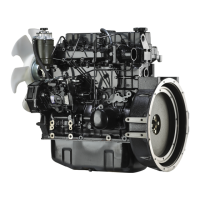
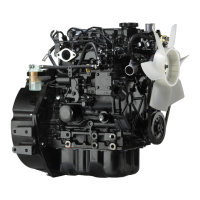
Engine
dismounting
and
mounting
T
he
engine
and
t
ransmis
si
on
a.re
lo be L
aken
down
tog.thor from the machi.ne. The two must be combined
On
the
bench
and
then
remounted
as
a unit.
The
dis-
mounting and mounting procedures are set fo
rth
in
a
nother
manuaJ.
Dt
SASSEMBLY
AND
REASSEMB LY
Rocker
arms
and
rocker
shaft
Rocker shaft
....
mbly removal
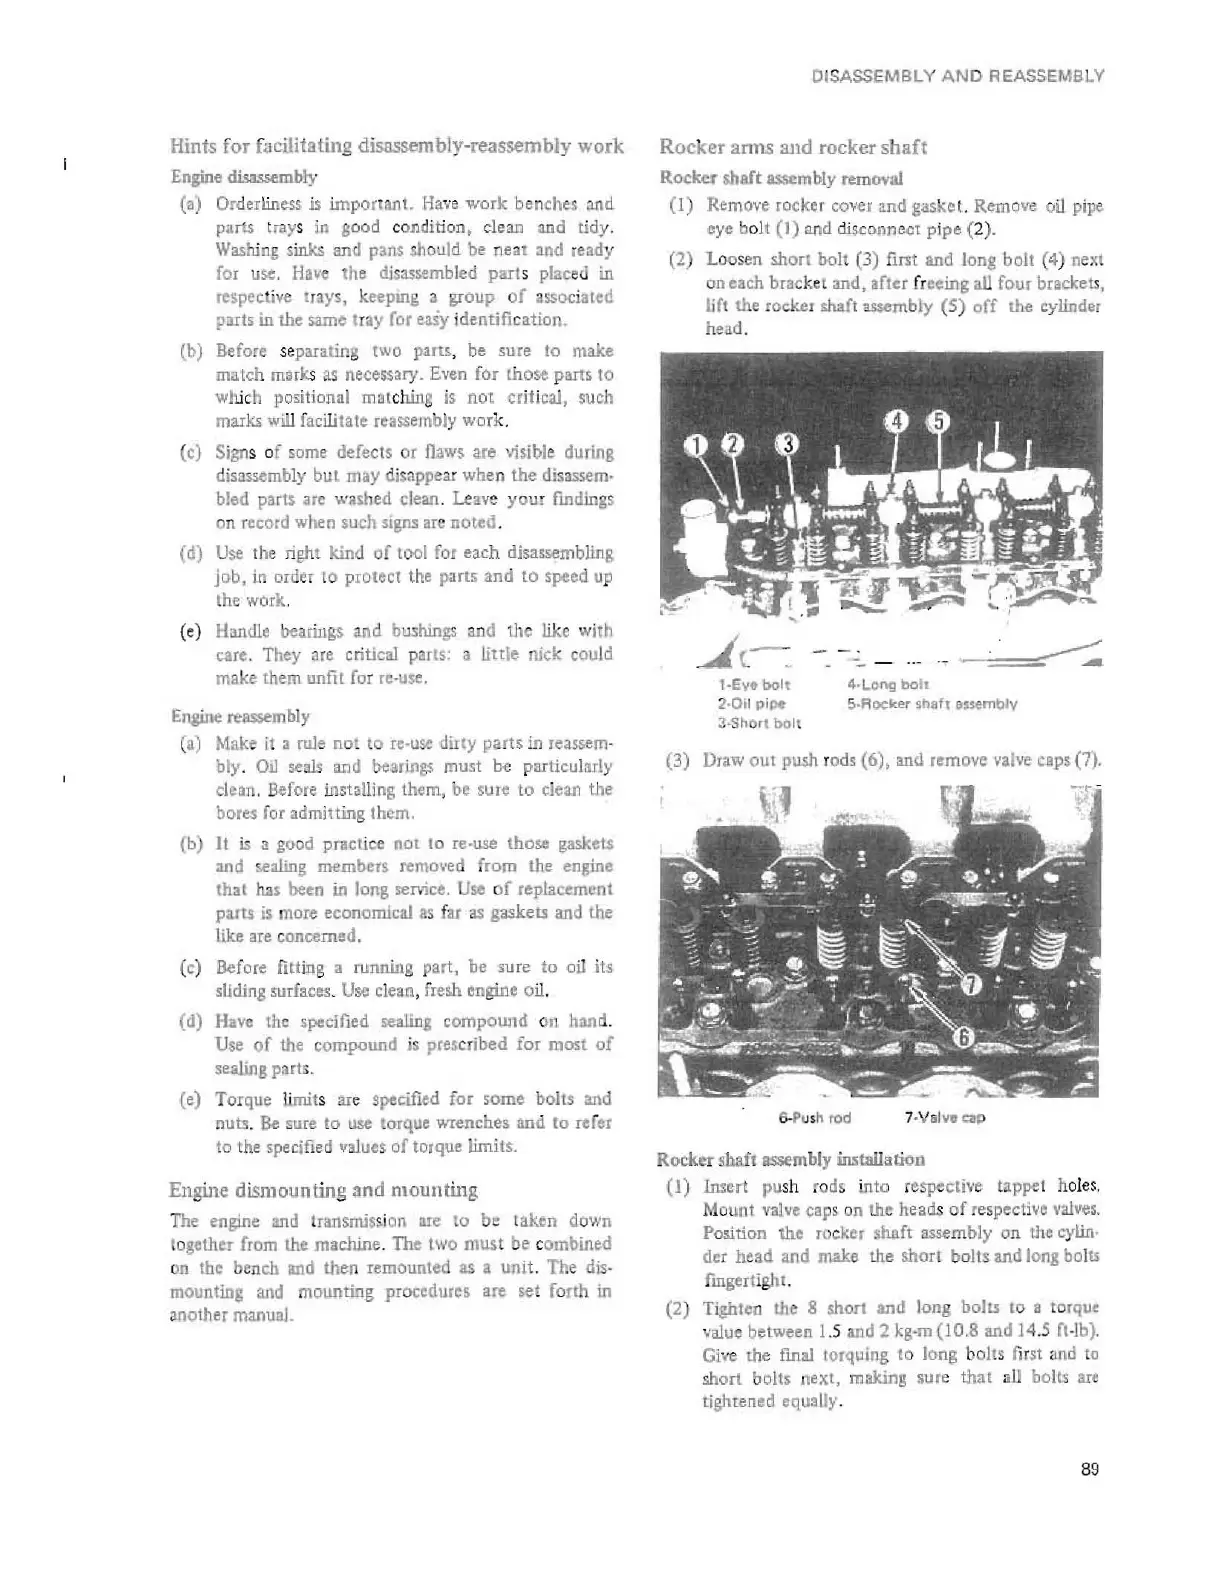
(1)
Remove
rocker
co
ve
r and gasko
t.
Remove
oil
pipe
eye bolt
(I)
and disconnecr
pipe
(2).
(2
) Loosen short bolt (3)
fi
rSt
and long bolt
(4
) n
ex
t
on
each
bra
cket
and.
after
fr
eeing
all
four
bracket
s,
~ft
the rocker shaft
.surnbly
(5)
off
the cylinder
head.
--
~
--
1·Sy.
bo
lt
2·0i
l pi
pe
3-5110rt
bol
t
4·Lor.g
boh
5·F\ock
e.r
s.hah e,:semblv
(3) Draw
out
push rods (6), and remove
valve
ceps (7).
6-Pu
sk
rod
7·Valve
t:zI
p
Rocker shafl assembly iru5ta1I.tion
(1) Insert push
ro
ds
into respective tap
pe
t h
oles.
Mou
nt
valve
cap
s on the heads
of
respective
"alves.
Positi
on
the
rocker
shaft
asse
mbly on
the
cylin.
der head and make the short bolts and long bol
ts
ing.rlight.
(2)
Tighten the 8 shorl and long bolts to • torque
value between 1
.5
and 2 kg.m
(l0
.8 and 14.5
rt
-lb).
Gi
ve
Ihe final torquing to long bohs
fi
rst
an
d to
short
bolt,
next, malting sure
that
all bolts
ar'
tightened equ,Uy.
89
 Loading...