DISASSEMBLY
AND
REASSEMBLY
Lt.!
CAUTIONS)
a)
Do
nol apply
BOND
to the
"0"
Mg
.
b)
Be
sure that the ventilating hole
of
the
co
ver
comeS
on top sid
e.
(m) Install the screw plugs, lightening
each
plug 10
tl
'tis
torque
value
:
It
em
Standard
S
cr
ew
plug tighlentng
55-7
.5 kg.m
torq
ue
(39.8 - 54.2 ft·lb)
(
n)
Remo
ve
the lappet inserts one after another
while ruming over the
.amshaft.
Fo
r the l
as
t
time,
check to
be
sure
that
the
control
rack
is
capable
of
smooth
sli
ding moveme
nt,
and check
it
s sliding r
esis
t
anc
e to
see
and
confirm
that
:J
force
not g,ealel
than
150
grams
(S
.3
ounces)
will
mOve
the runsha
fl
.
Remolling
tappet insens
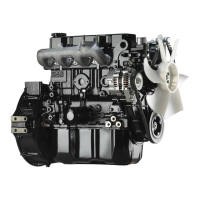
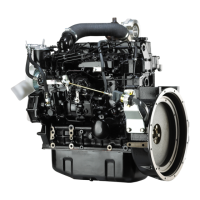
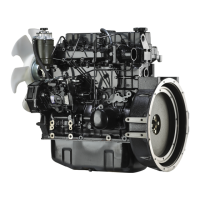
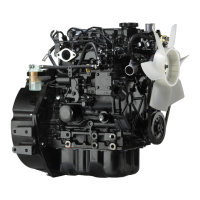
Engine proper
Disassembly
Drain
out engine
oil
and coolant.
Wash
the exterior
surfa.ces
of
the
engine
clean
,
and
set it
up
on
the
disassembly stand. After removing the various compo.
nents
at",.hed
to the engine proper, proceed
as
foUows:
(I) Remove a total
of
24 bolt, securing oil pan (1) to
120
crankcase, and take off the o
il
pall. Remol·. o
il
pump (2) as outlined in OfL
PUMP
REMOVAL
.
:r'\ .
~'~.-~~
~
":~~~.-
.1Y~
..
,4
~:::"..
'"
-"
,
--
' -Oil pan 2-0i! pump
Removi
ng
oil pan
(2
) Remove the idler gear in the
Ilrriing
gear traln.
(3)
Tum
camshaft gear , bringing iI,
two
holes to top
and
boltom
to expo
se
bolts
(I)
securing thrust
plate. Remove
boll'
(I),
and draw t
he
camshafl
assembly
oul
.
. .
-
..
~\
t)~r
p
~
.
-
Y'~.
.-
1·8oft
and walhlllr
(2
pes
8ac
h)
Removing camshaft (1 I
[NOTE
]
Remove
the
tappets
after dr
awing
out
the
cam
-
shaft.
Removing camshaft
(21
 Loading...