Chapter Two: Installation
30
Mounting the Controller
You can rest the controller unit on a bench, tabletop, or shelf, or you can mount it on a rack or cabinet.
The controller unit is housed in a standard 1/8 DIN box. If you are mounting the unit in a panel, the
cutout dimensions are 1.78 inch by 3.60 inch (45.2 mm by 91.4 mm). One mounting clip attaches to each
of the ides of the controller unit. To attach the clip, slide the beveled surfaces of the clip under the cutout
on the side of the box and push the clip toward the back of the unit.
Note Be sure to mount the unit with adequate space around it for proper air
circulation..
Note Be sure to leave enough clearance at the back of the controller unit for
easy access to cable connections.
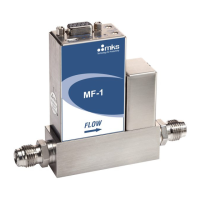
Selecting the CDG
The Model PDR 2000 controller is designed to work with standard capacitance diaphragm gauges, which
operate on ±15 volts. If you have difficulty obtaining a CDG, please contact us at MKS Instruments.
Caution Use of a CDG other than those, which operate from ± 15 volts, may cause
damage to the CDG.
Connecting the CDG
Make sure that the CDG is securely connected to the vacuum system, using good vacuum practice.
Attaching the CDG Cable
The CDG cable has a 9-pin D-sub connector on one end, which plugs into the PDR 2000. There are a
variety of conventions for connection to the CDG. You may assemble or modify the cable to adapt to the
CDG as needed. Connect the 9-pin D-sub plug of the gauge cable to the 9-pin connector on the back of
the PDR 2000 controller unit. Push the plug onto the connector until it
is firmly in place. Tighten the retaining screws to make certain the connector remains in place. Loose
connections can cause a faulty reading.