42/112
D15 Camera Manual: Mounting
© MOBOTIX AG • Security-Vision-Systems • Made in Germany
www.mobotix.com • sales@mobotix.com
2 MOUNTING
2.1 Overview of Mounting Options
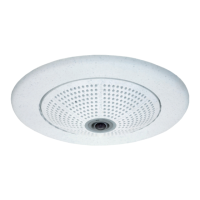
2.1.1 Mounting Indoor Cameras to a Ceiling or Wall (without Accessories)
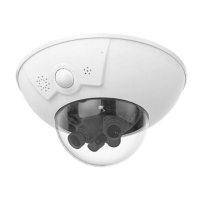
In order to mount the MOBOTIX D15 to a ceiling or wall, you need to drill the holes for the
fixtures. Use the supplied drilling template (fold-out at the end of this manual) to mark the
position for drilling the anchor holes and the holes through which the cables will be led
later on. Remember to position the drilling template according to the direction of the
camera's PIR sensor.
Connecting the Camera Patch Cable to the Network Cable (for Example, Cat 5)
• Position the camera over the cable outlet.
• Connect the camera patch cable securely to the Ethernet cable, for example, using
the MOBOTIX MX-Overvoltage-Protection-Box.
• Use the correct screws to mount the camera housing to the wall or ceiling.
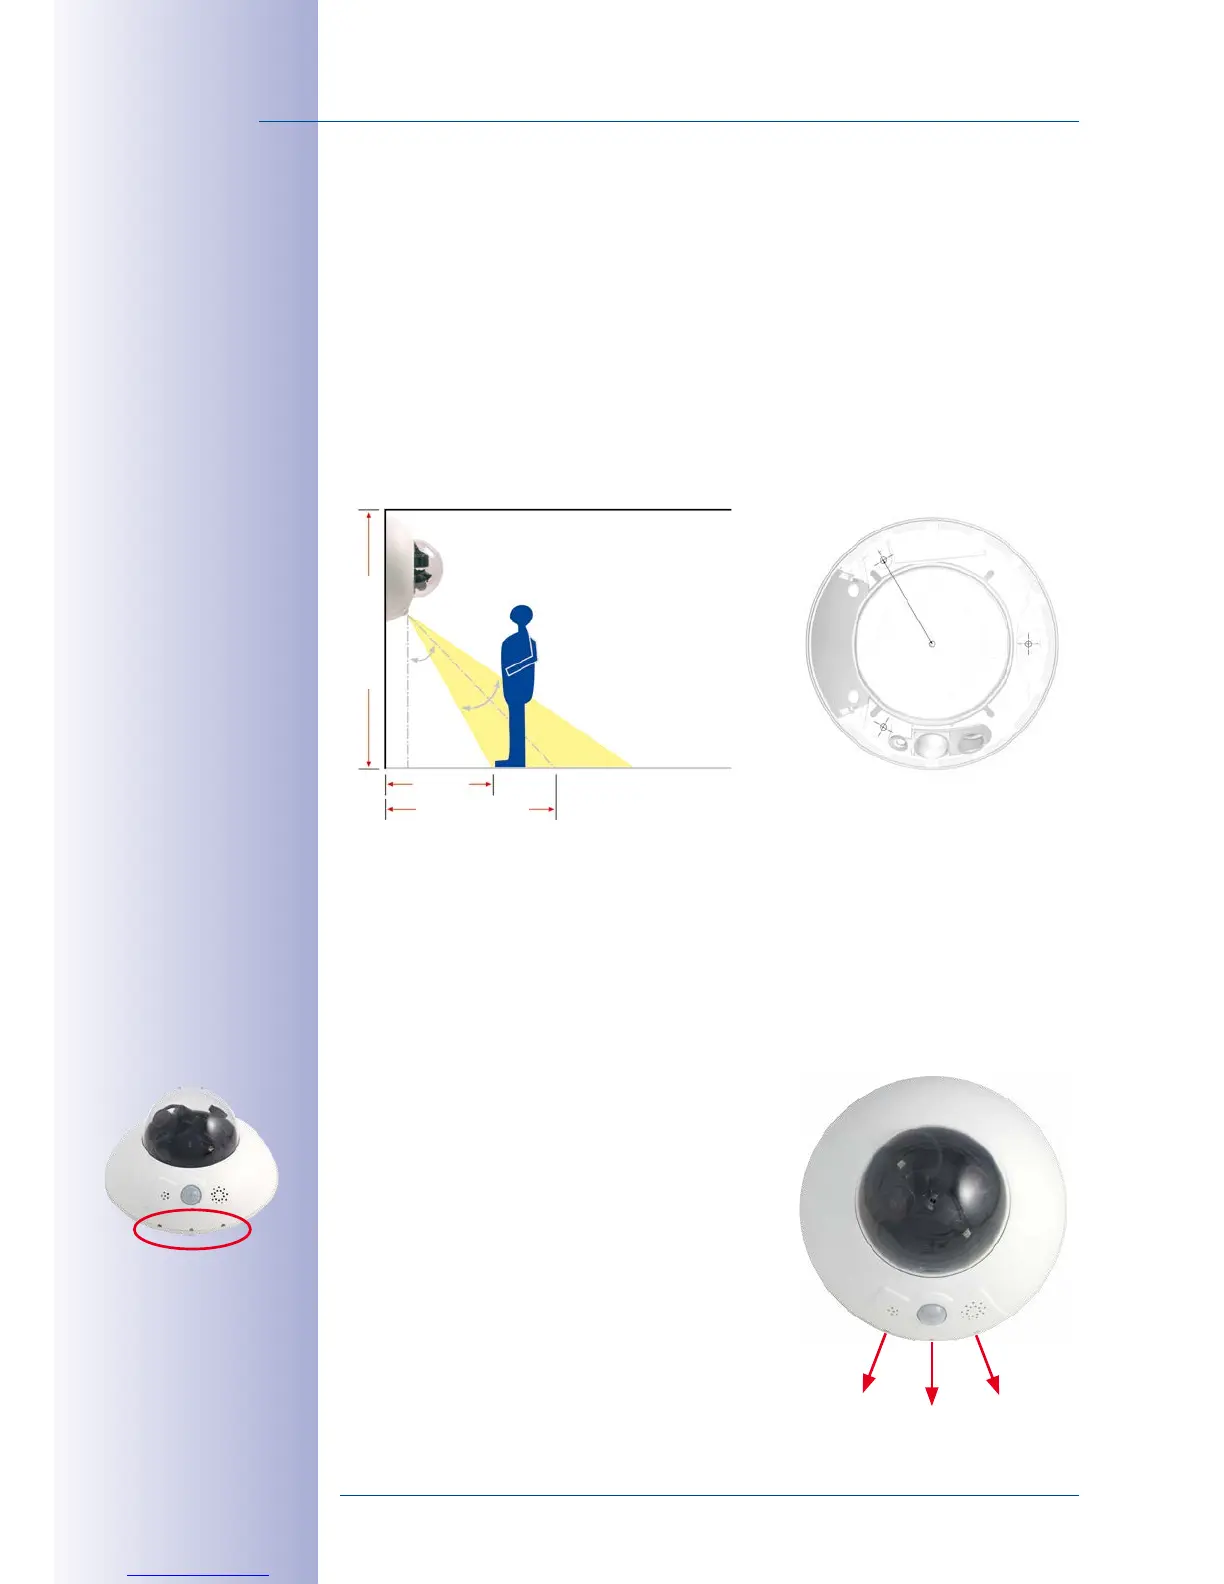
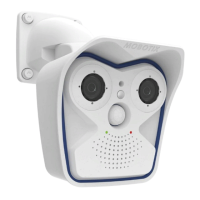
Preventing Condensation
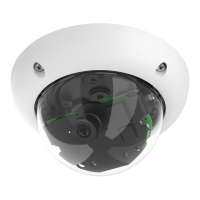
When installing the camera, make sure that the PIR
sensor is pointing downwards to allow condensation
to flow freely through the openings in the outer shell
(see diagram).
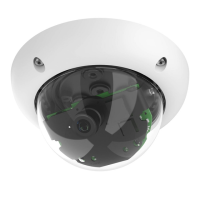
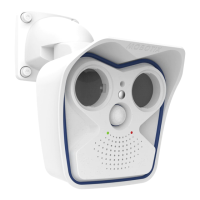
The Outdoor Wall Mount may have to be used, as
the PIR sensor can be turned in any direction when
installed horizontally (PIR is tilted diagonally down
-
wards).
PIR: passive infra-
red sensor
120°
120°
120°