63/164
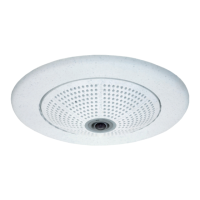
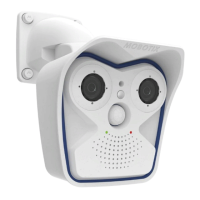
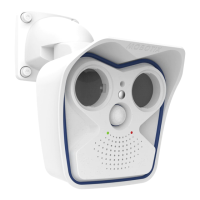
Available Q24M Accessories - Overview
© MOBOTIX AG • Security-Vision-Systems • Made in Germany
www.mobotix.com • sales@mobotix.com
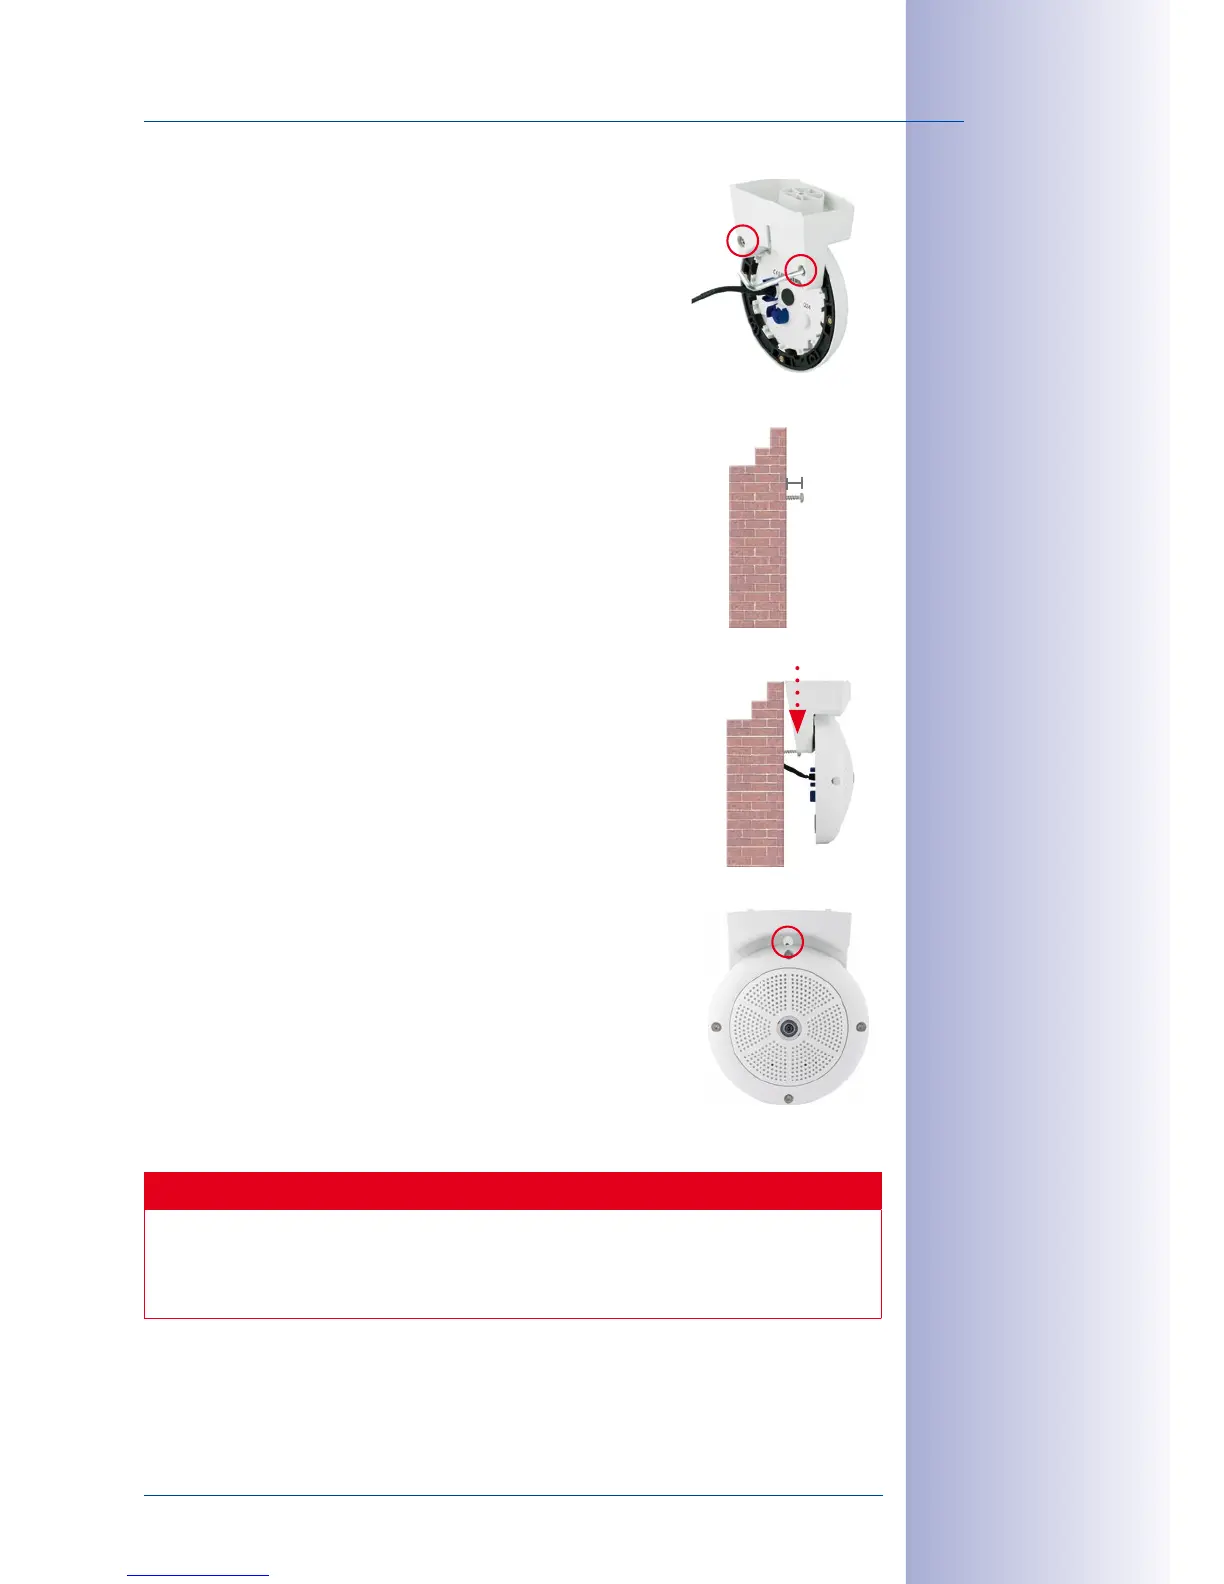
3.
Mount the camera to the stand using the two stainless steel
Allen screws.
4. Use the Torx screw to fasten the mount onto the wall. Make
sure that the head of the screw is not tight against the wall,
but that it still has 5mm/0.2in to go.
5. Slide the entire assembly from above over the Torx screw
in the wall.
6. Properly tighten the Torx screw to secure the assembly in
the desired position. There is a special hole in the Stand/
Wall Mount to access the Torx screw.
Caution
The Stand/Wall Mount has been only designed used for testing purposes. Make
sure that you replace this mount by a proper wall mount before bringing the system
into service.
5 mm/
0.20in