19
Need help or have any questions? Call us at 1-714-963-0329 or send us an Email at service@globalhobby.net
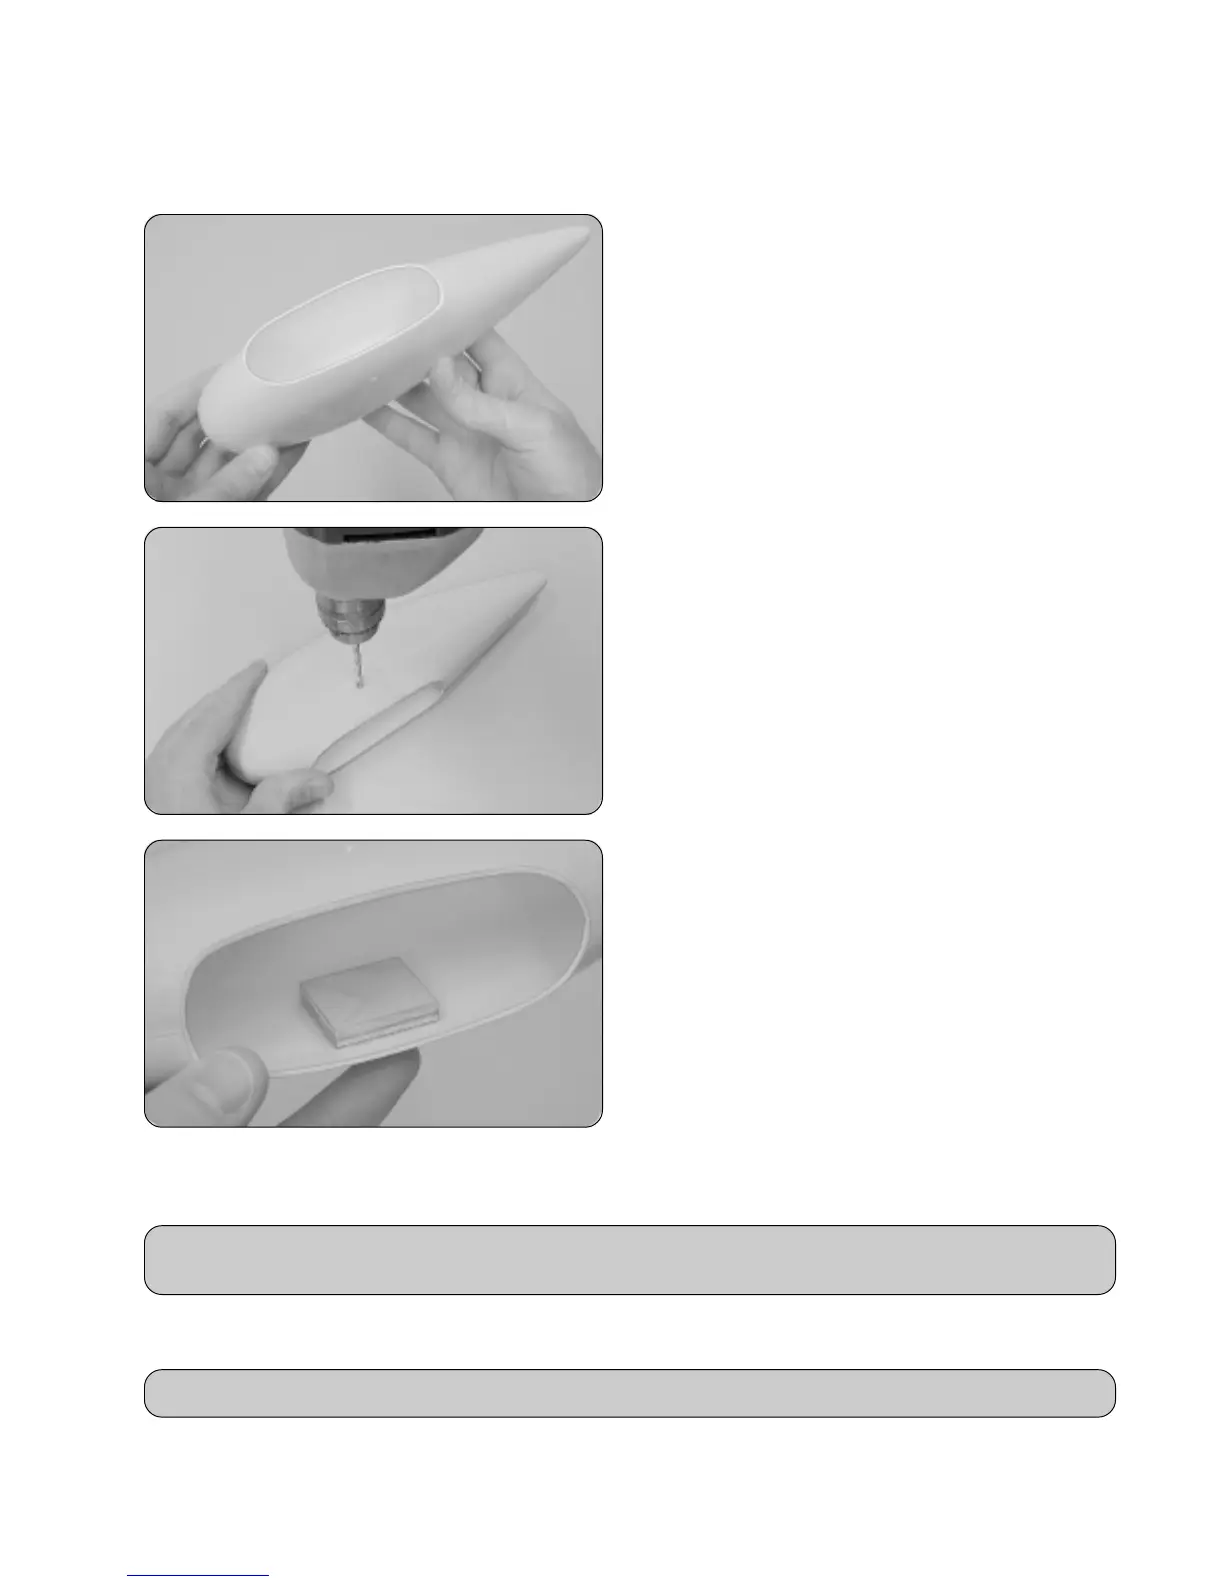
Step 2: Installing the Wheels & Wheel Pants
❑ Using a modeling knife, very carefully cut the wheel
opening in each of the two wheel pants, as shown.
❑ Use 220 grit sandpaper with a sanding block to carefully
sand the edges of the openings smooth.
❑ Using a 5/32" diameter drill bit, drill a hole through the
molded dimple in only one side of one wheel pant.
❑ Using a modeling knife, carefully cut away the flashing
on the inside of the wheel pant, that's left from drilling the hole.
❑ Test-fit one of the plywood mounting plates to the inside
of the wheel pant. The bottom edge of the plate should be
about 3/8" above the bottom of the wheel pant and the plate
should be centered from side-to-side over the 5/32" diameter
hole you drilled.
❑ When satisfied with the fit, remove the plywood plate.
❑ Using 220 grit sandpaper, lightly sand the inside of the wheel pant where the plywood plate will be glued into place.
IMPORTANT Do not omit this procedure. Roughening the plastic will allow the epoxy to adhere to the plastic
much better.
❑ Mix a generous amount of 5 minute epoxy and use a thin layer to glue the plywood plate into place. Remove any
excess epoxy and hold the plate in place until the epoxy sets up.
WARNING Allow the epoxy to fully cure before proceeding or the plate might pop loose.