20
Visit our website at http://modeltech.globalhobby.com or for Customer Service at http://globalservices.globalhobby.com
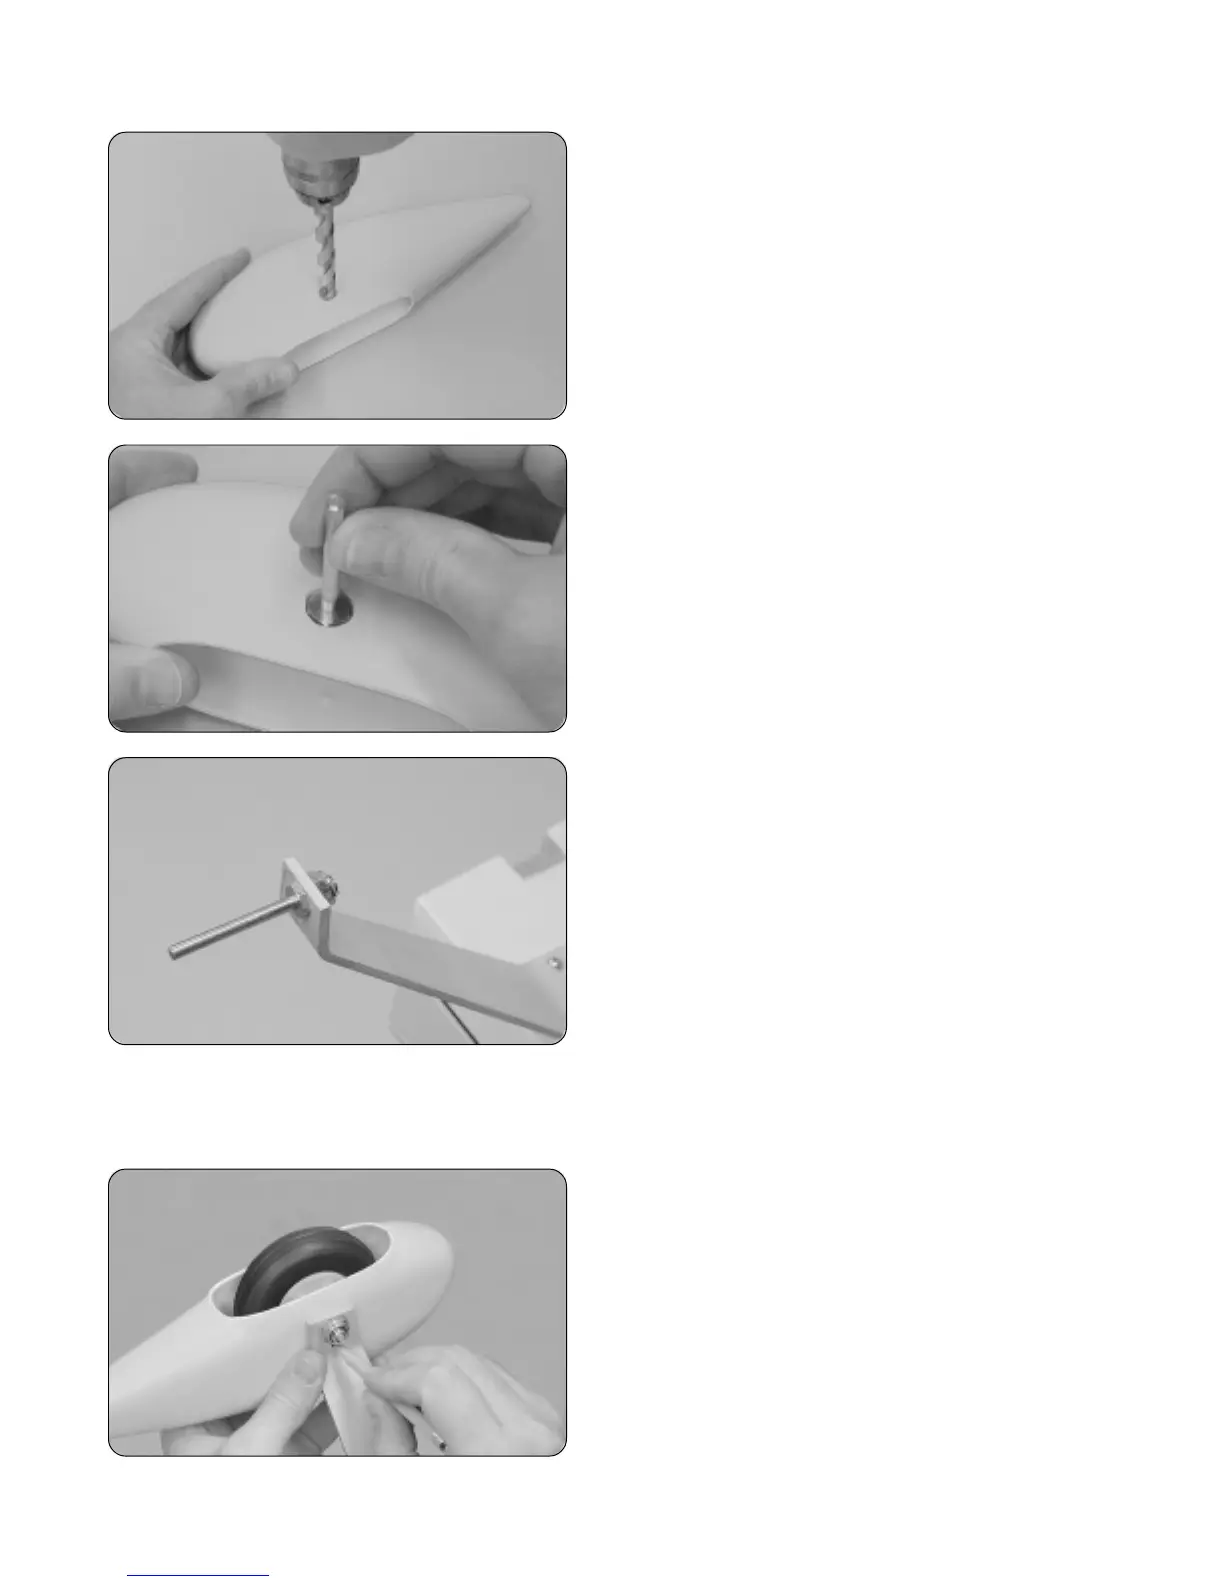
❑ After the epoxy has fully cured, carefully drill a 3/8"
diameter hole through the wheel pant and plywood plate using
the 5/32" diameter hole you drilled previously as a guide.
☞
The hole will not be centered within (and might even miss
part of) the plywood plate. This is okay. The plate is there to
strengthen the wheel pant and give a place to install the blind
nut that secures the wheel pant to the strut.
❑ Using a modeling knife, carefully enlarge the 3/8"
diameter hole until the head of the threaded axle will fit through
the hole without binding.
☞
Don't enlarge the hole any more than necessary. You
don't want the fit to be too loose.
❑ Mount the threaded axle to the landing gear strut using
the lock nut provided.
❑ While holding the axle in place with one adjustable wrench,
use a second adjustable wrench to tighten the lock nut firmly.
❑ Temporarily install the wheel and the wheel pant to the axle in the following order: slide the wheel pant partially onto
the axle, followed by one wheel collar. Slide the wheel onto the axle, then slide the second wheel collar up against the wheel.
❑ Adjust the wheel collars to center the wheel within the wheel pant, then tighten the set screws to hold them in place.
❑ While holding the wheel pant against the side of the strut,
pivot the wheel pant so that the bottom, rear surface of the
wheel pant is parallel with the bottom of the fuselage.
❑ When satisfied with the alignment, use a pencil to mark
the location of the wheel pant mounting screw using the
predrilled hole in the landing gear strut as a guide.